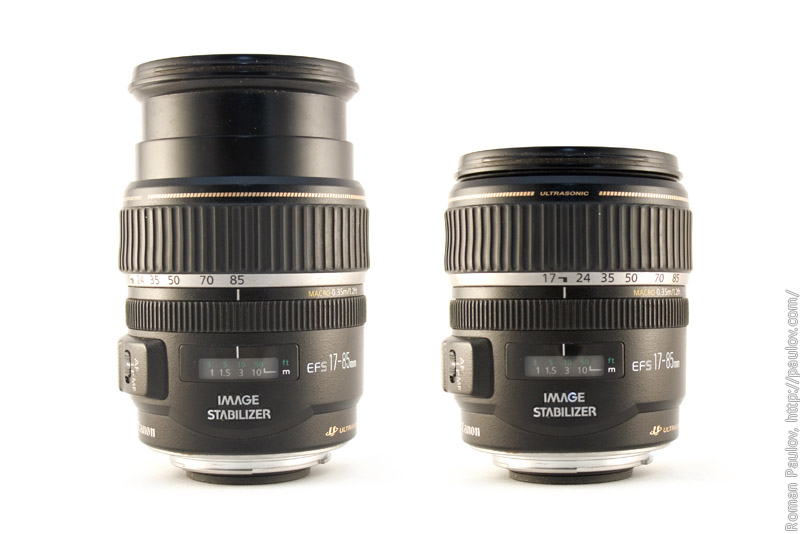
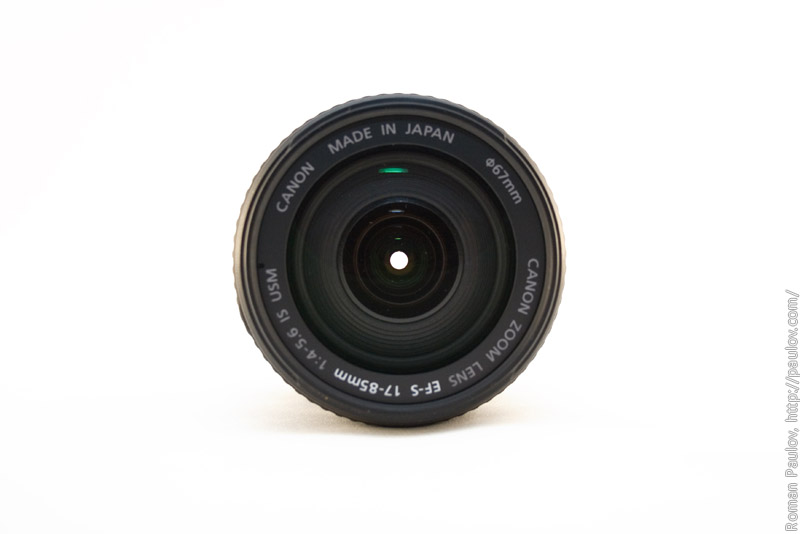
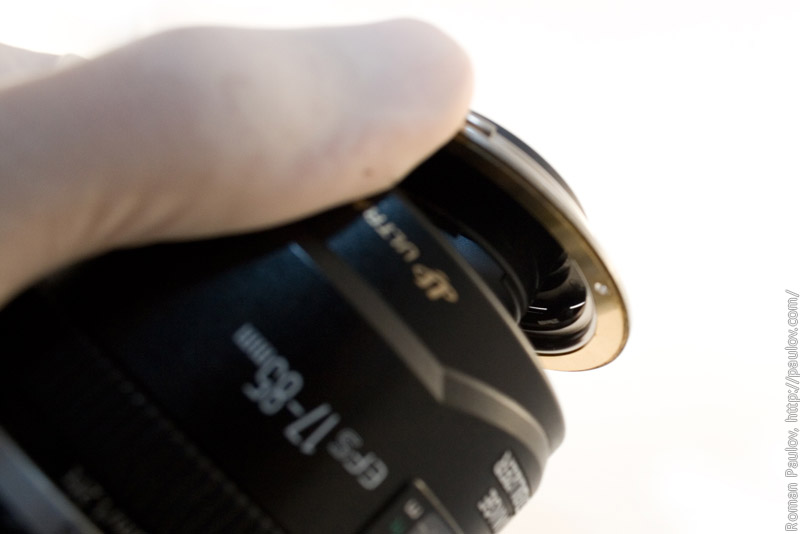
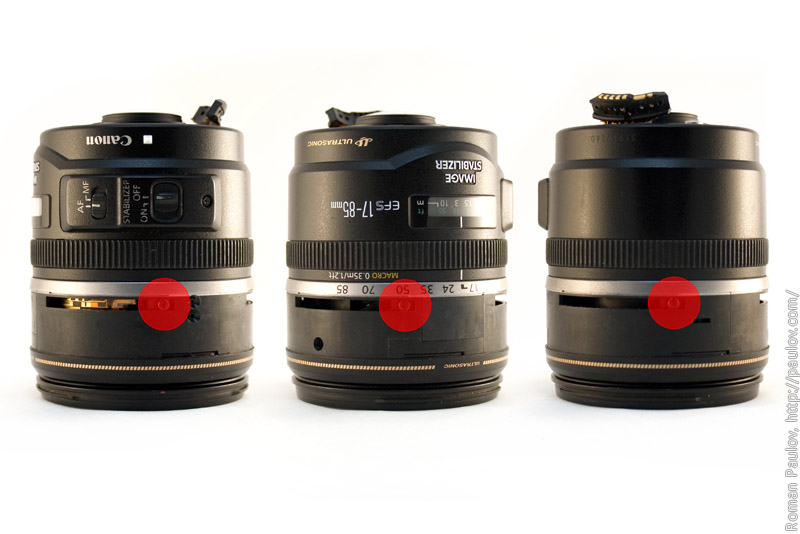
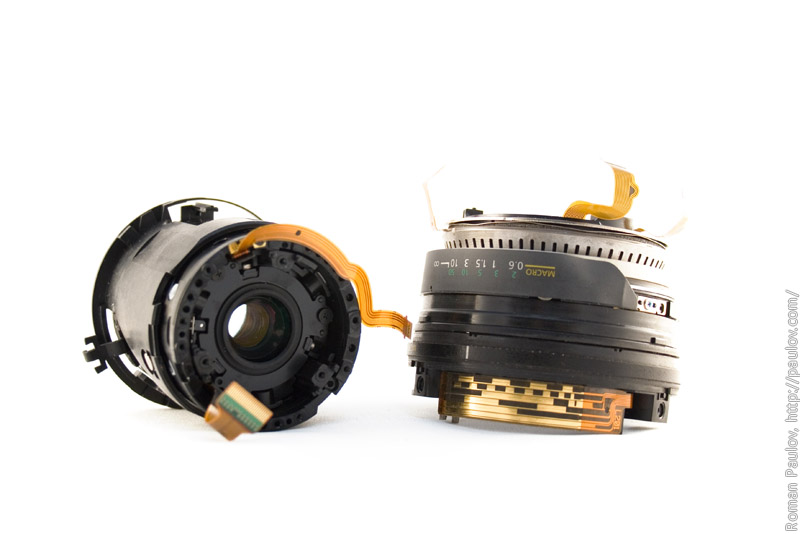
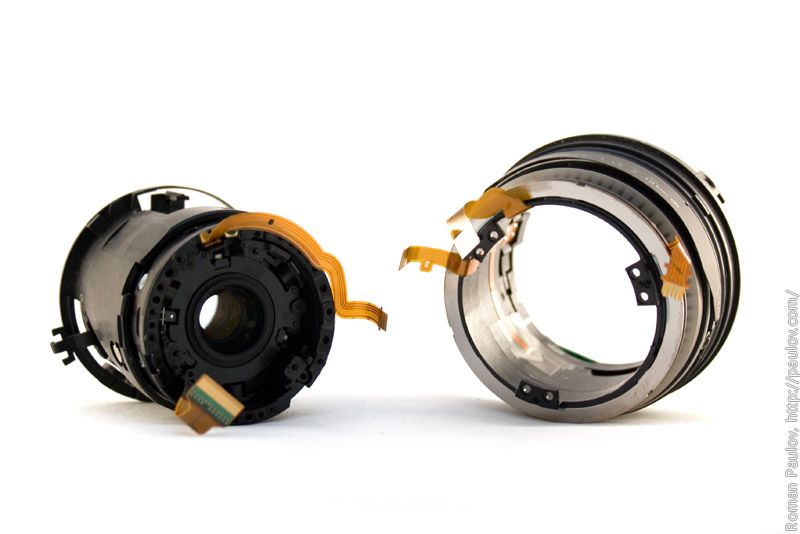
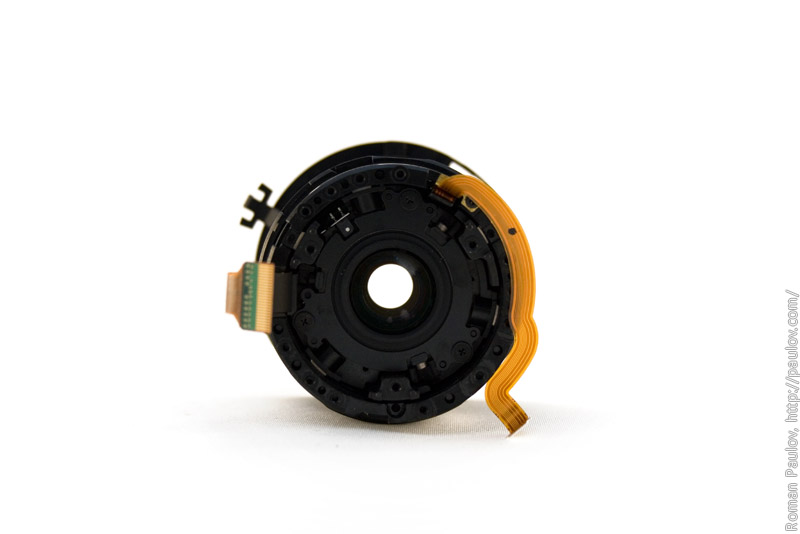
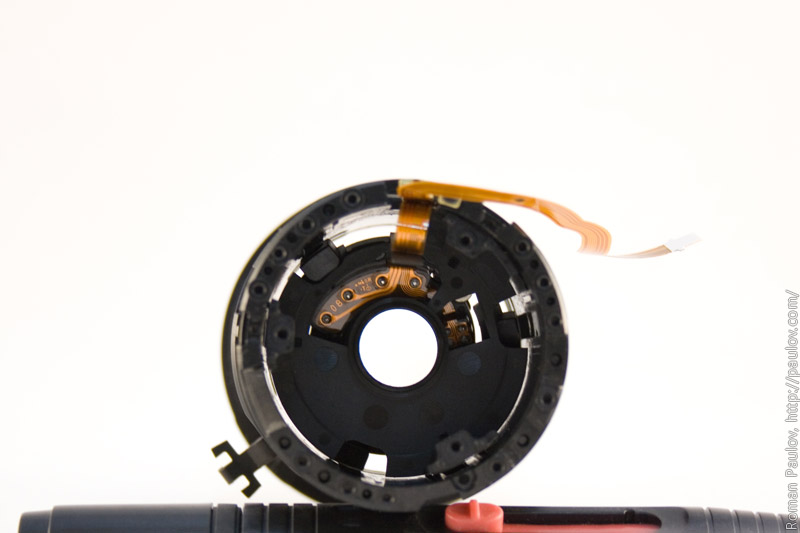
Few month ago my Canon 17-85 lens started giving «Error 99» with my Canon 400D DSLR camera. Little googling, and I found the cause of this. Problem was in the diaphragm unit in the lens. Diaphragm unit connected to the lens motherboard with flatcable, which is damaged with time, when you use zoom ring. The only way out is to replace flatcable or diaphragm unit with flatcable assembly. Because now I live in Thailand, and I don’t have a copper, I ordered diaphragm unit assembly on EBay.
This is my lens. Beauty :)
We need some tools to disassembly the lens:
- Good Phillips screwdrivers PH.0 and PH.00 sizes.
- Tool to disassembly plastic housings.
- Latex gloves.
- Small boxes for screws. There are a lot of screws of different sizes in the lens. Very convenient to place screws of different types in different boxes.
- Plastic film or something like this to cover inner lenses, when you get it out.
This is not a official Canon guide. All responsibility is on you. Remember: after disassembling the device, you lose your warranty!
Let’s repairing begin.
Take the lens.
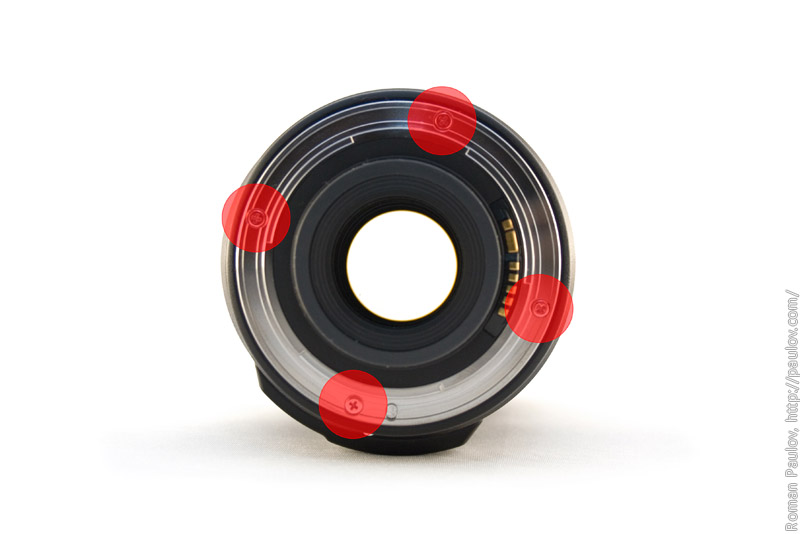
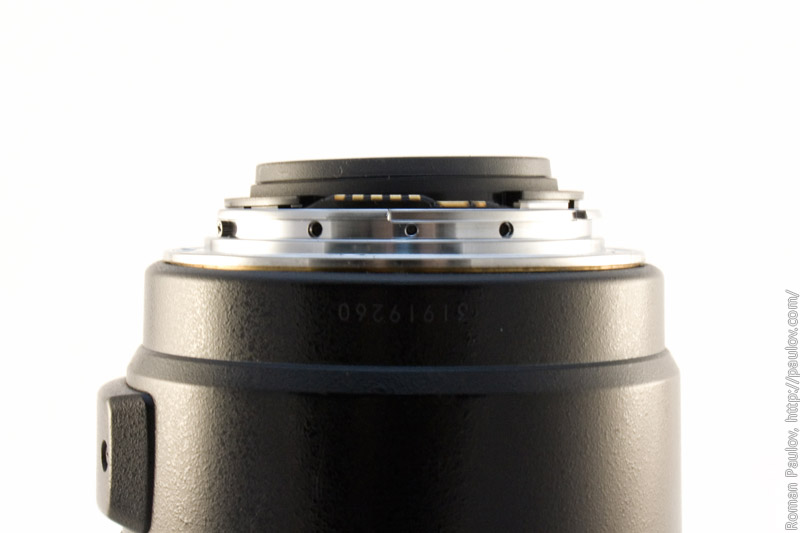
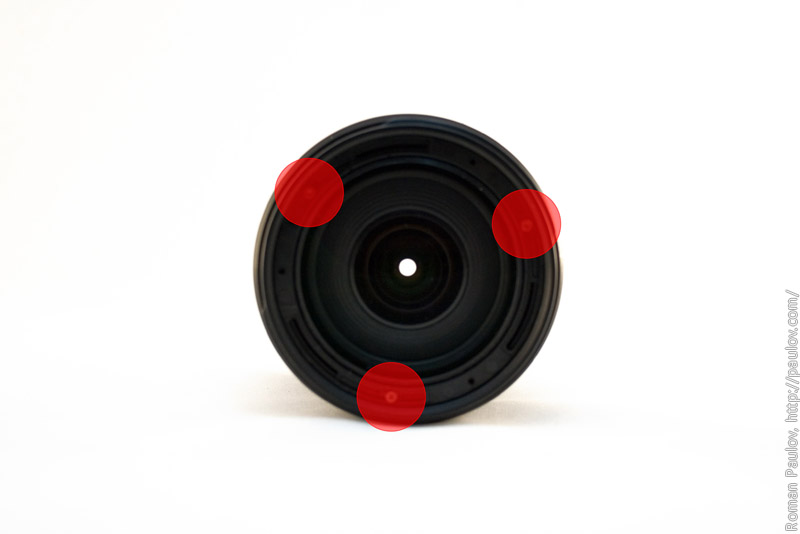
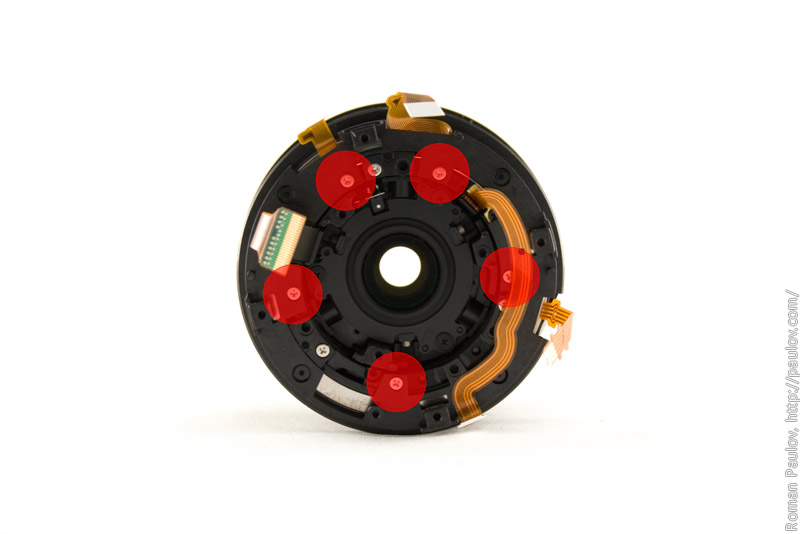
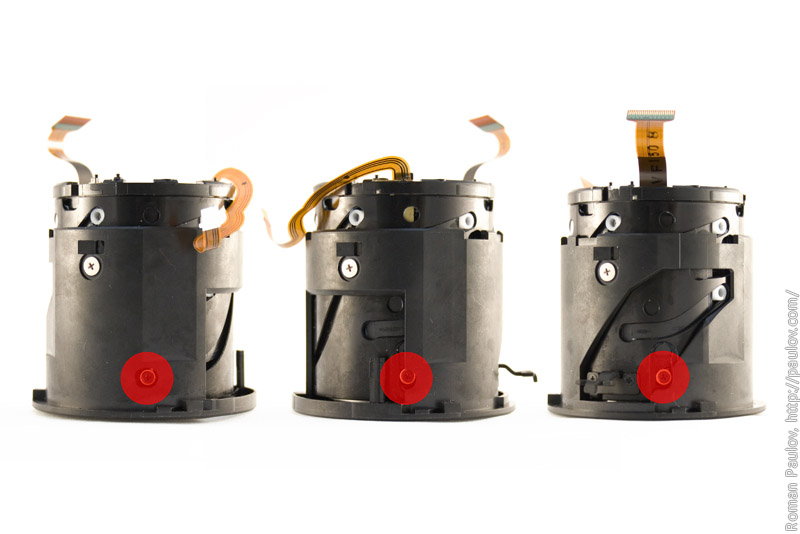
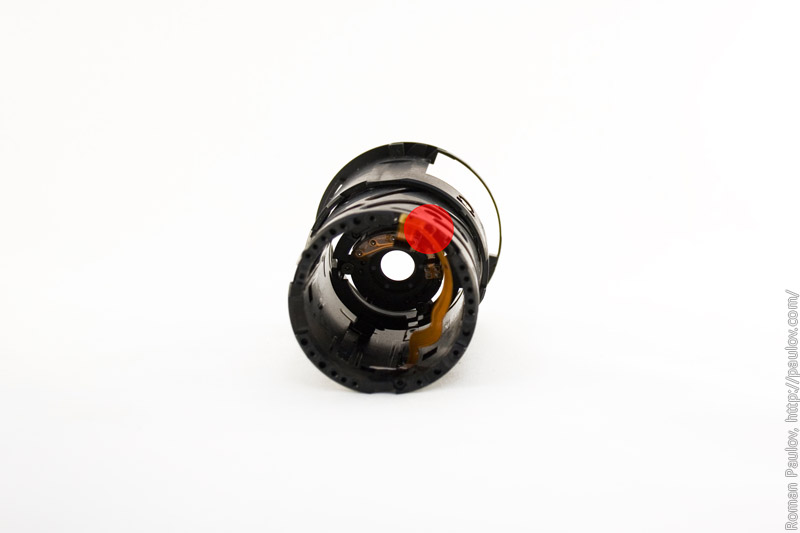
Turn it to see lens mount and unscrew 4 screws, marked red.
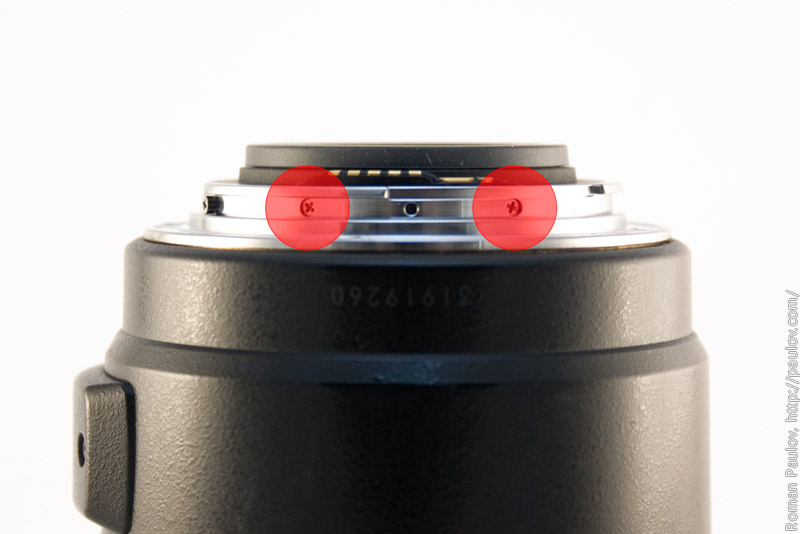
Turn lens again and unscrew 2 screws from side.
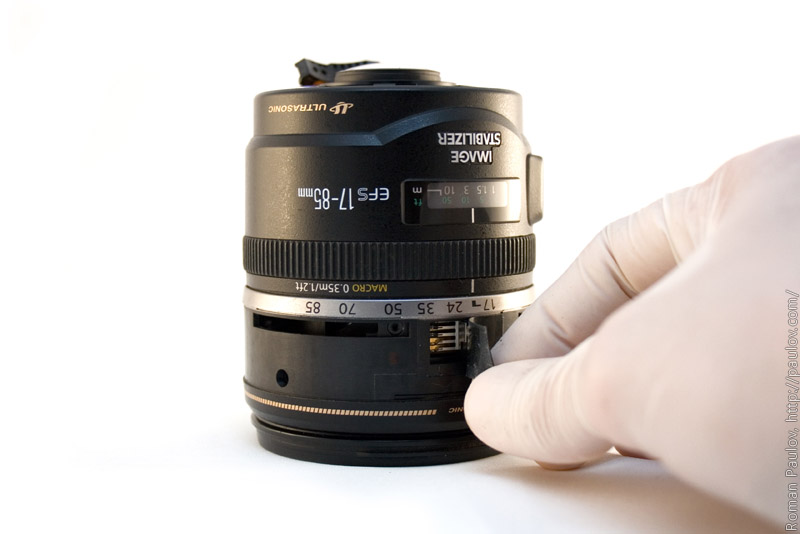
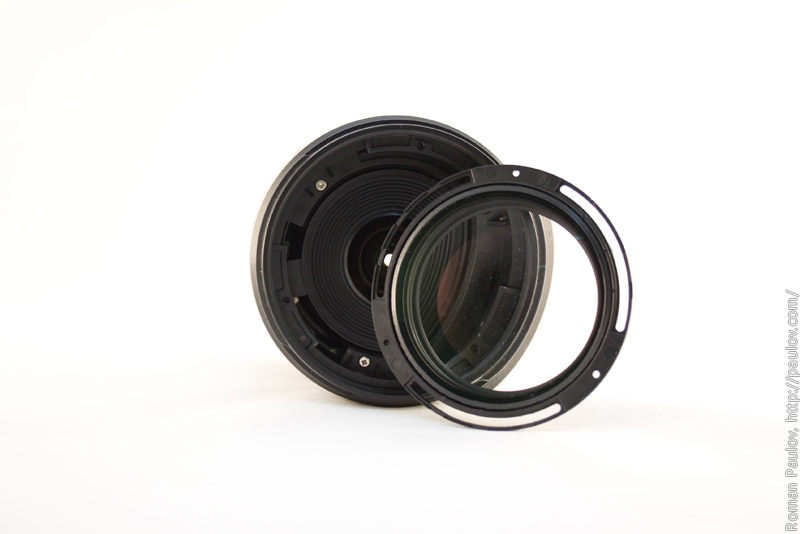
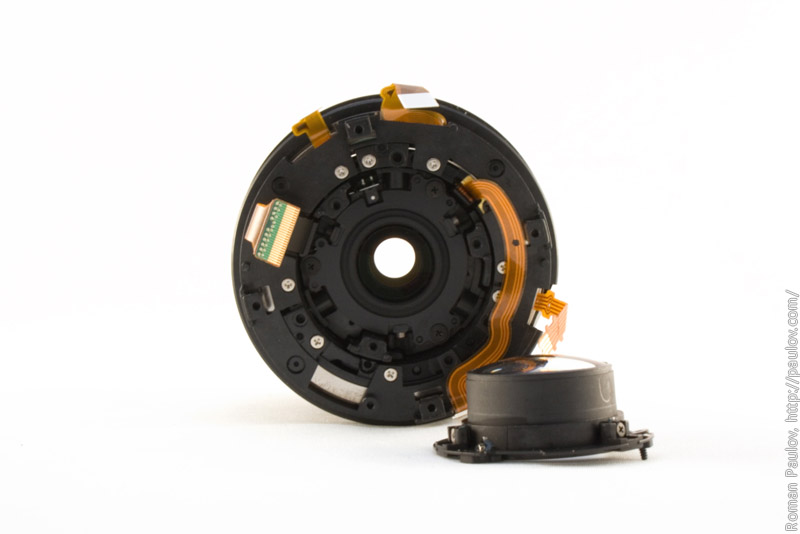
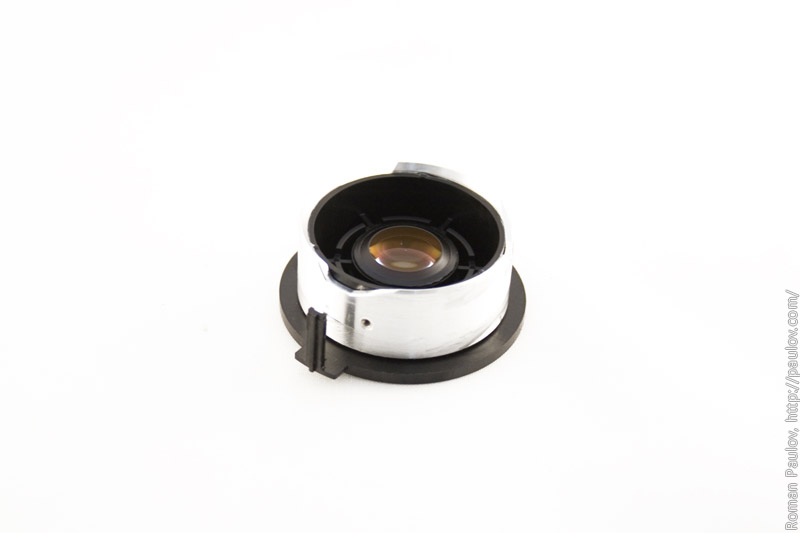
Lift lens mount a little bit. Attention! Lens mount is connected to the motherboard with flatcable. If you will lift lens mount too much, you can damage flatcable. On this step you need to remove plastic ring in lens mount. Plastic ring attached to aluminium lens mount with 4 latches.
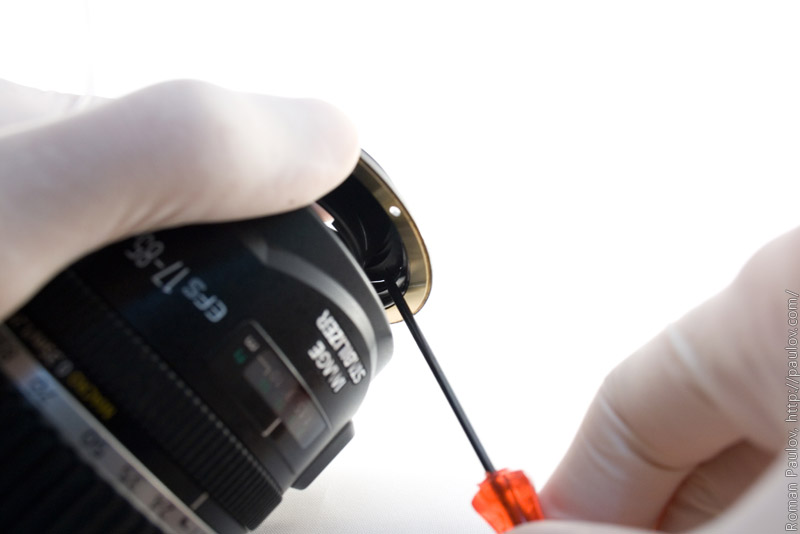
Carefully use something thin and long, like screwdriver to press to each latch. You need to press on the latch towards the central and up at the same time.
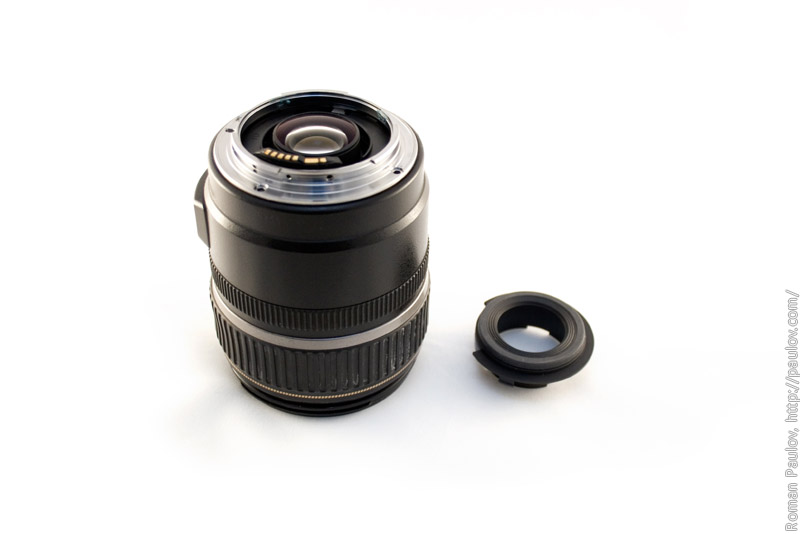
When you open all 4 latches, plastic ring can be removed.
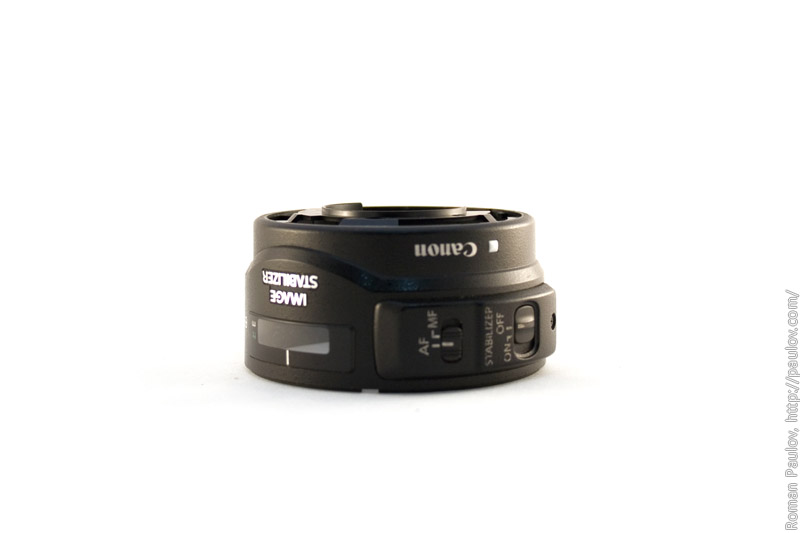
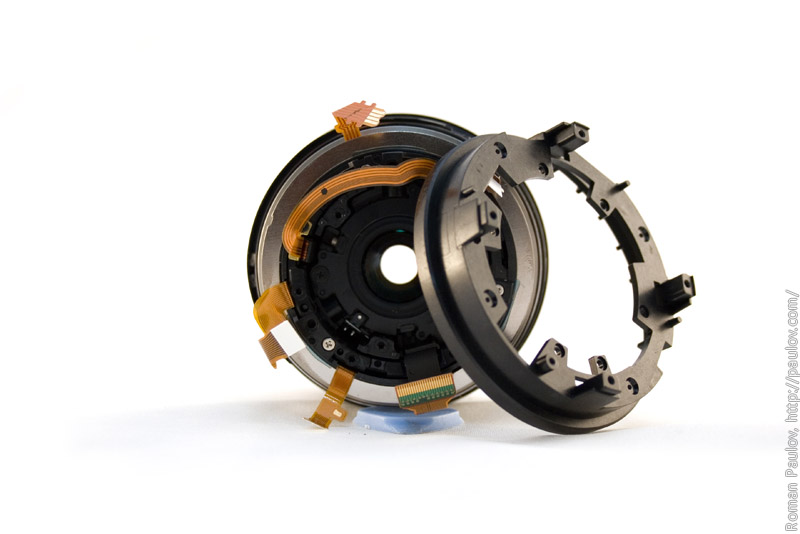
Remove plastic ring.
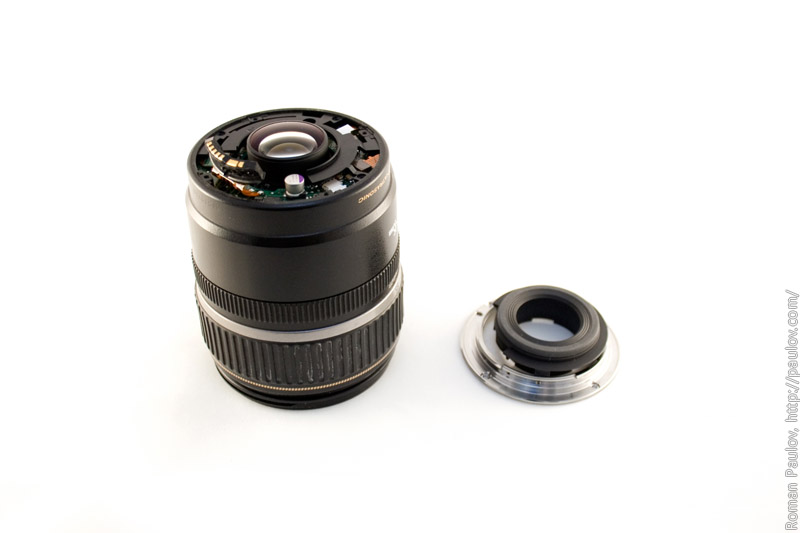
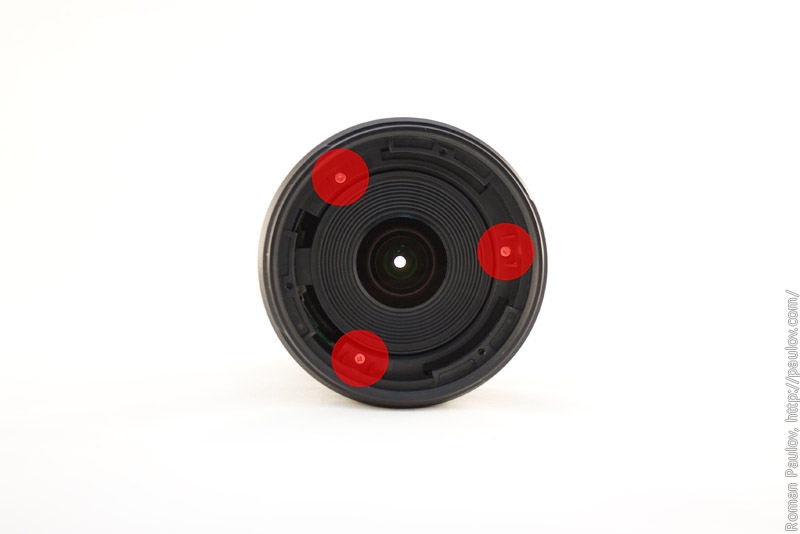
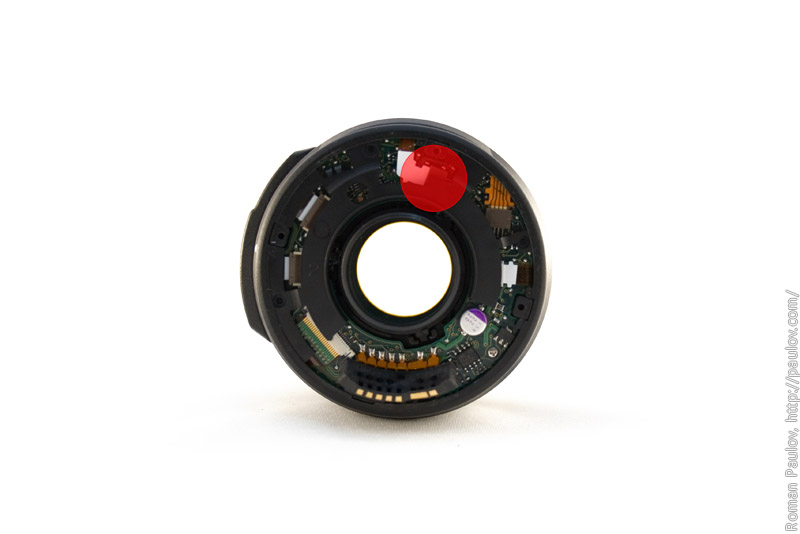
Remove aluminium lens mount.
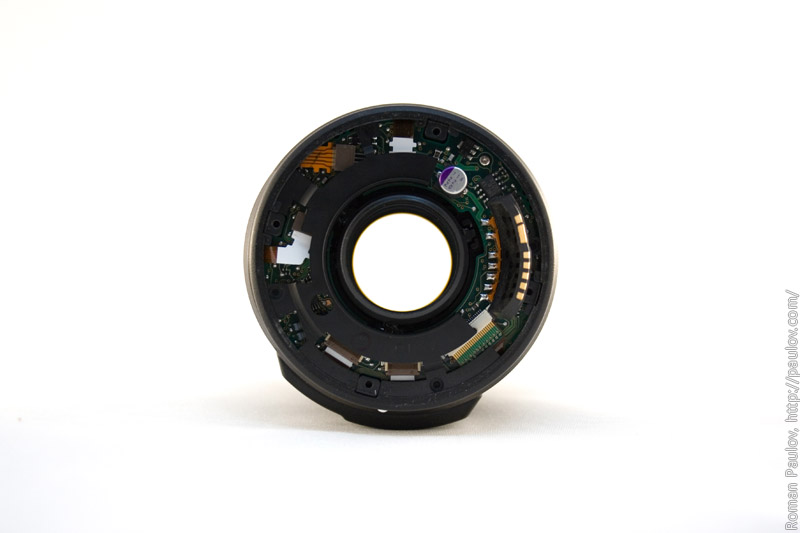
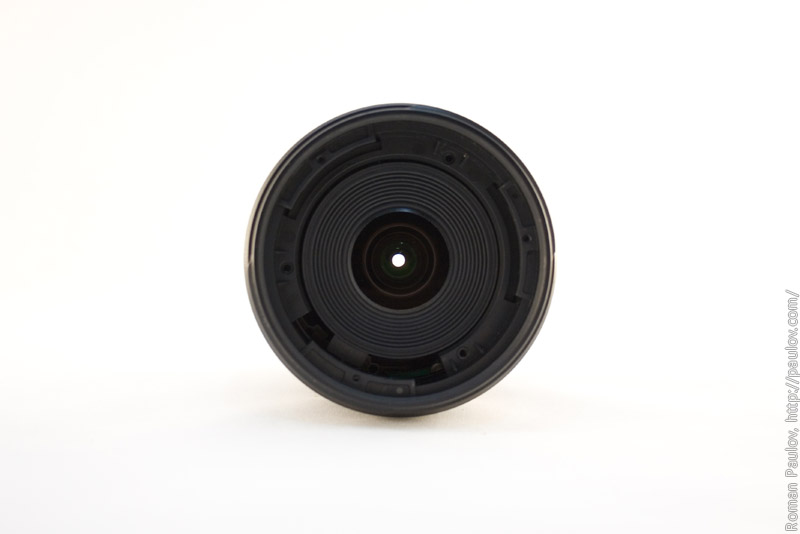
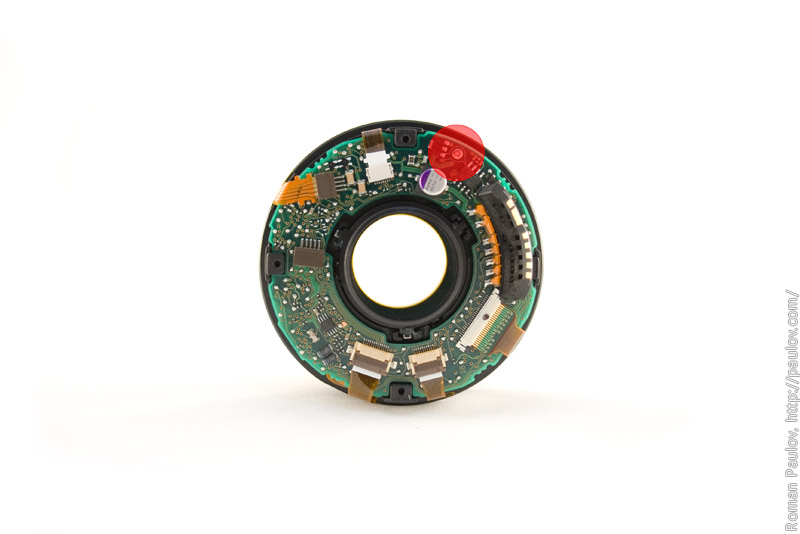
Now we can see lens motherboard.
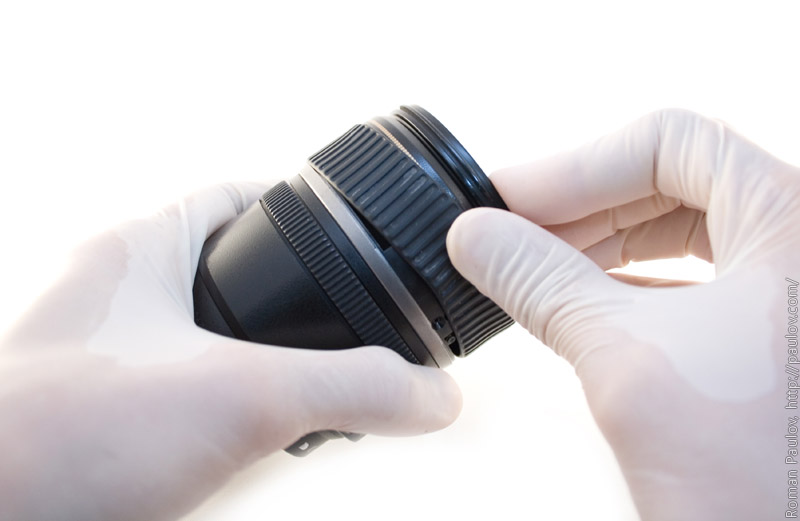
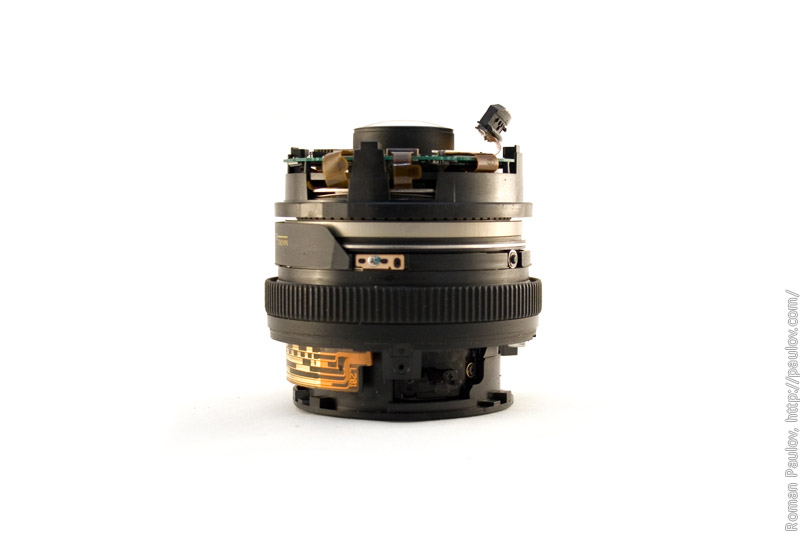
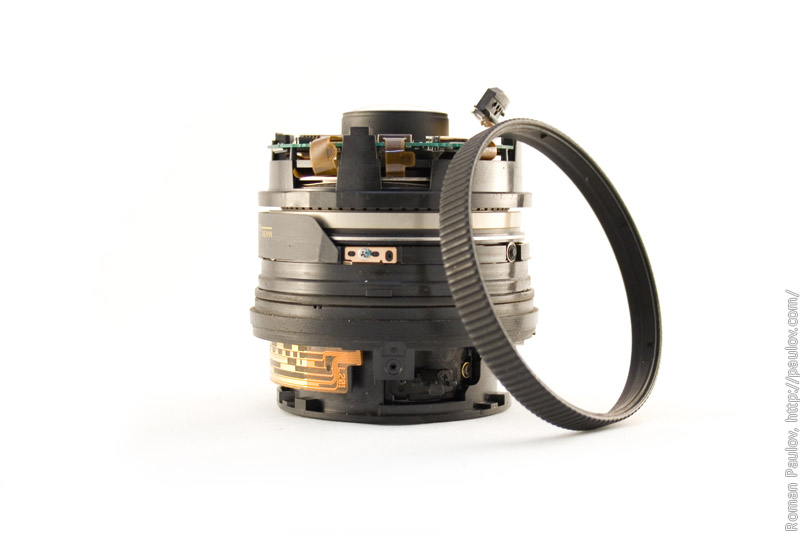
Turn lens and remove rubber zoom-ring.
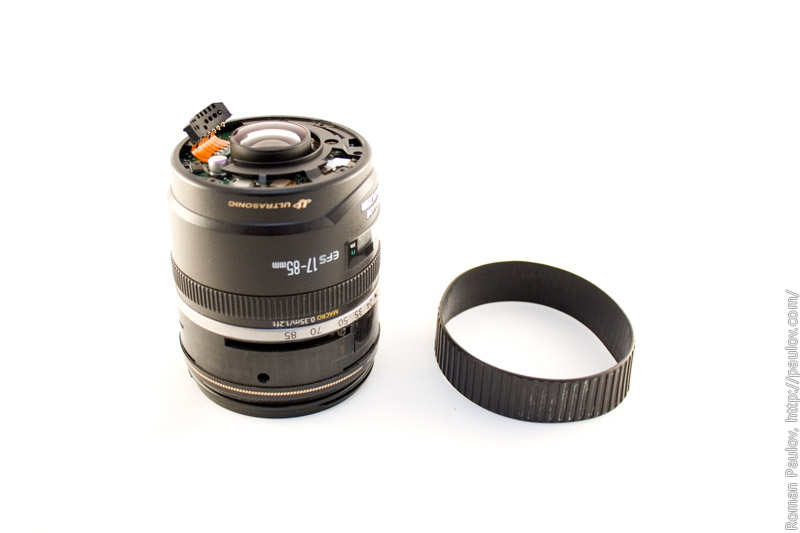
Rubber zoom-ring is removed.
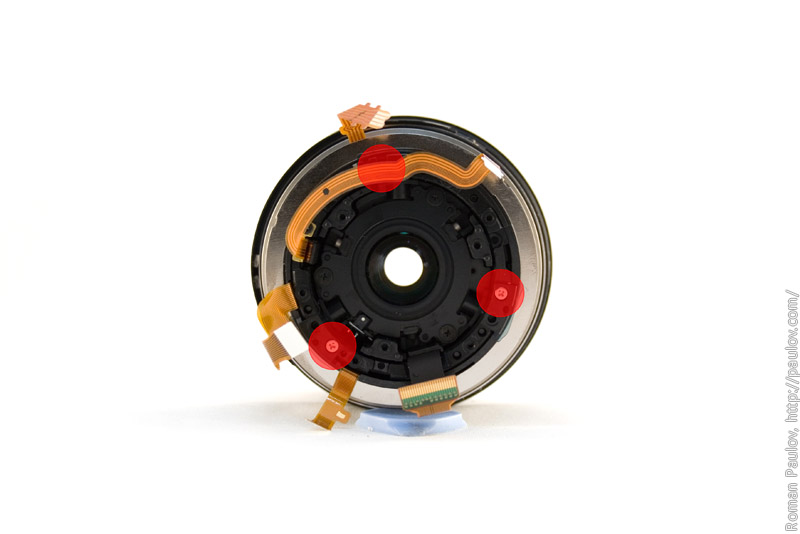
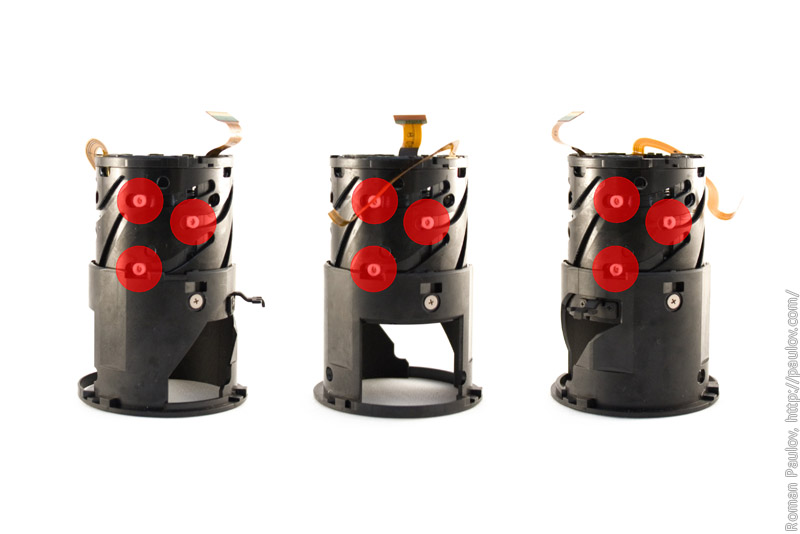
Unscrew 3 screws under zoom-ring.
Remove plastic protector.
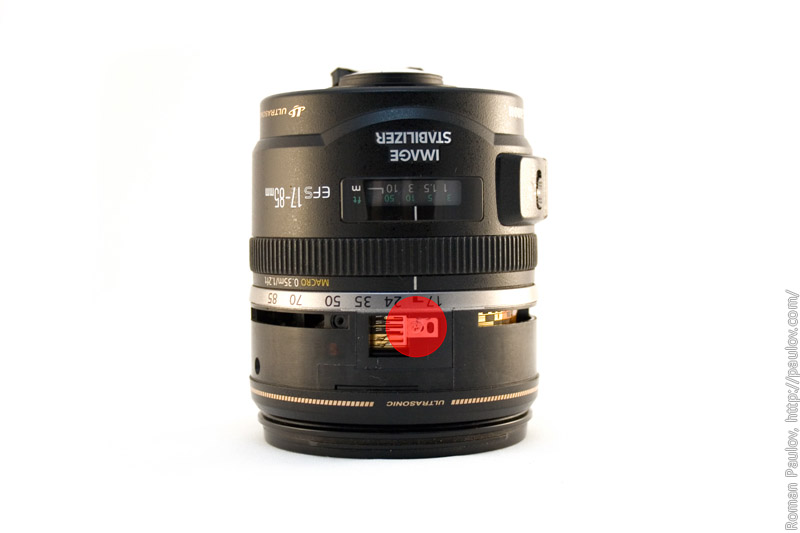
Unscrew the screw that holds the metal brush. Be very careful with brush contacts, it’s easy to damage it.
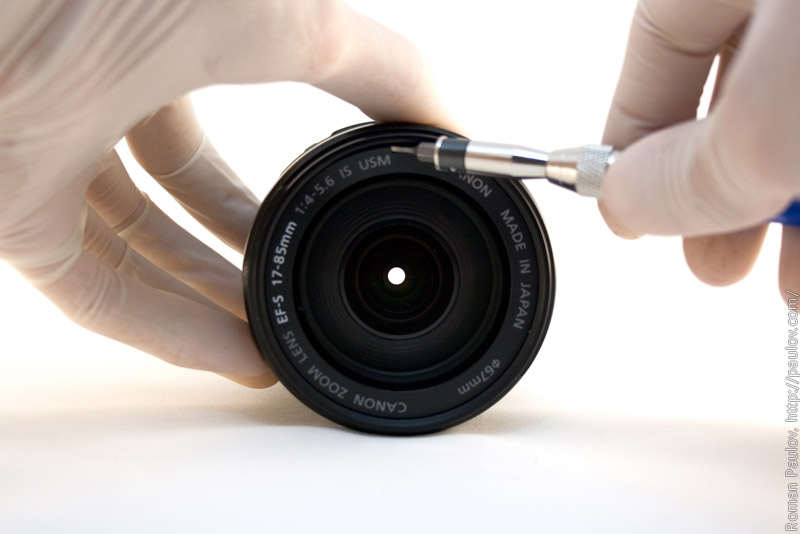
Turn lens and remove plastic ring with text using small screwdriver. There is a special hole in the plastic ring for this operation.
Unscrew 3 screws under plastic ring. Attention! There are only this 3 screws are adjustment screws. Before unscrew it, you need to mark it positions on the front lens.
Remove front lens.
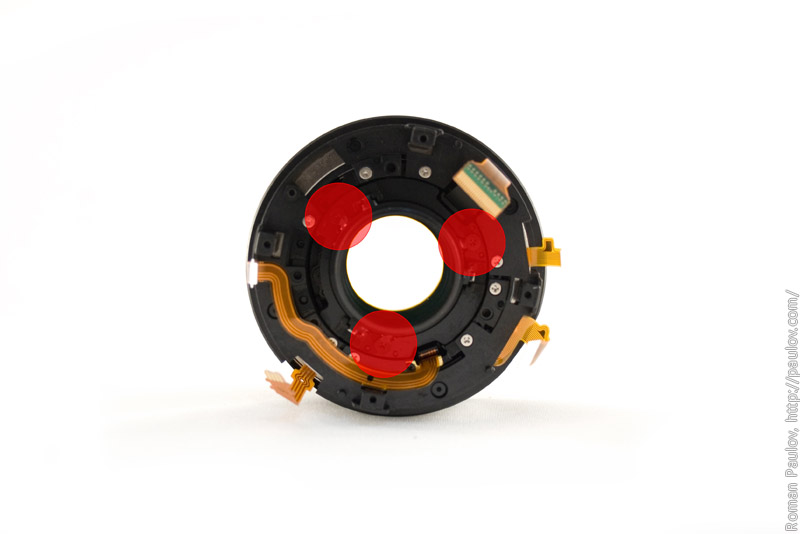
Unscrew another 3 screws under front lens.
Done.
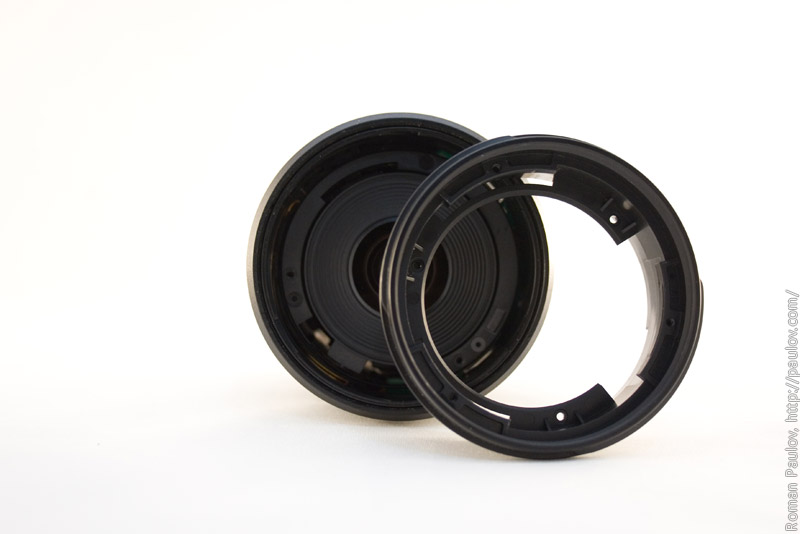
Remove plastic ring.
Plastic ring is removed.
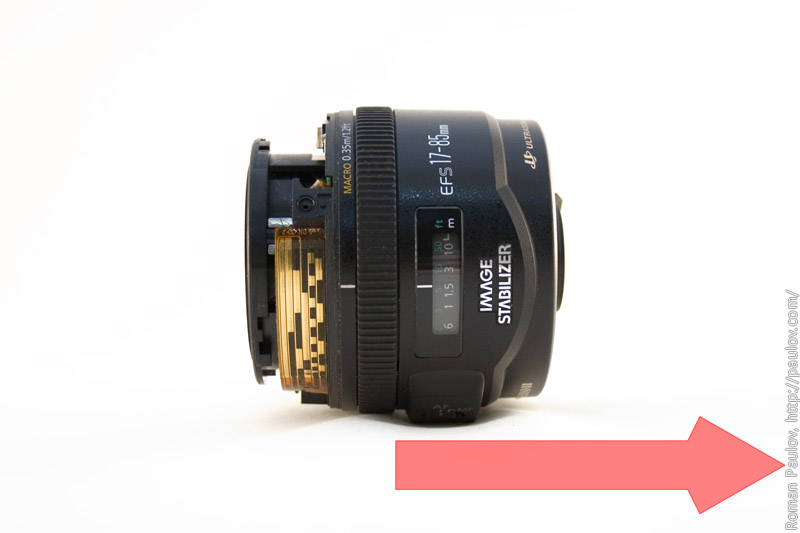
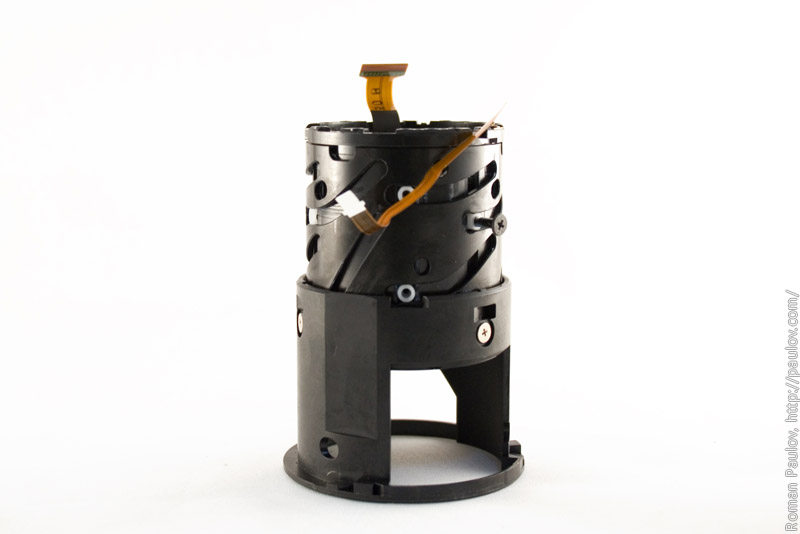
Now you can remove telescopic zoom-tube.
OK. Now turn lens and remove lens housing. There is a flatcable connects housing with motherboard.
You need to disconnect this connector to release housing.
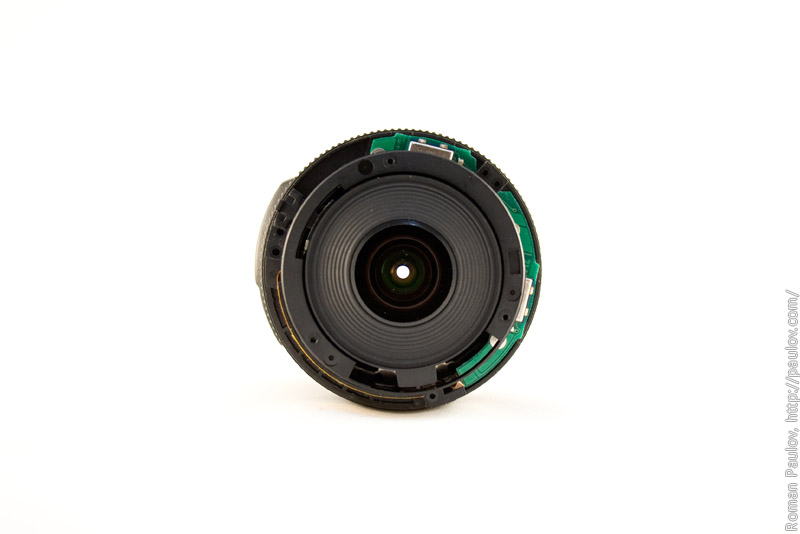
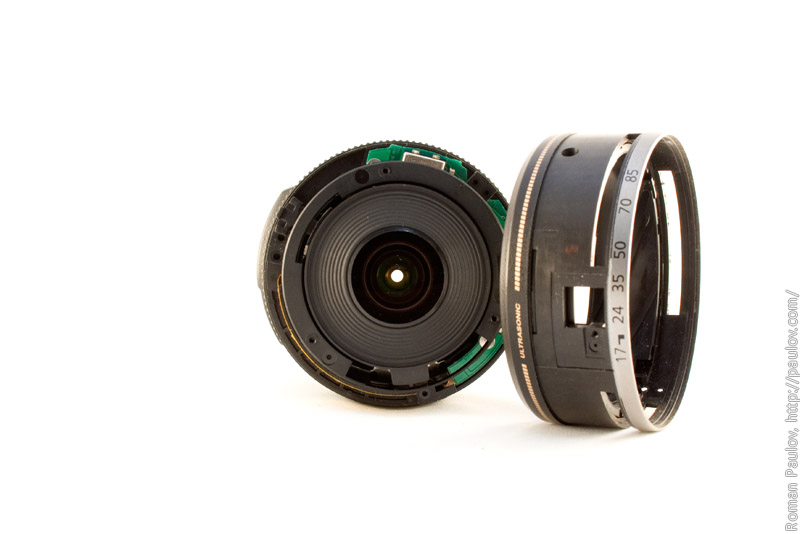
Housing is removed.
Remove focus ring by pulling it away.
Focus ring is removed.
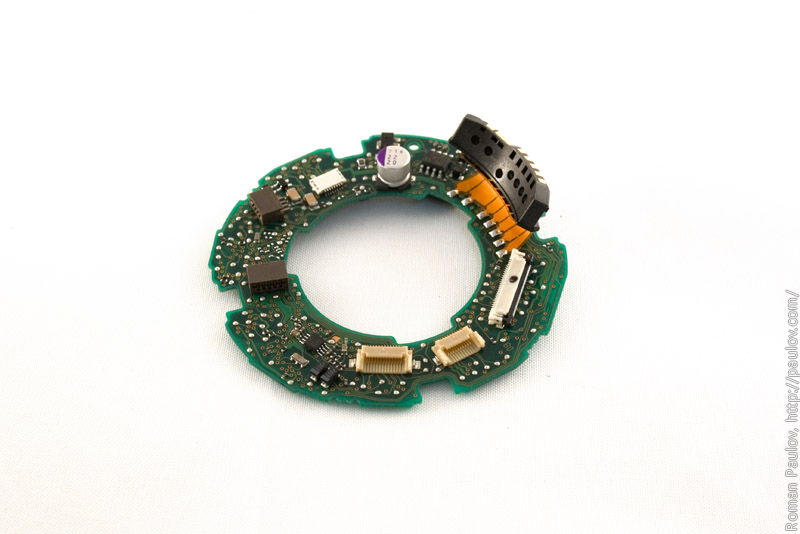
Now we need to remove motherboard. First of all unscrew 1 screw. After that take out all flatcables from connectors. Upper flatcables is removed by pulling it away from connector. In big connector, from the bottom, you need pull black part of connector, under the cable, and than take out flatcable. In other connectors you need to remove dark gray plastic clips, by sliding it away, and after that take out flatcable.
We have removed the motherboard.
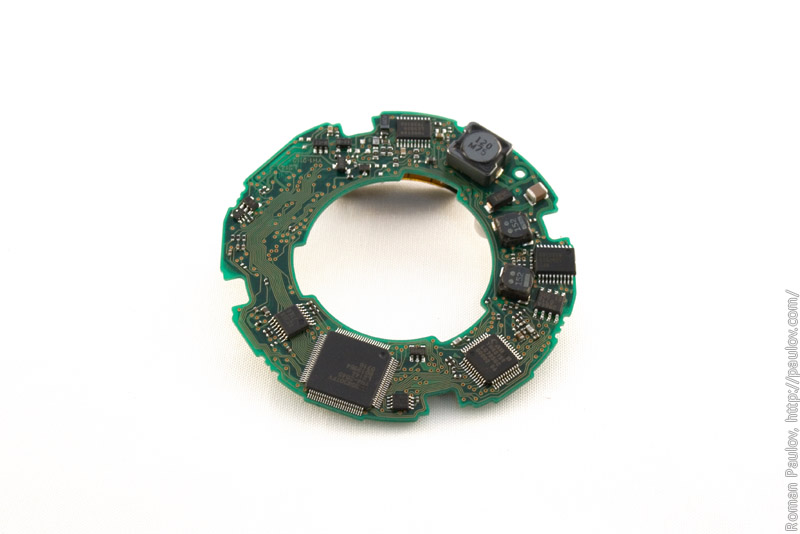
And backside of the motherboard.
Continue. Unscrew 3 screws, and remove the lens.
Lens is removed.
Unscrew 5 screws. Actually, 6 screws must be here. But my lens has only 5.
Remove plastic ring.
Unscrew 3 screws. Actually, 6 screws must be here. :)
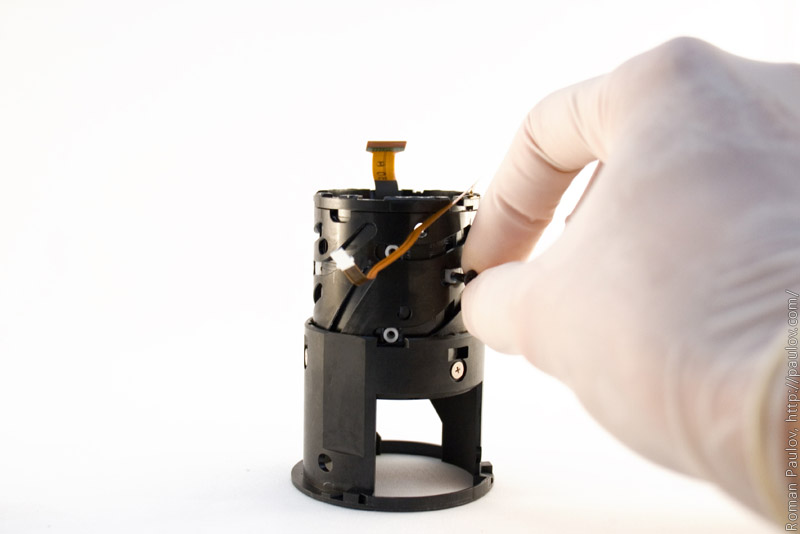
Remove zoom tube from focusing motor.
Two big parts :)
Get the zoom tube.
Unscrew 3 screws and remove front focusing element.
Front focusing element.
Unscrew 9 screws.
Remove plastic sliders. I used larger size screw for this :)
Screw larger size screw in the slider and then pull it out.
When all 9 sliders removed, you can release image stabilizer module and lens.
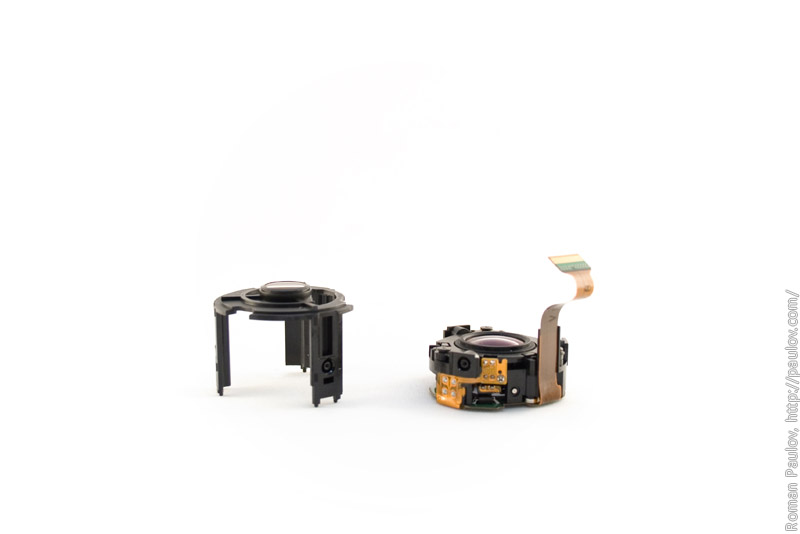
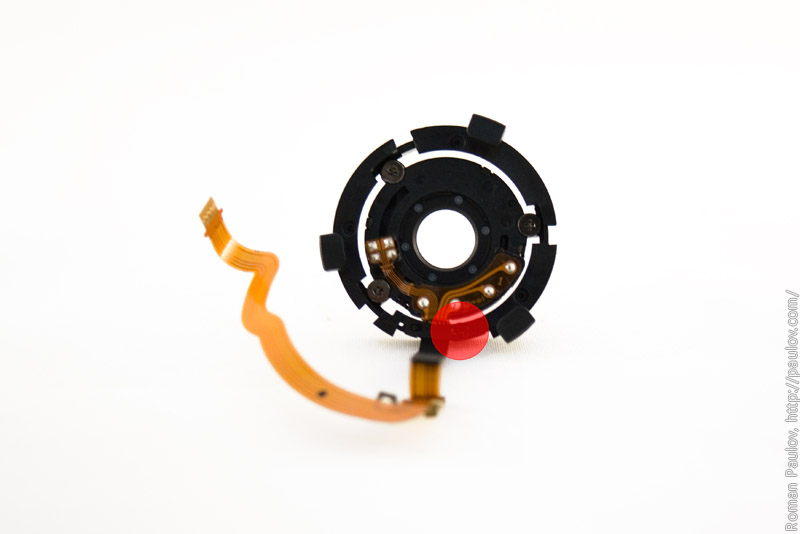
Diaphragm unit is still in the tube. Unscrew 1 screw and release flatcable to remove diaphragm unit.
The diaphragm unit.
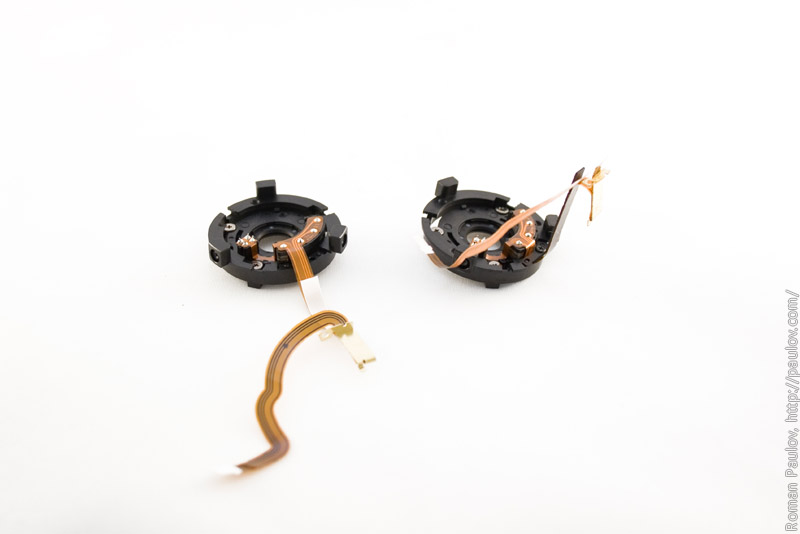
New diaphragm unit on left side, and old one on right.
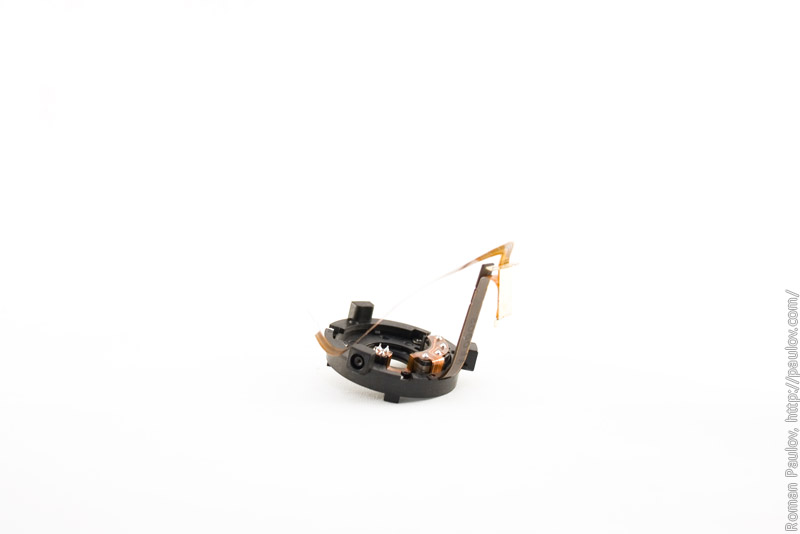
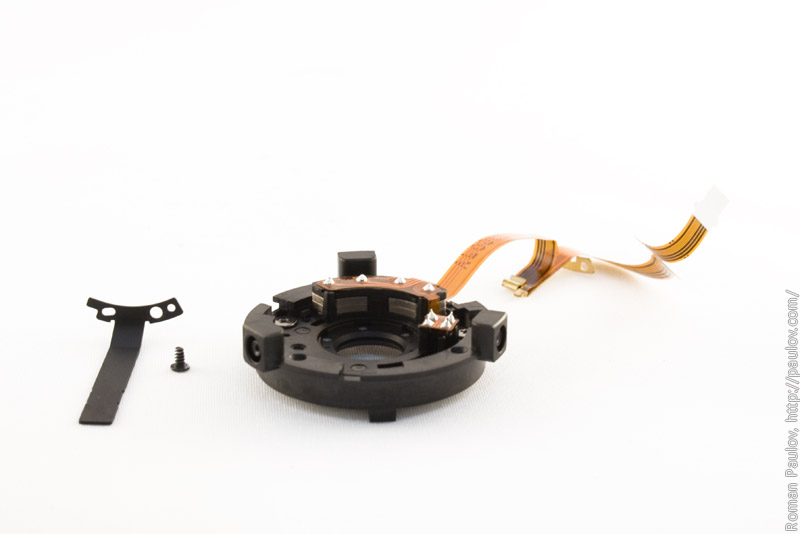
Get old one and unscrew 1 screw, after that remove metal guide.
Done.
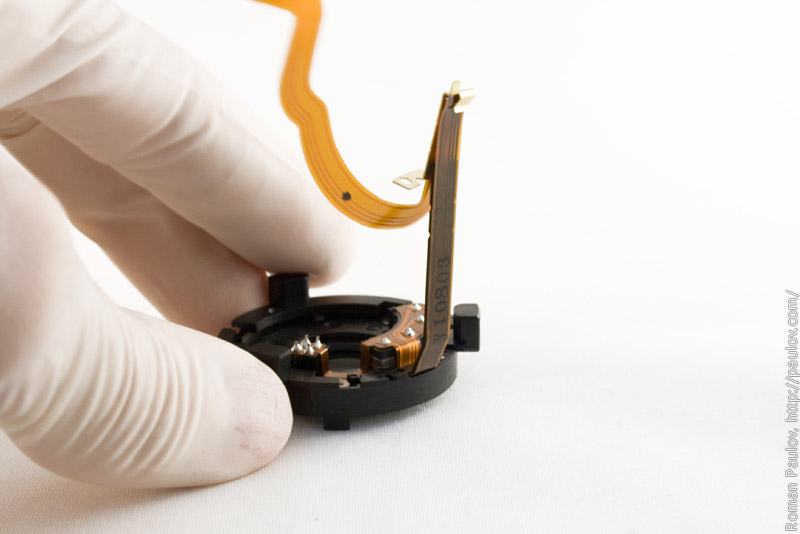
Get new diaphragm unit, metal guide and 1 screw and assembly module. Flatcable under guide.
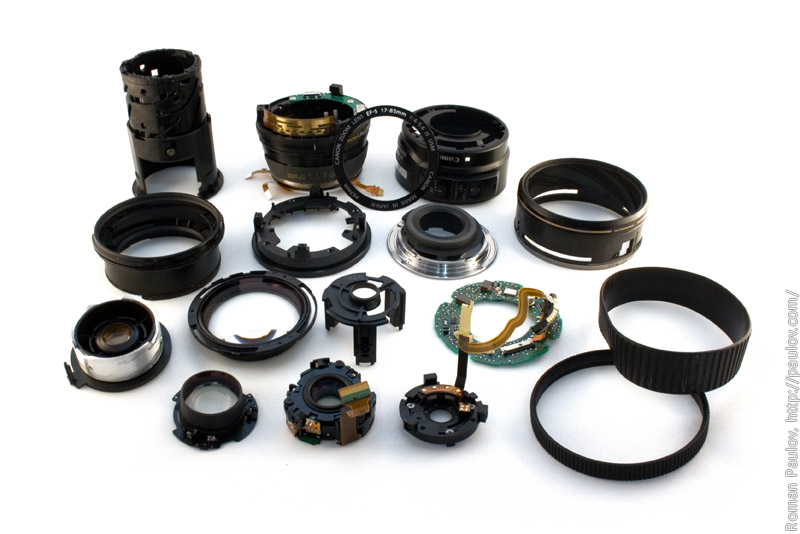
All parts on the table.
Assembly in reverse order. First off all place diaphragm unit into the zoom-tube, and fix it with sliders. After that place lens into the tube and fix it with sliders. Image stabilizer is last one. Parts orientation you can see on disassembly photos.
Thank you :)
This post also available in Russian.
Если вам понравилось, пожалуйста, не поленитесь кликнуть «мне нравится» или «поделиться» или «+1» чуть ниже, или кинуть ссылку на статью в свой блог или форум. Спасибо :)
