In one frozen day of february 2010 I bought brand new laptop. It was Packard Bell LJ75 modification LJ75-JN-101RU based on, new for that time, Intel Core i3 processor and ATI Mobility Radeon HD 5400 GPU. The first think that struck me in new laptop — it’s almost not heated, in comparison with my old Samsung R40. Packard Bell stay cold even on two hour of HD filming on sofa. It was really cool! But as time passed, I began to notice that temperature of my laptop is growing. It’s time to disassembly and clean my laptop.
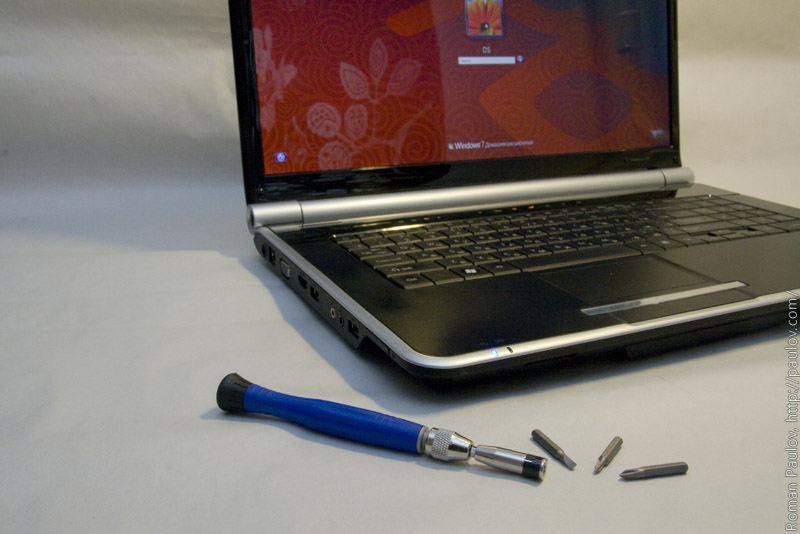
For disassembly we need philips screwdriver PH.1 and PH.000 sizes. Also we need flathead screwdriver 2 or 3 size. Better to use magnetic screwdrivers. All screws in this laptop for philips screwdriver. Most of them are unscrewed by PH.1 size screwdriver. PH.000 is only for 3 fan screws. Flathead screwdriver is only for opening latches.
There are few different types of screws used in this laptop. They can be divided by two groups — with big cap and with small cap. Small cap screws used in bottom of laptop and holds lcd screen. Big cap screws used in other places. There are two lengths of big cap screws — 5 mm and 3 mm. 3 mm big cap screws is only 3 — 2 of them in hdd 1 bay, and one under the keyboard.
This is not a official guide. All responsibility is on you. Remember: after disassembling the device, you lose your warranty!
Let the disassembling begin.
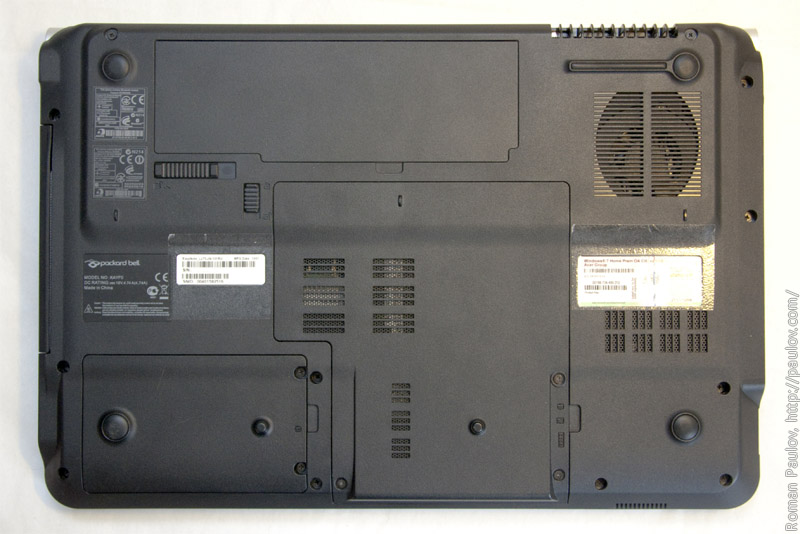
Turn laptop on the cover.
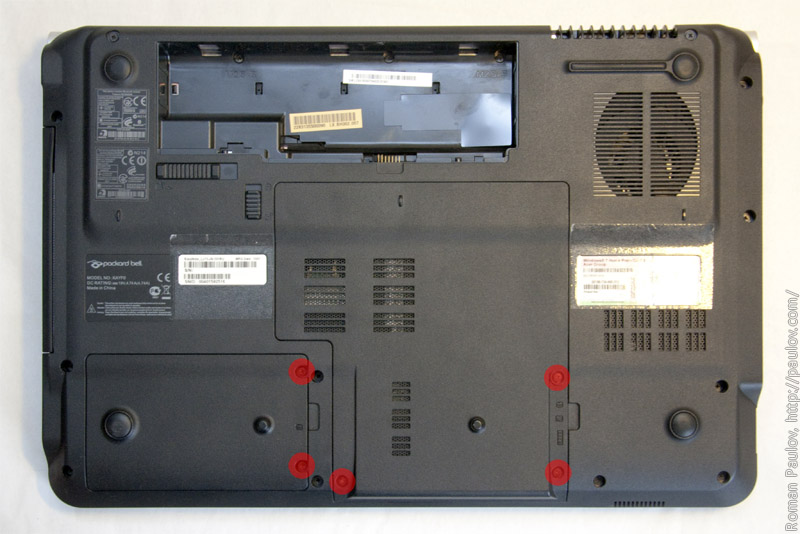
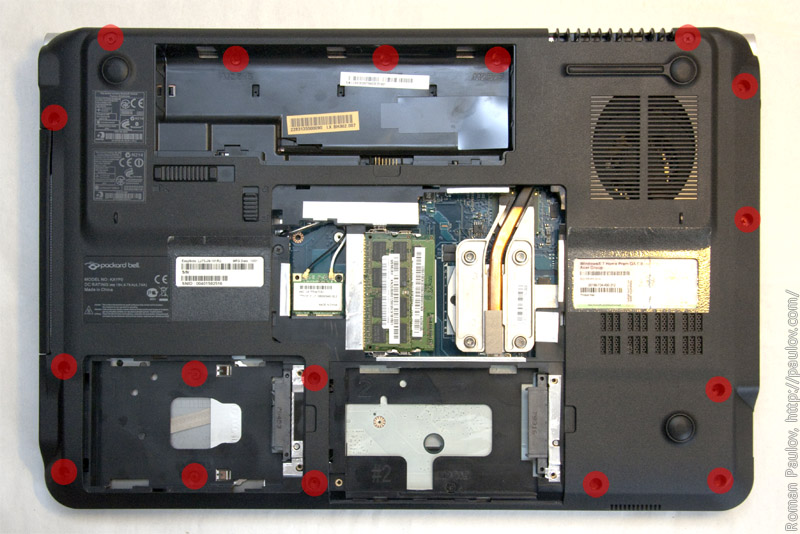
Remove battery, and unscrew marked screws, that holds hdd-bay and memory-bay covers.
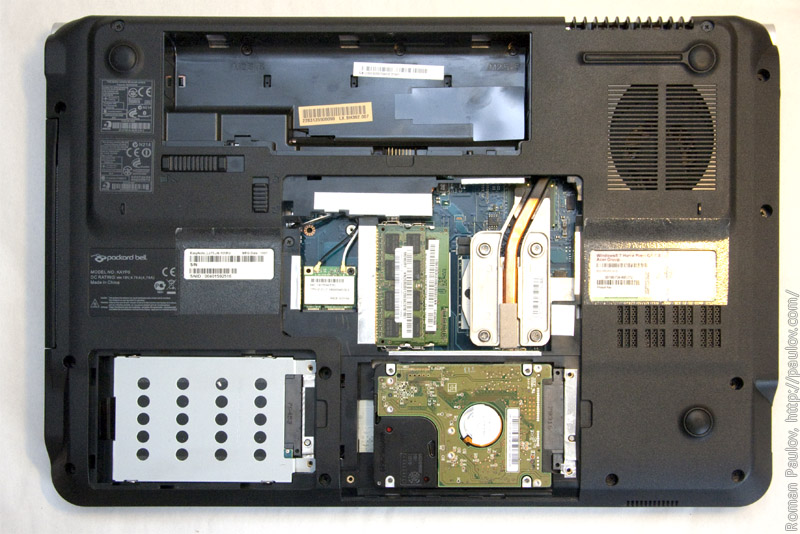
Remove covers.
Remove HDDs and after that unscrew marked screws, that holds bottom part of laptop.
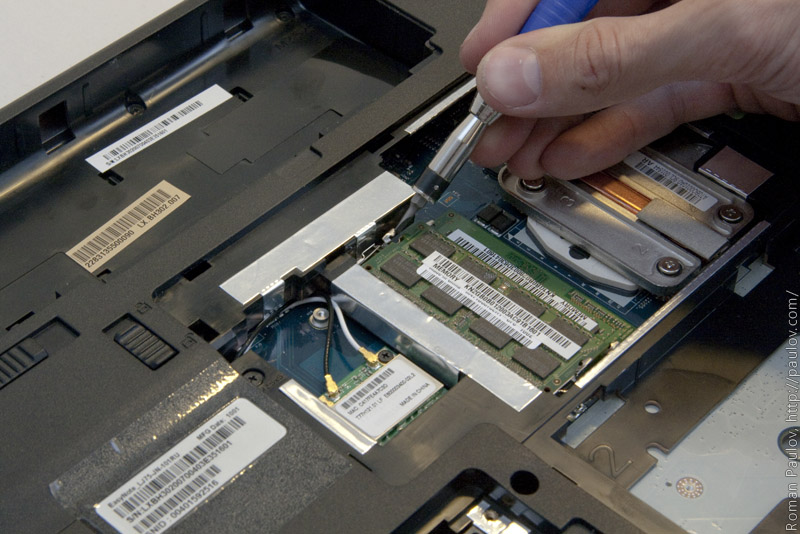
Remove DDR modules.
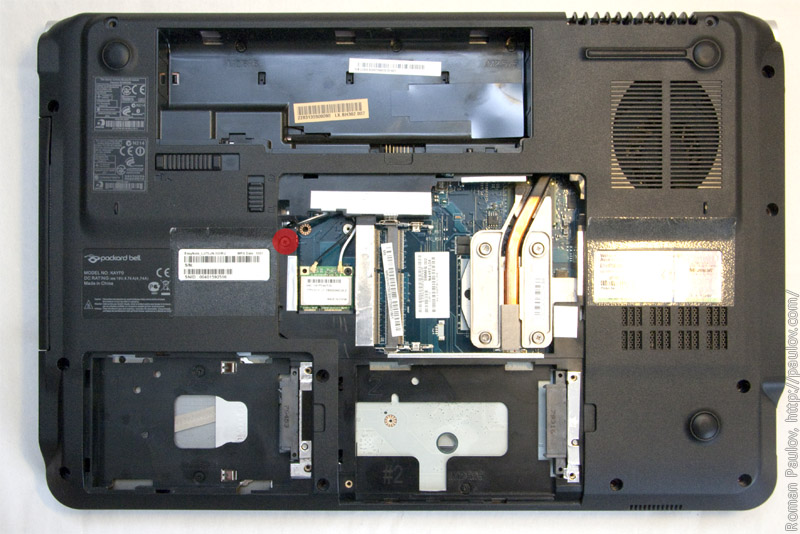
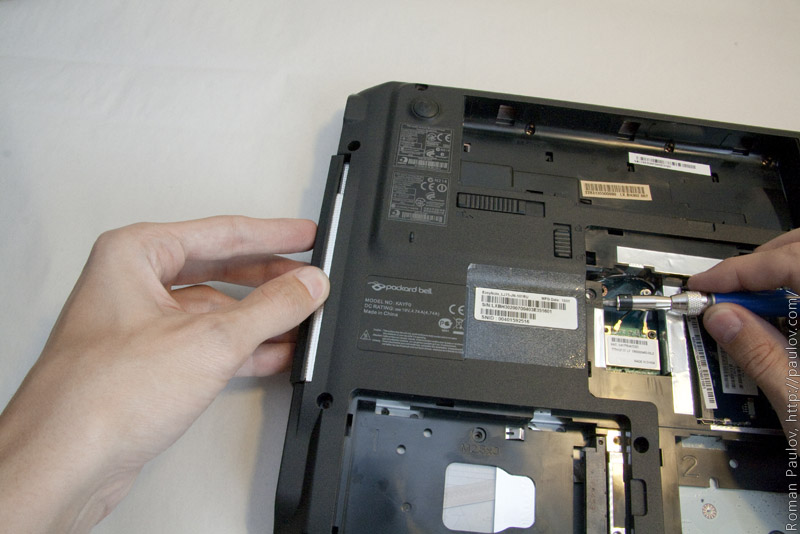
Unscrew 1 screw that holds DVD-ROM.
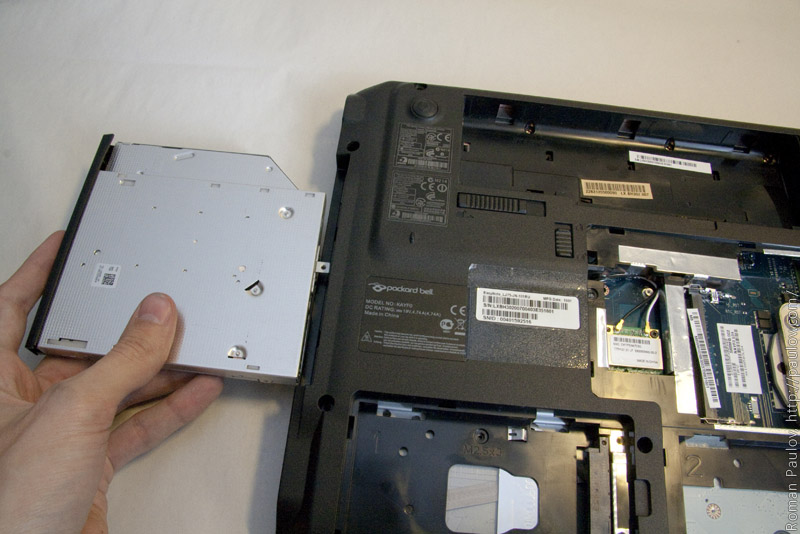
Remove DVD-ROM. You may need press little bit by screwdriver.
Done.
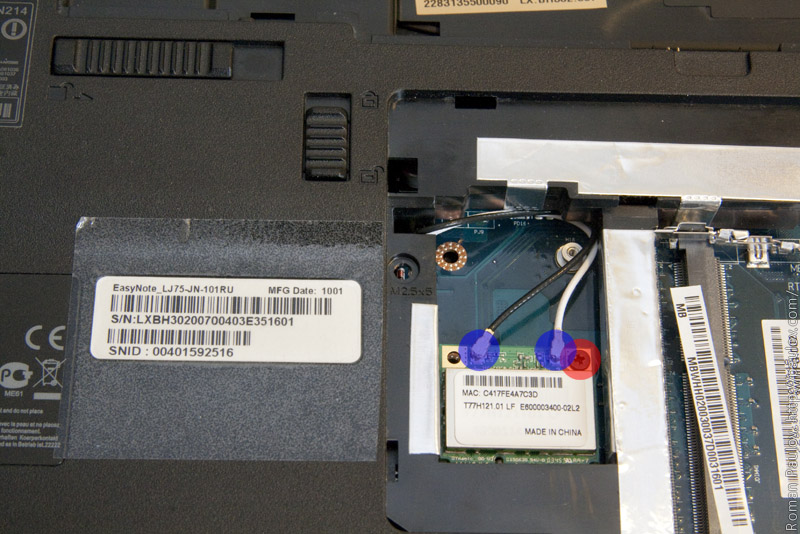
Release antennas from WiFi card, and unscrew 1 screw.
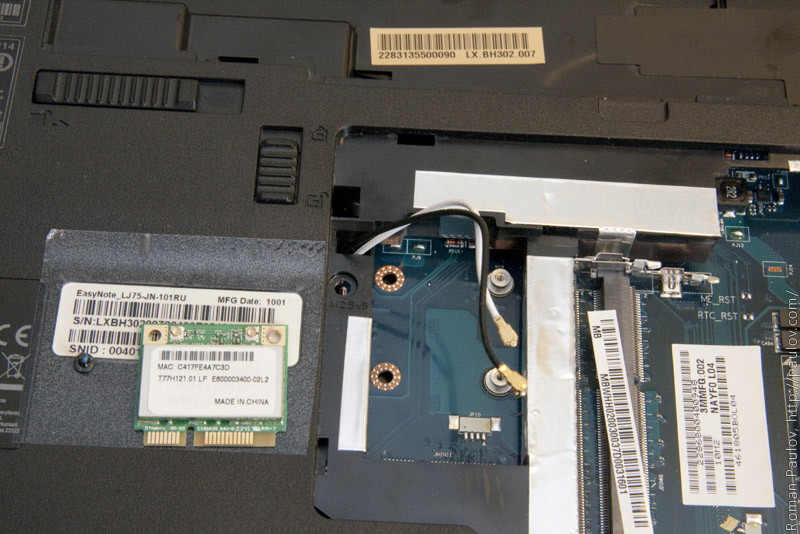
Done.
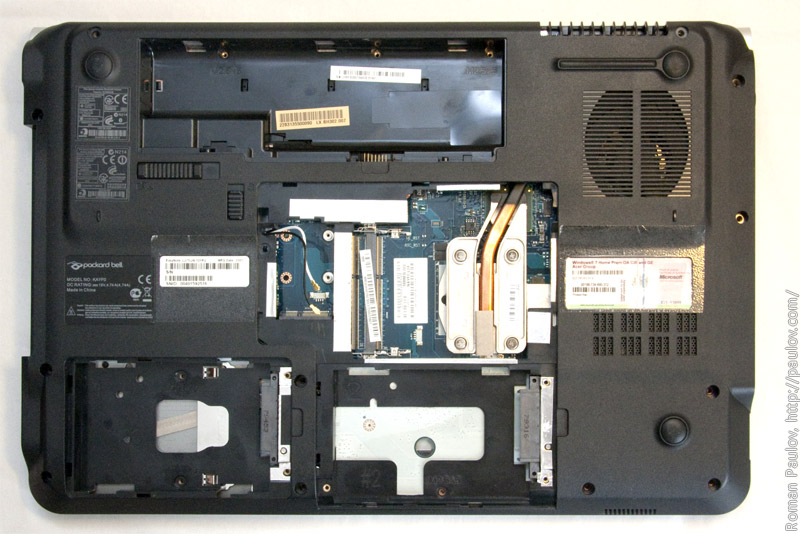
It’s all done under. Turn the laptop.
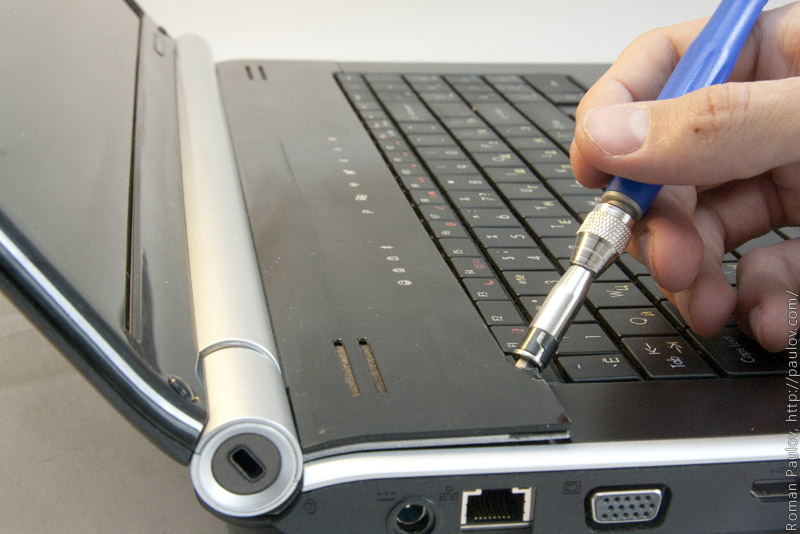
Carefully hook in this place using flathead screwdriver.
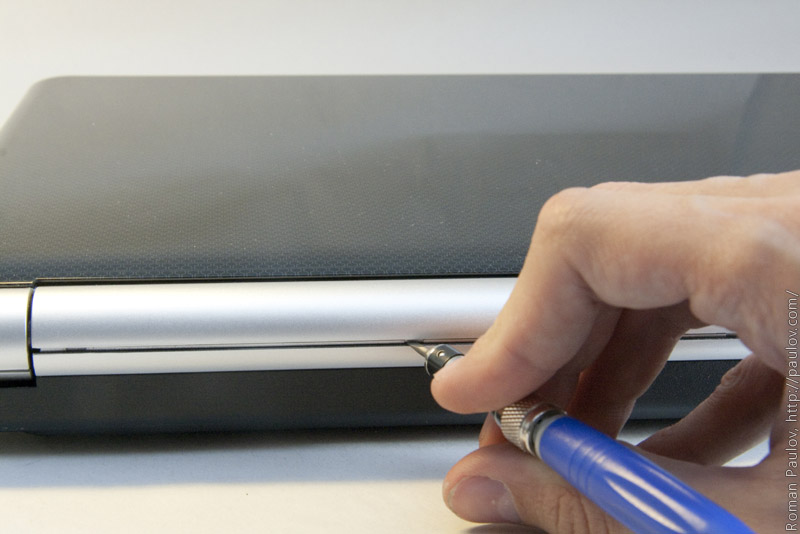
Open latches from rear side.
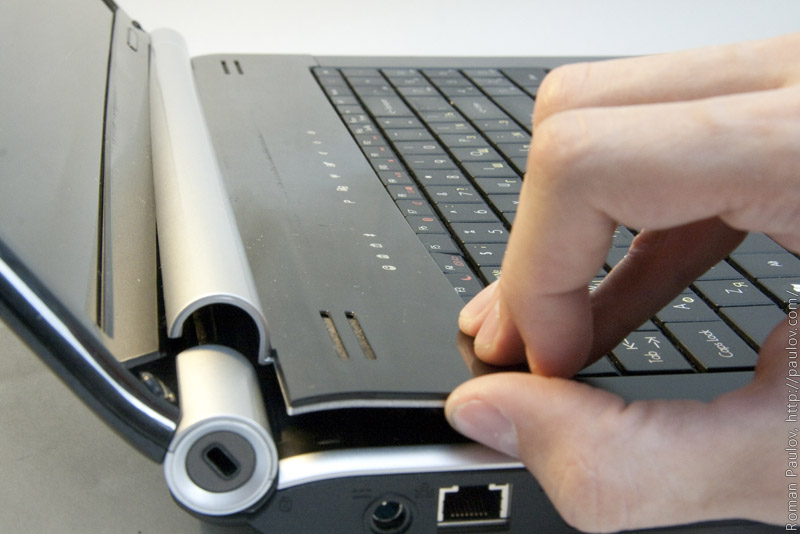
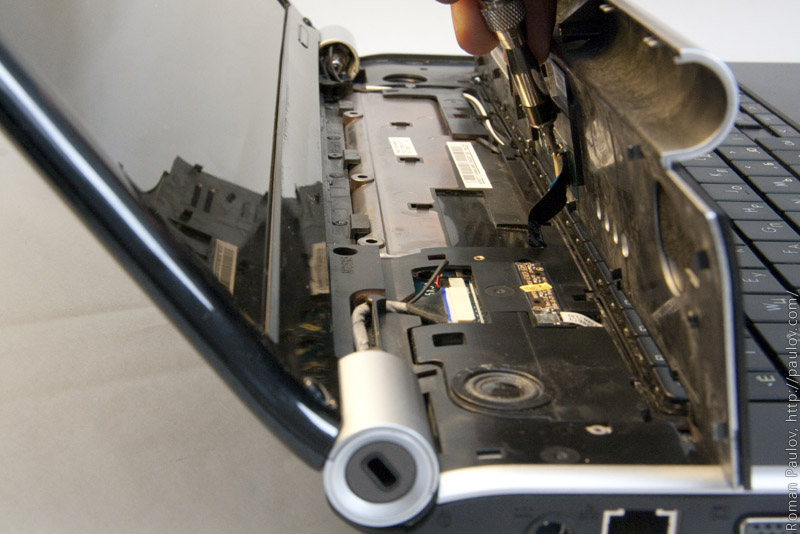
Carefully pull this part up, but not so strong. There is a flatcable connected to this part in the middle.
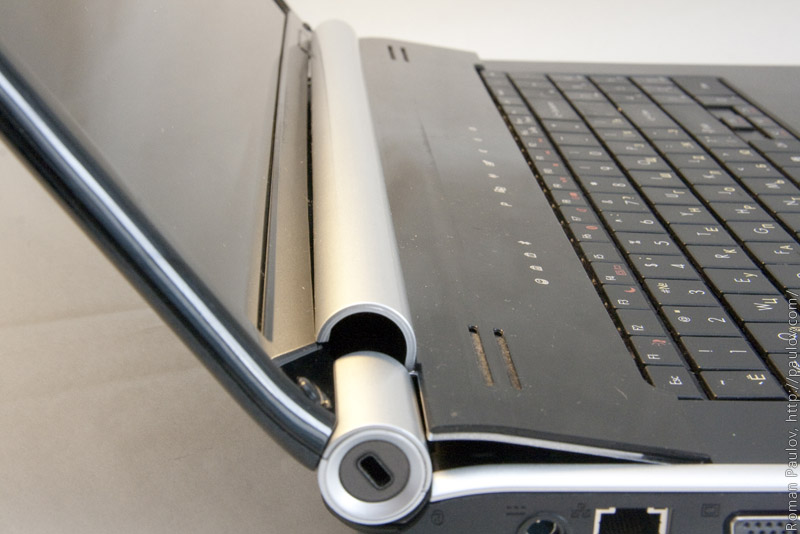
Part is released.
Release flatcable connector, and remove the part.
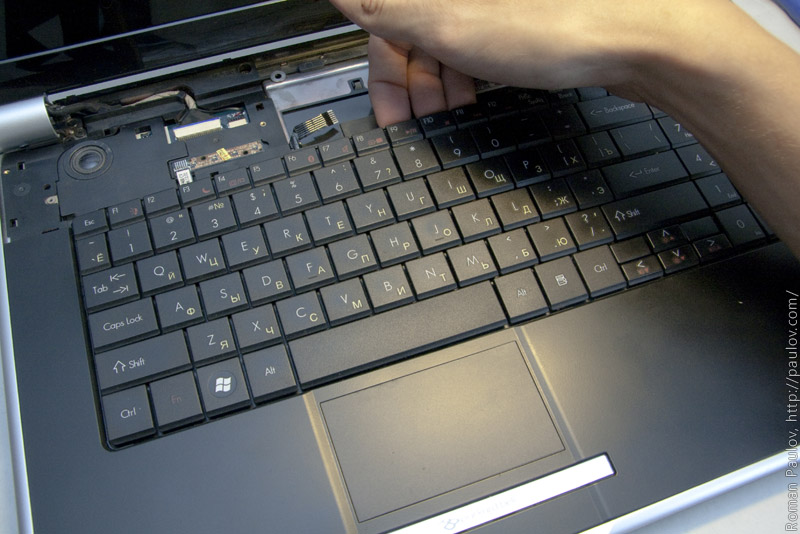
Hook keyboard little bit, and release keyboard from right top latch. Left top latch is released easily.
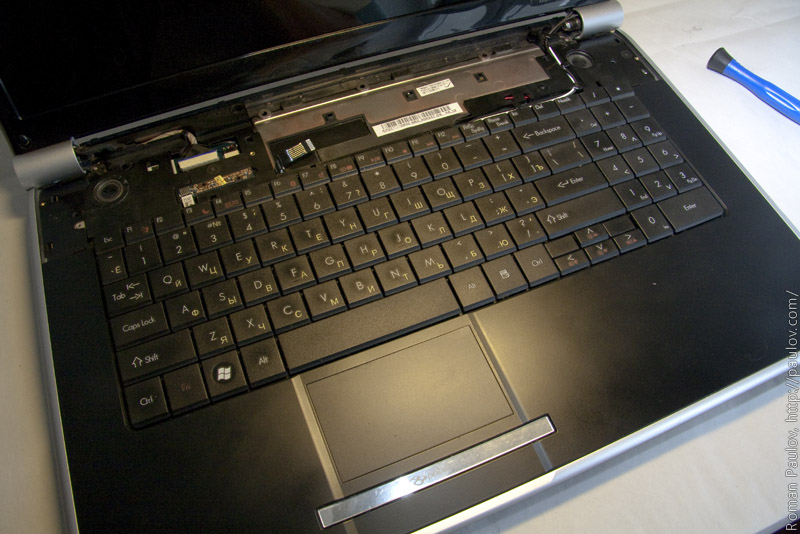
When you free the keyboard, slide it on touchpad.
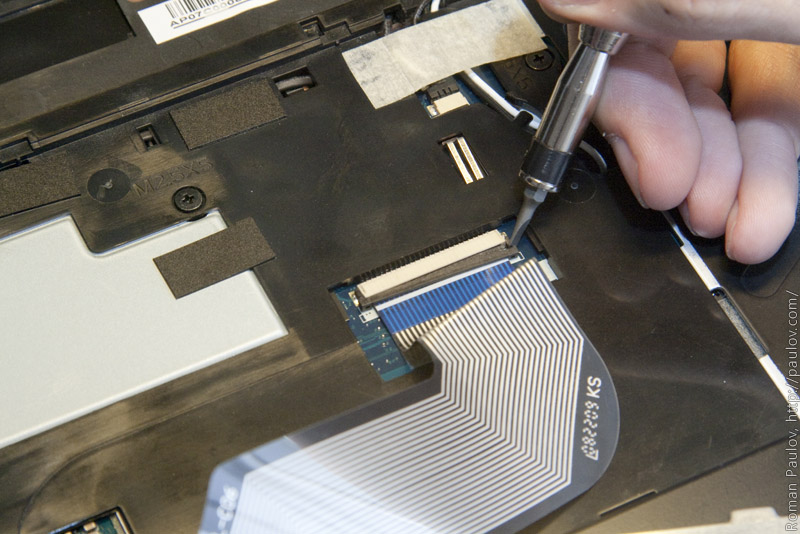
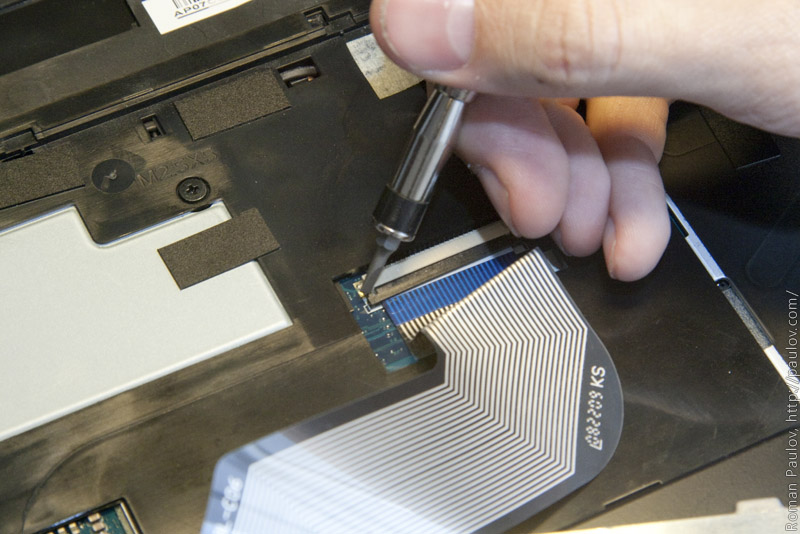
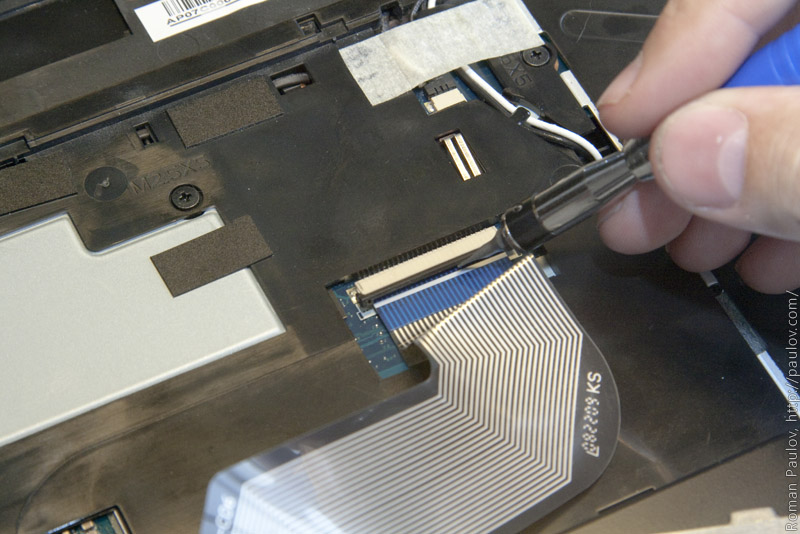
We need release keyboard flatccable. Black part of the connector is locker. Release right side of the locker.
Then release the left side.
After that pull up locker and release flatcable.
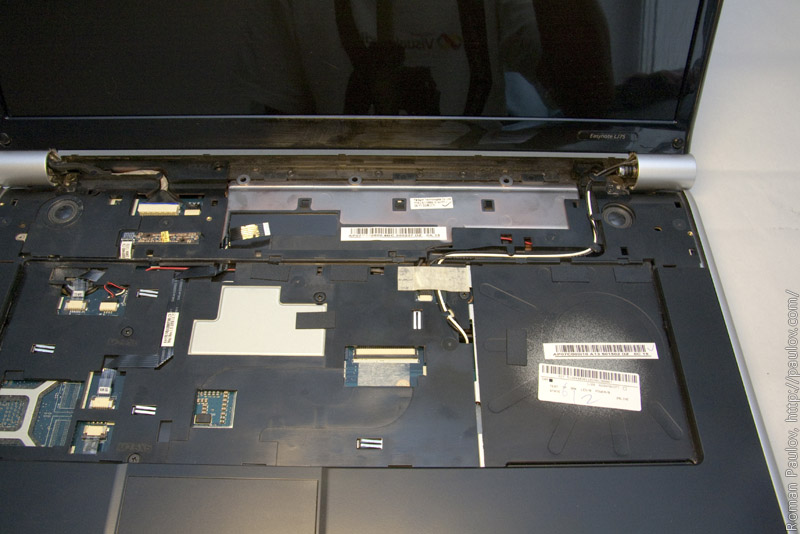
Done. Keyboard is removed.
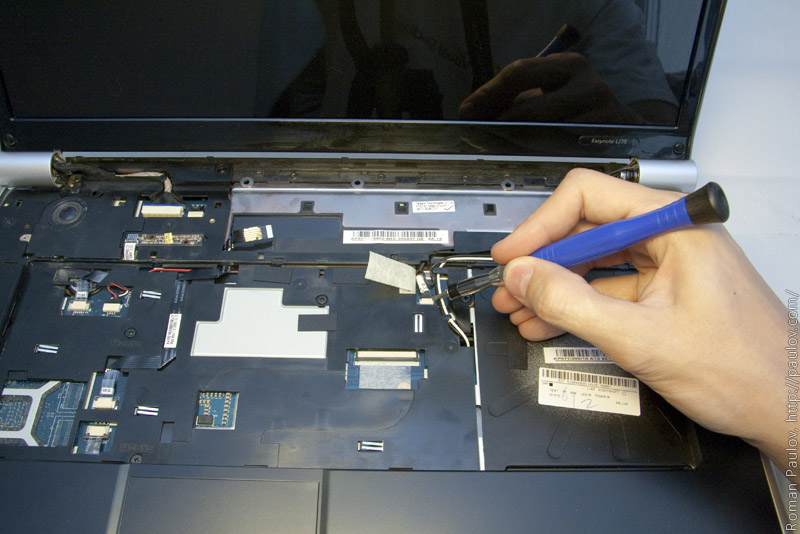
Disconnect power button connector.
Disconnected.
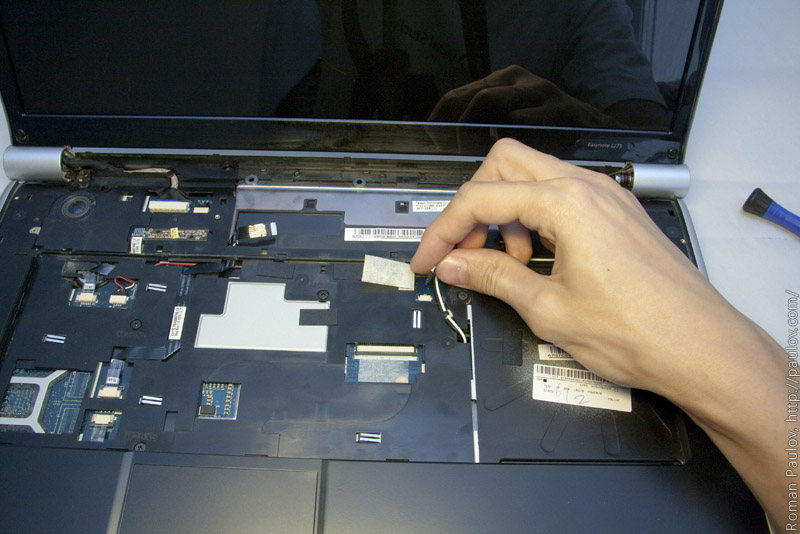
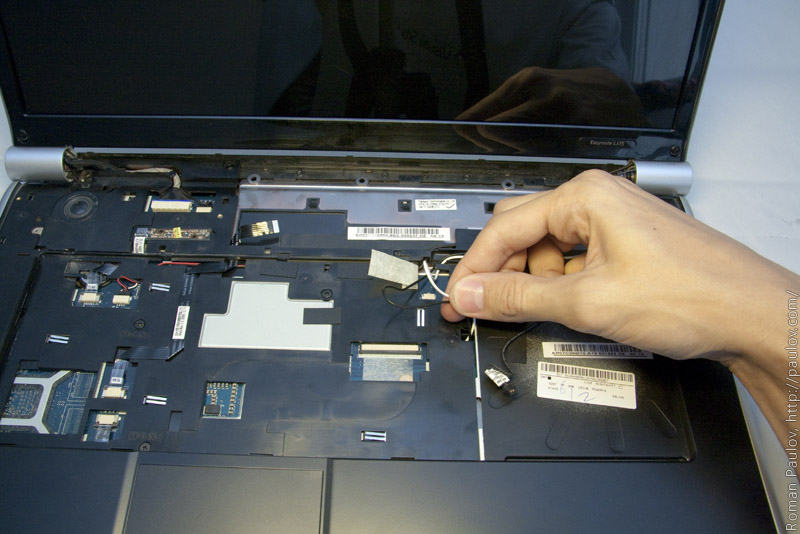
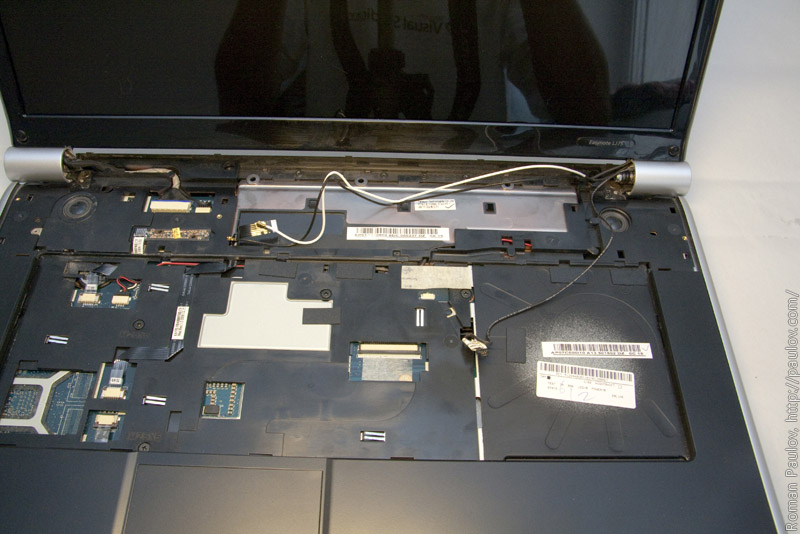
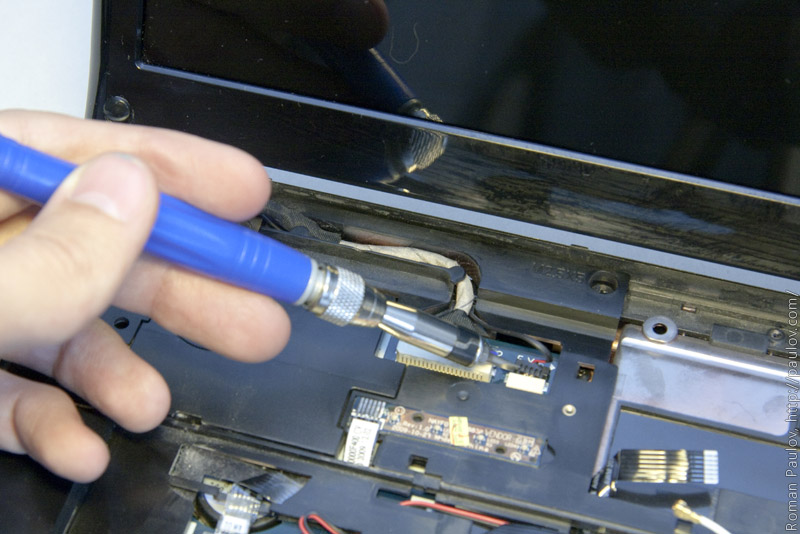
Pull out all antennas.
All antennas here.
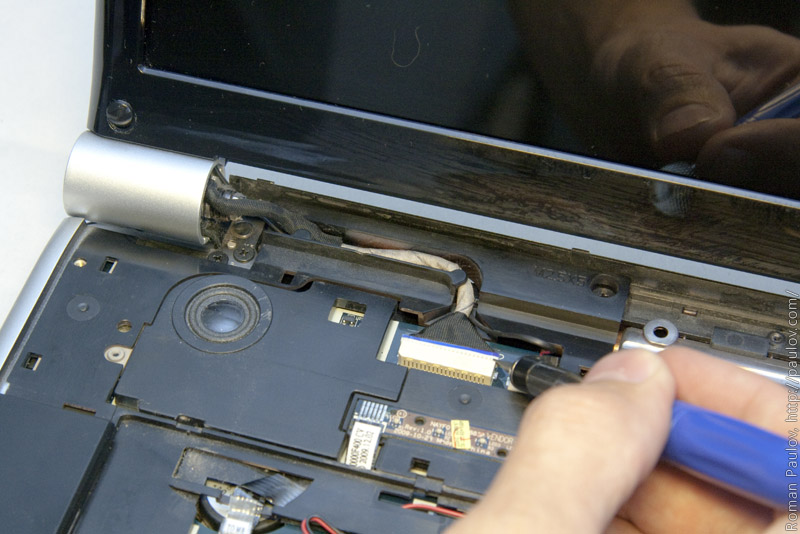
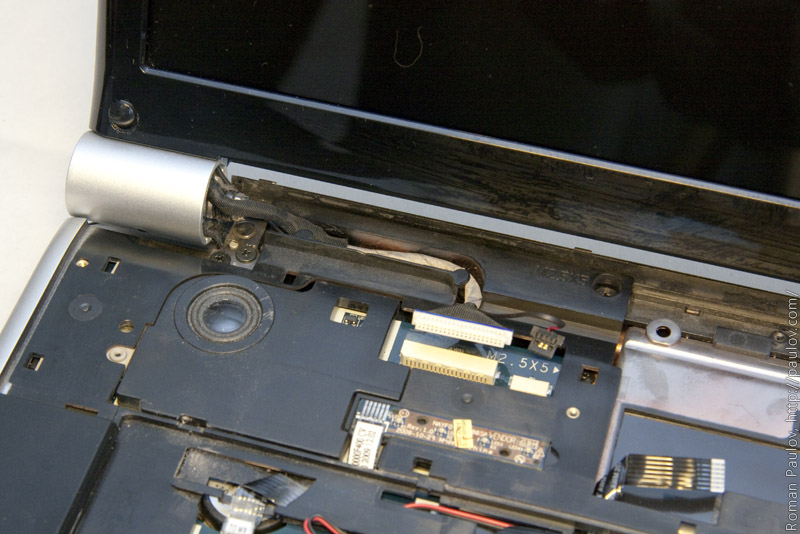
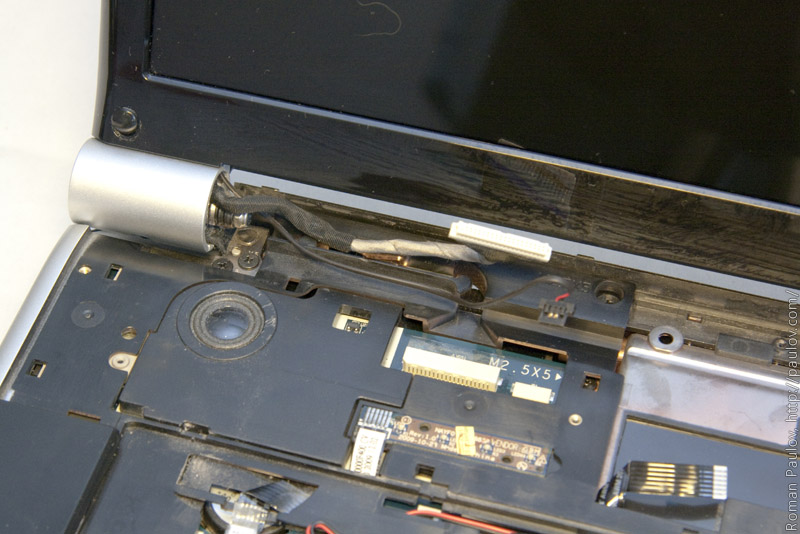
Disconnect video connector.
Disconnect web-camera connector.
Done.
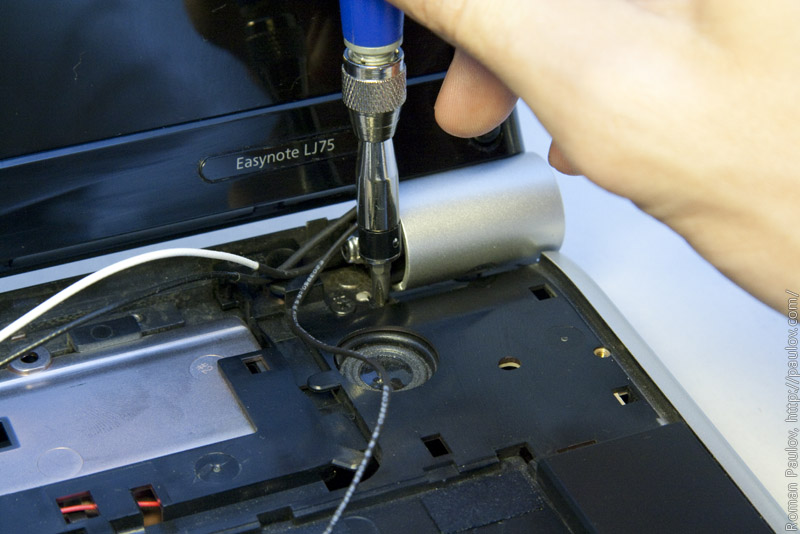
Release wires from wire-channel.
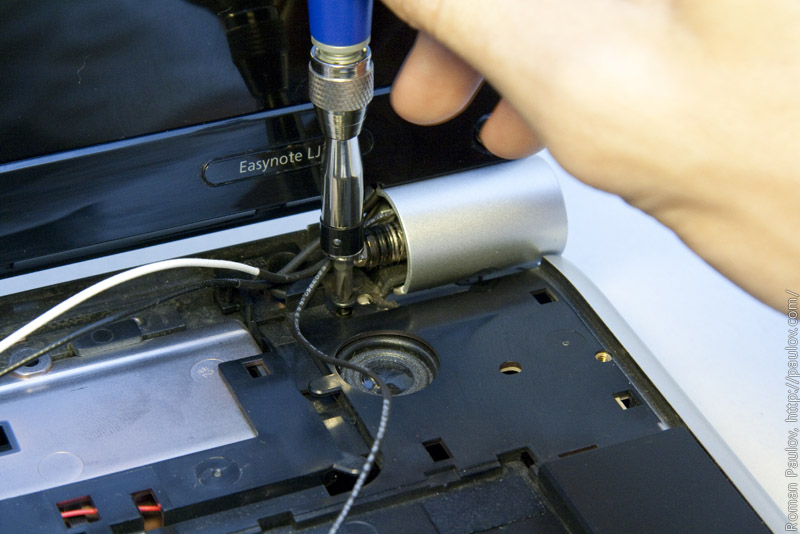
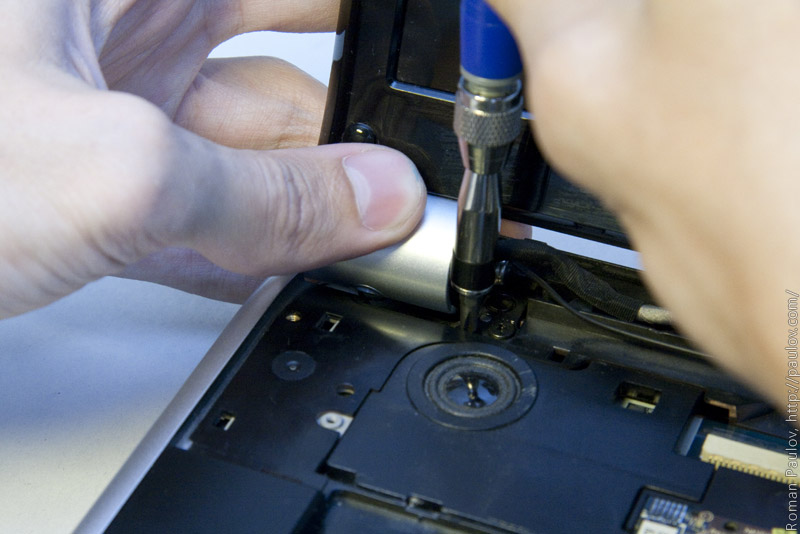
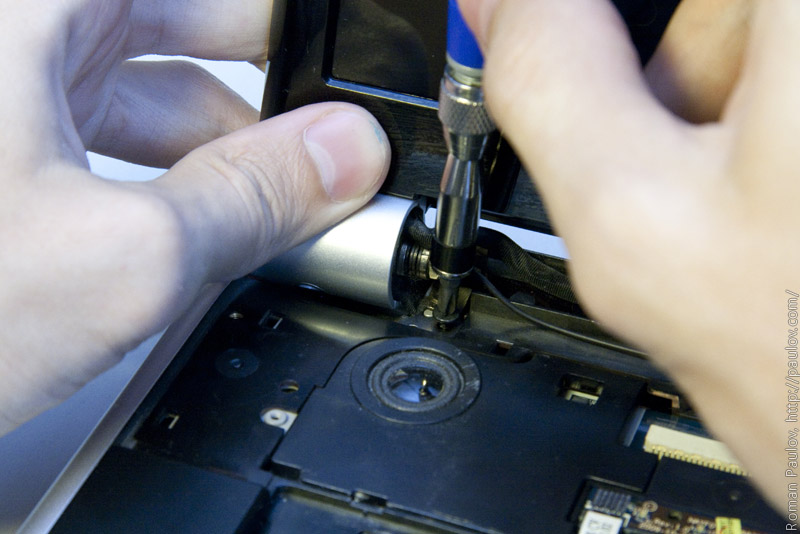
Unscrew 4 screws, that holds cover with LCD.
Second one.
Third one.
And last one.
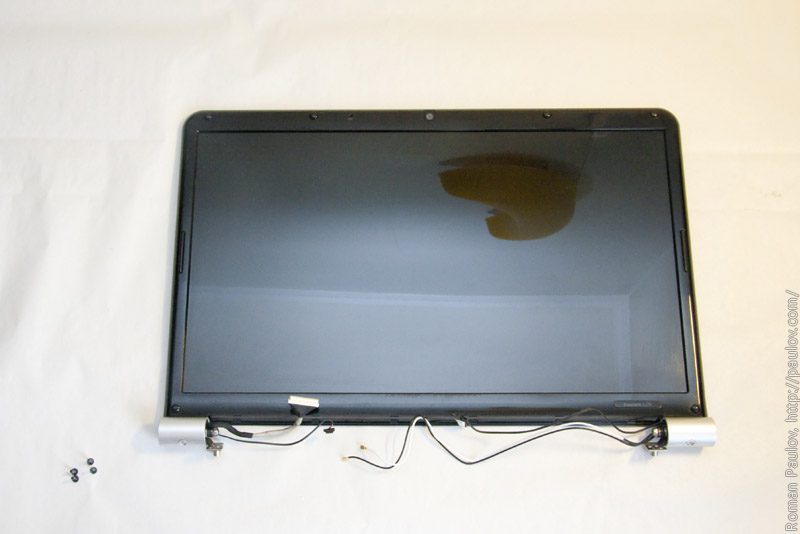
You can easily remove cover with LCD screen.
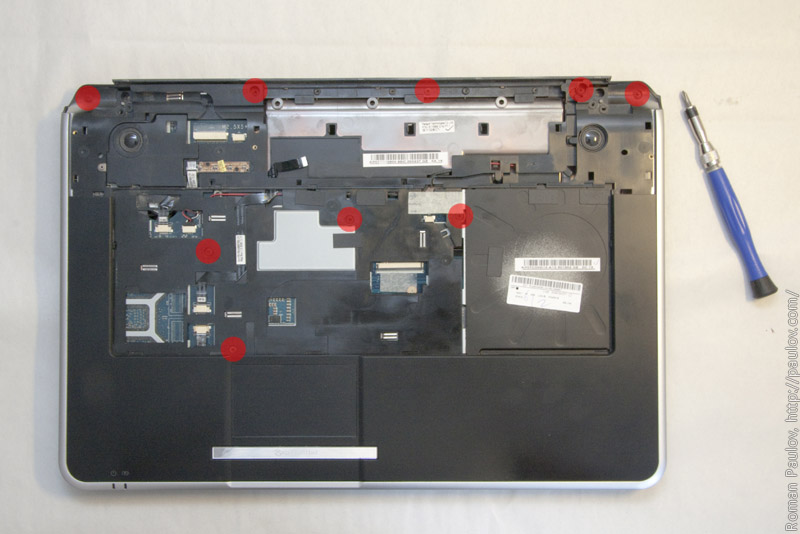
Unscrew marked screws. There is M2.5×3 screw in the top row in middle.
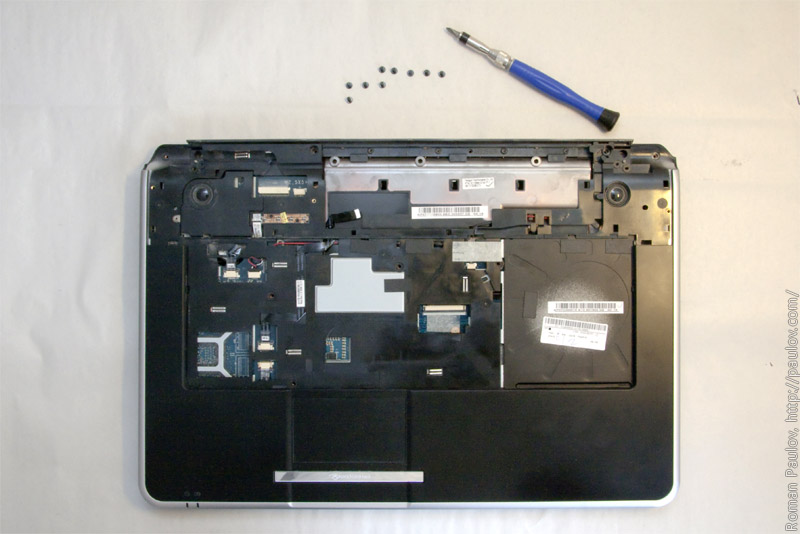
Done.
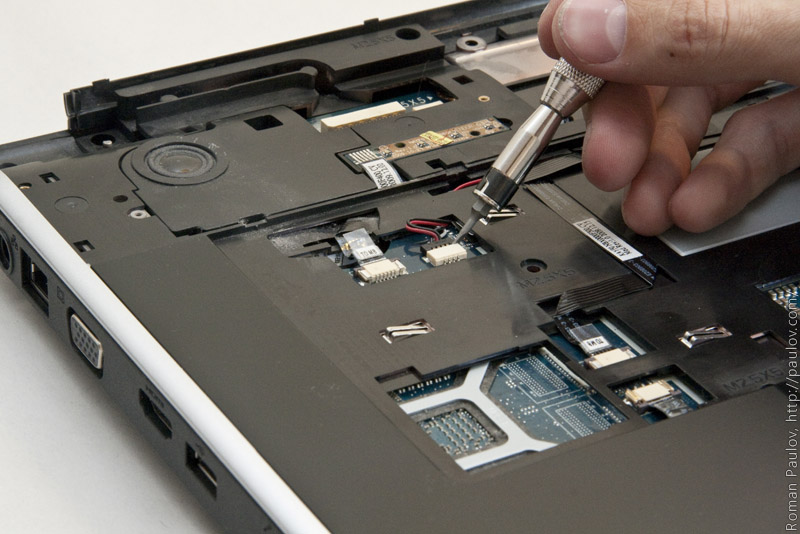
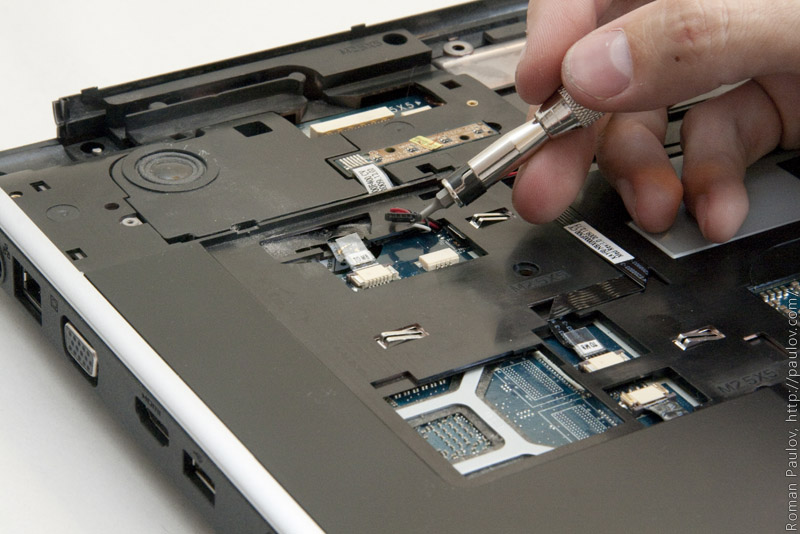
Release other connectors.
I use flathead screwdriver for this operation.
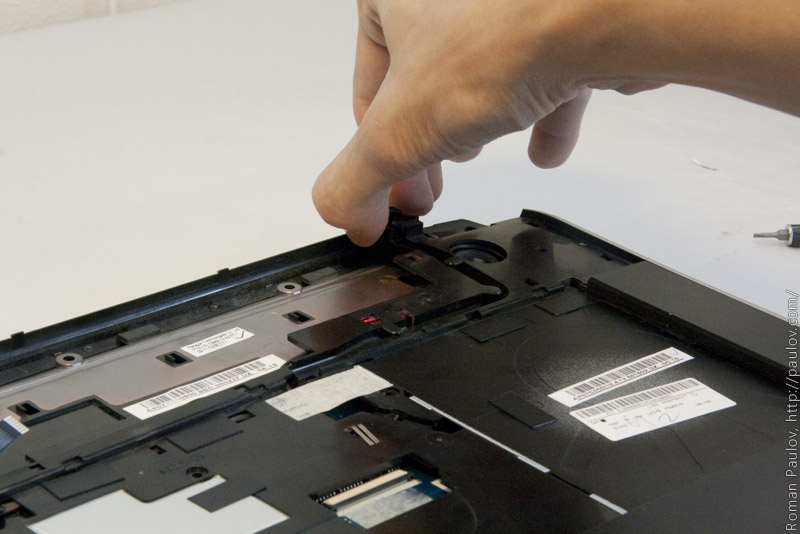
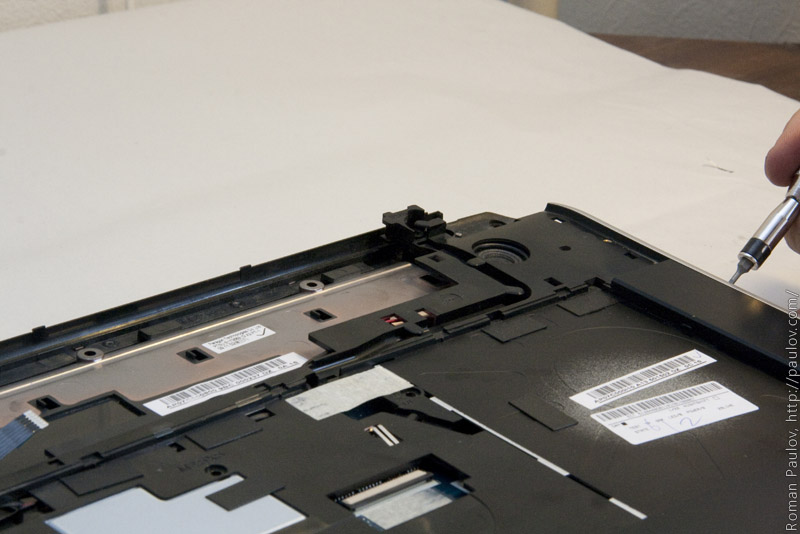
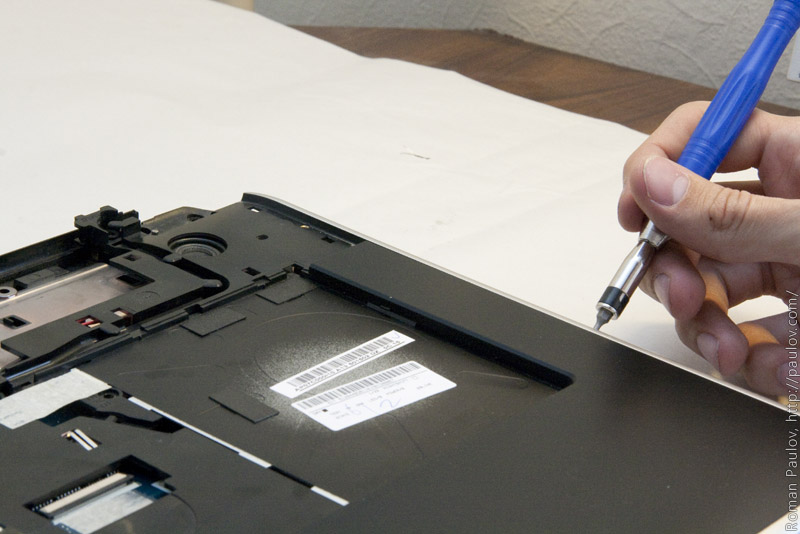
Remove top part of the housing. I started from this place.
Release latches in DBD-ROM bay by flathead screwdriver,
There are few latches :)
And remove top part.
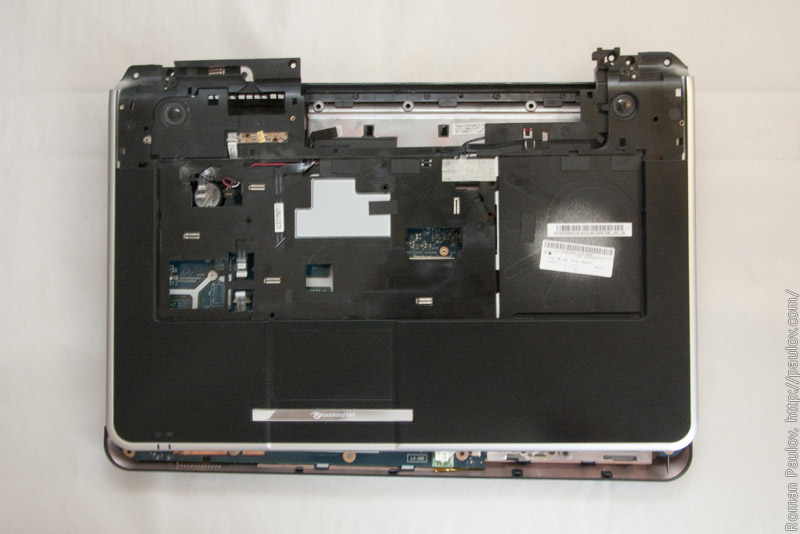
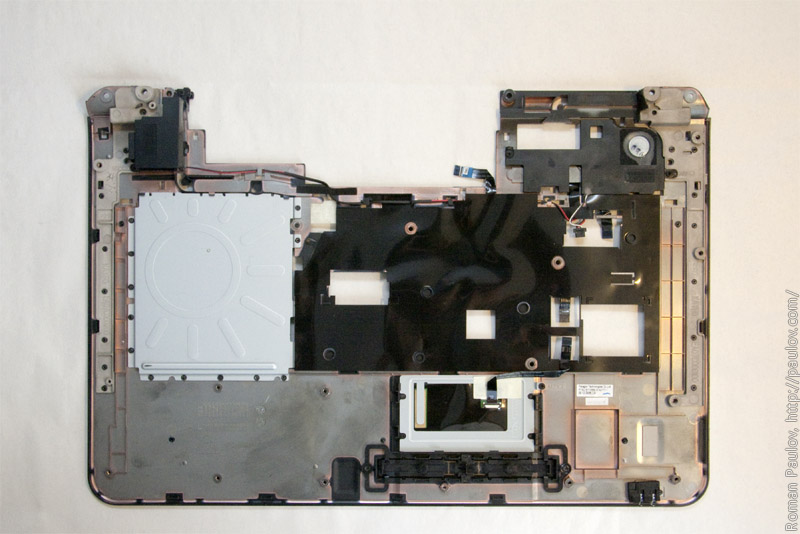
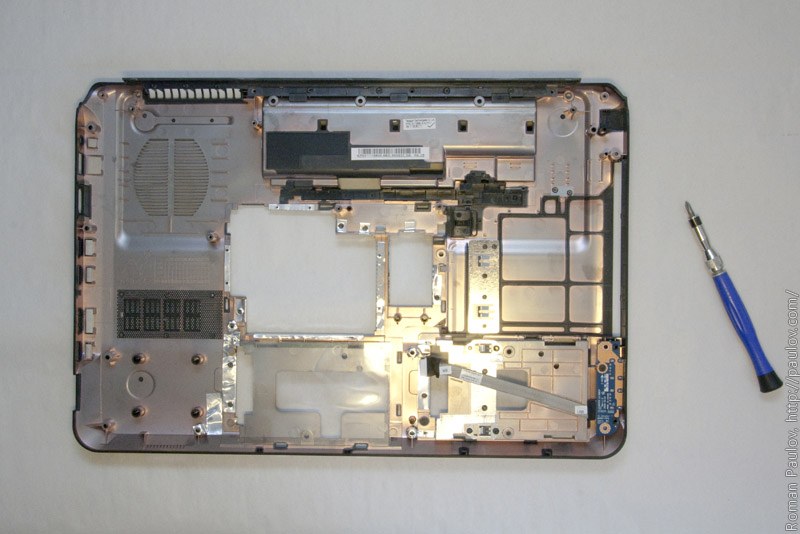
The top part.
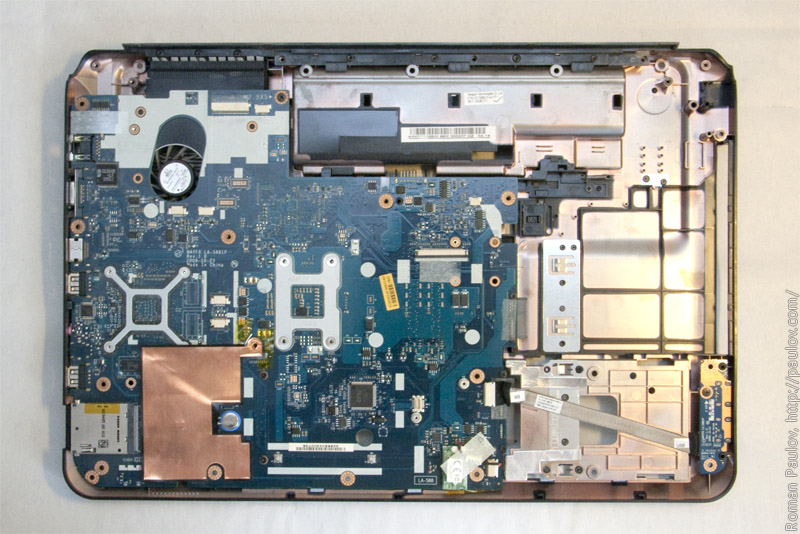
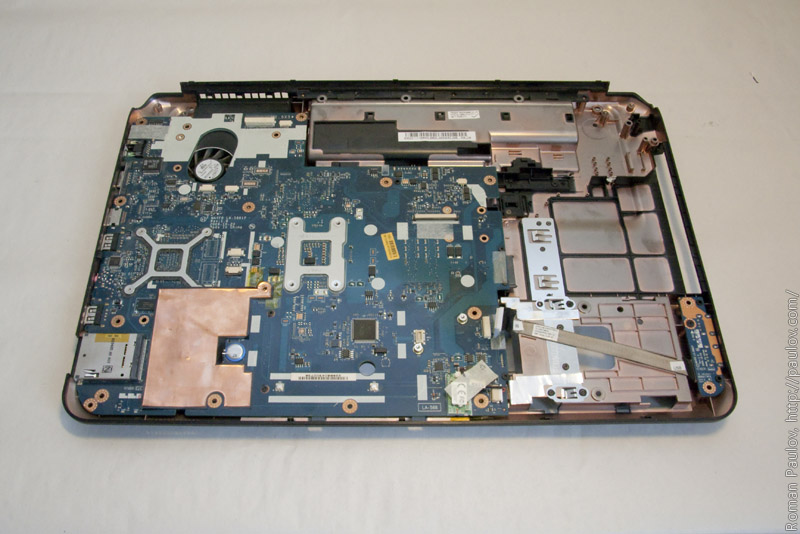
The bottom part with motherboard.
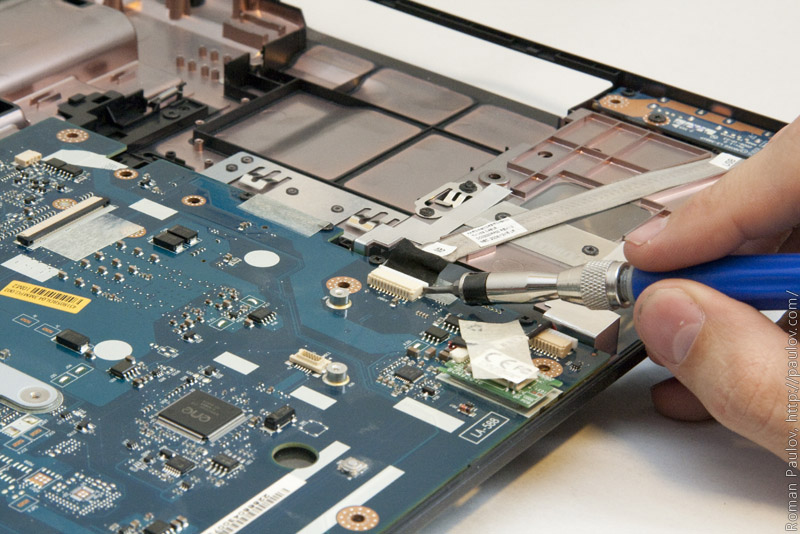
We almost done. Release this connector.
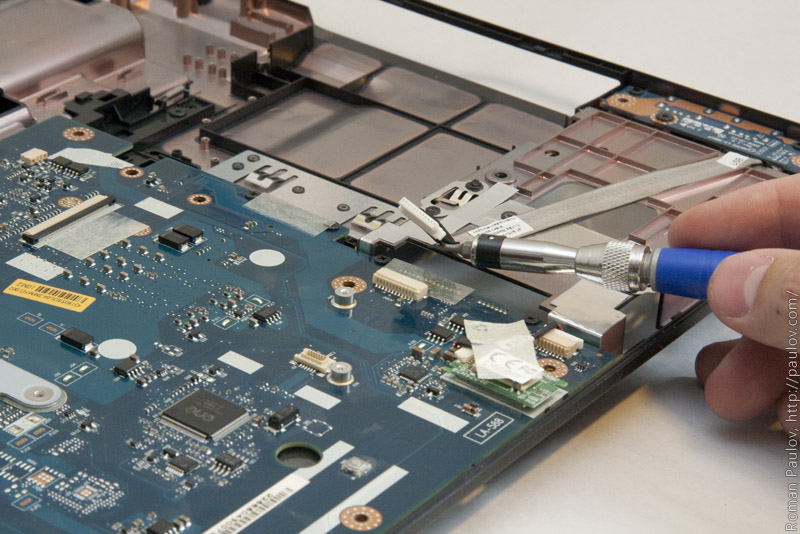
Connector is released.
Unscrew 1 screw that holds motherboard. Yes, yes, motherboard is held only by 1 screw!
Done.
Pull up the motherboard to remove them.
Disconnect fan connector.
Done.
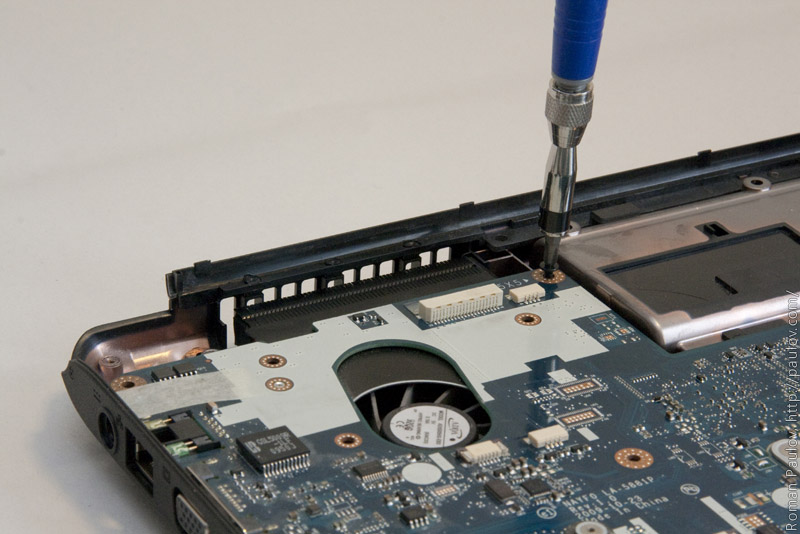
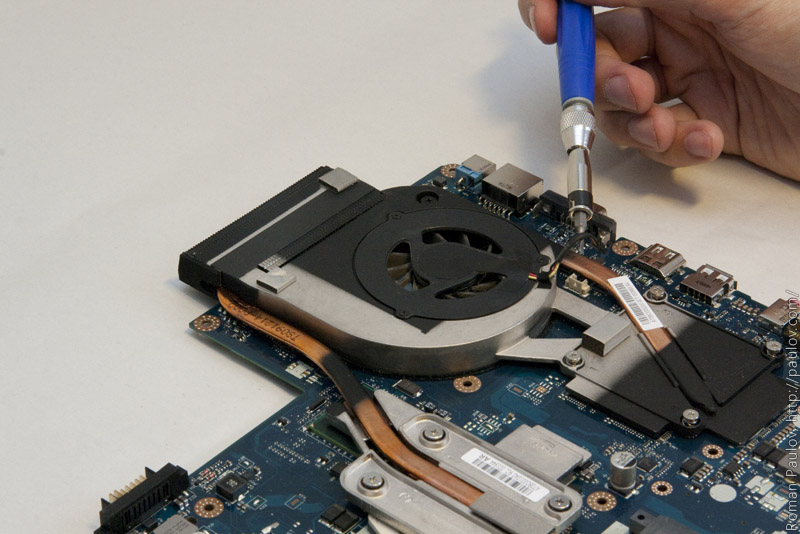
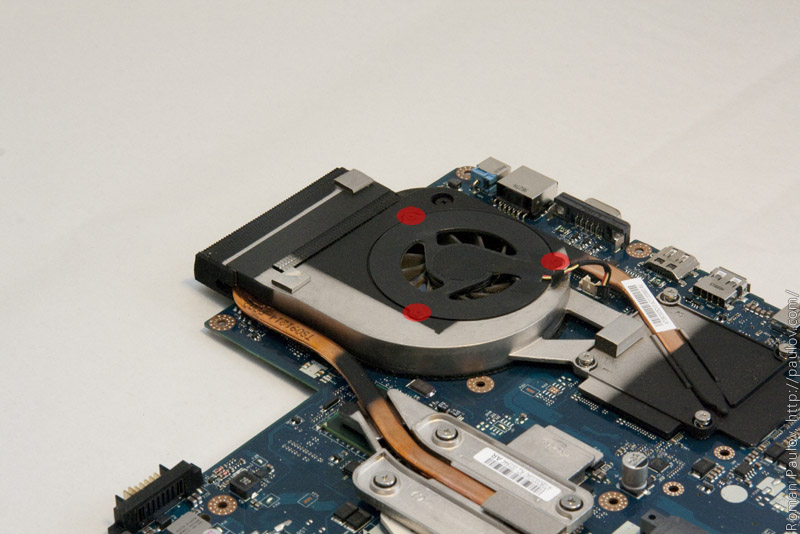
Unscrew 3 small screws.
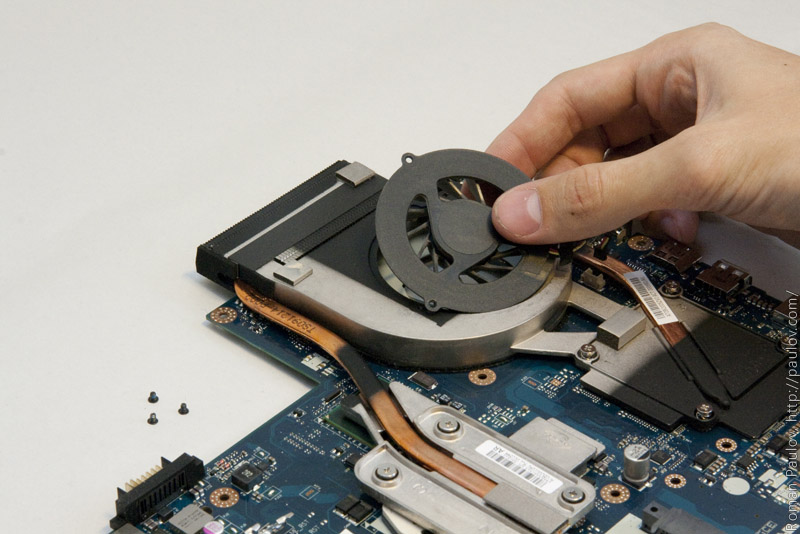
Remove fan.
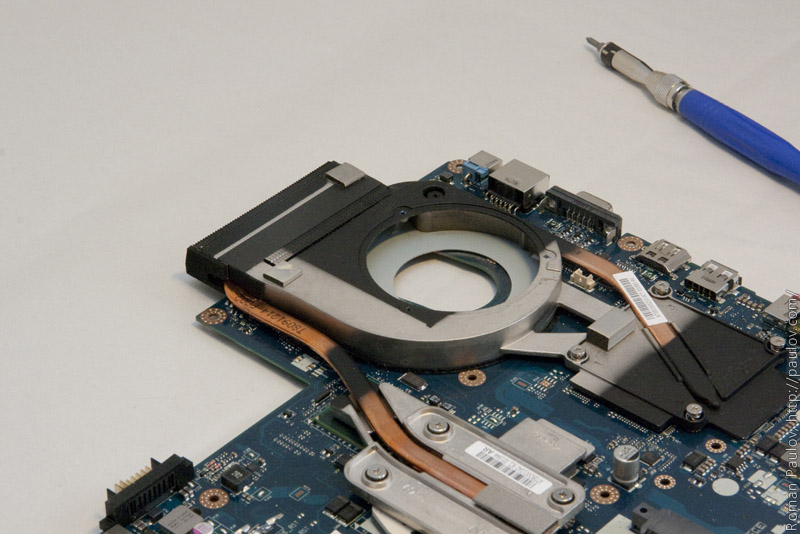
Done.
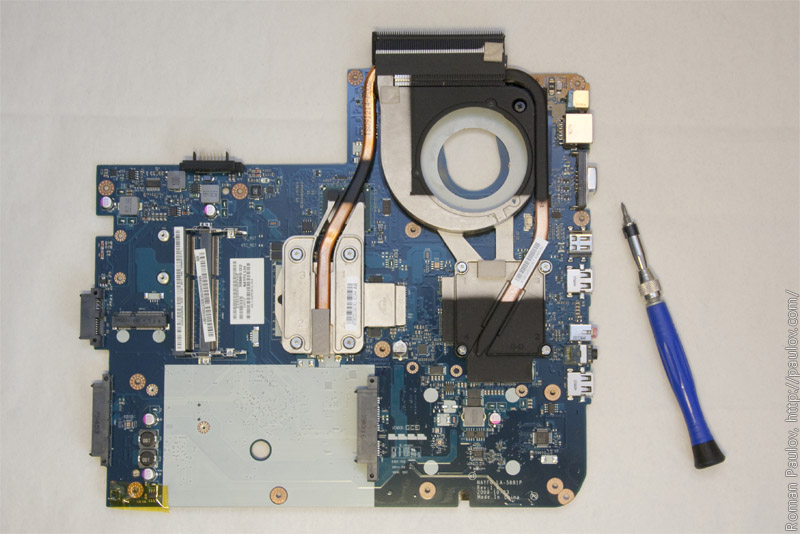
The motherboard.
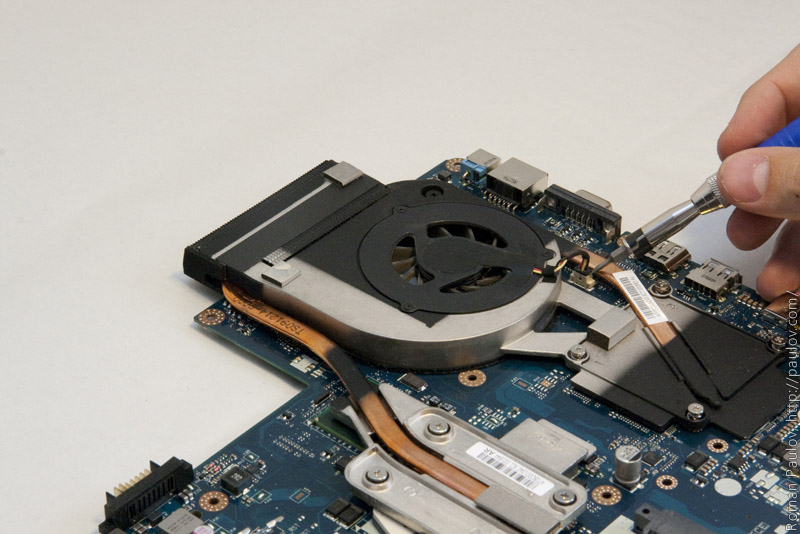
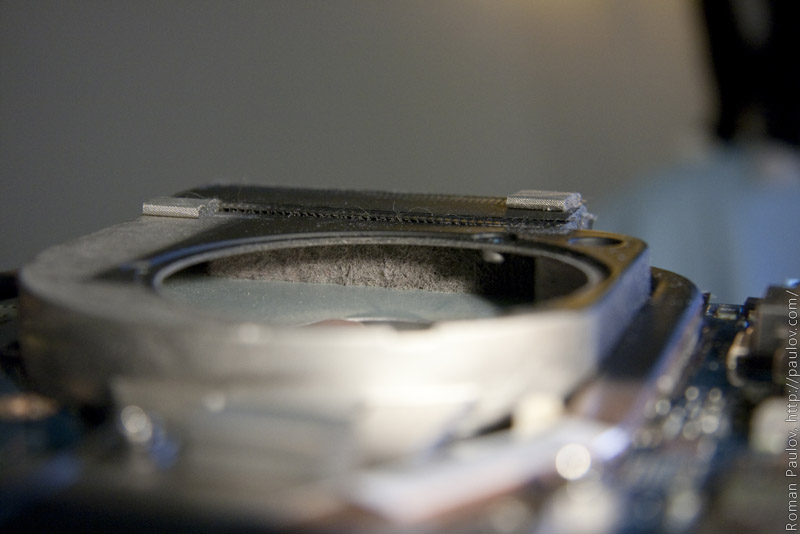
Look inside cooling system. OMG!
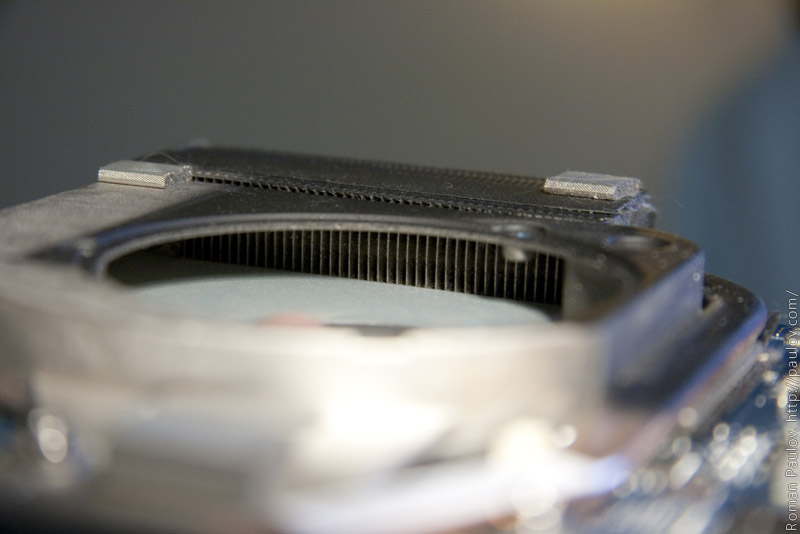
Cleaned id!
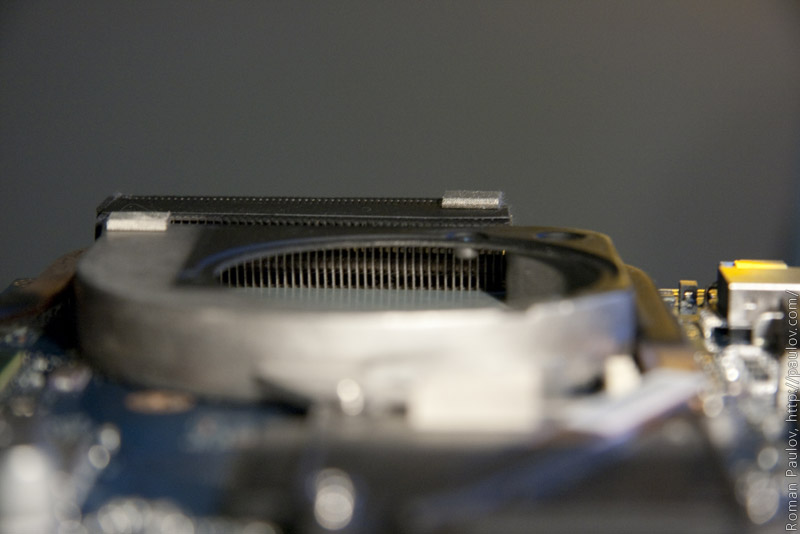
Almost perfect.
Assembly in reverse order :)
Good luck!
This post also available in Russian.
Если вам понравилось, пожалуйста, не поленитесь кликнуть «мне нравится» или «поделиться» или «+1» чуть ниже, или кинуть ссылку на статью в свой блог или форум. Спасибо :)
In step release antennas from WIFI card, how do you release the antennas? Pulling?
I’m a little scared
Excuse my bad English.
Thanks!
Get the antenna cable and drag it — connector will release itself.
Can u send me maybe a pic where i can put the coolinggel between CPU and aircooler will be Nice. Cause he overheaded in few min after Start to Download or Play a Game.
And thxs for this great Foto Report its a great help.
Wasnt so easy to find it out alone.
Mail to my email please.
Thxs.