My mother asked me clean her laptop. Well — no problem :)
For disassembly we need philips screwdriver PH.1 size. Also we need flathead screwdriver 2 or 3 size. Better to use magnetic screwdrivers. All screws in this laptop for philips screwdriver. Flathead screwdriver is only for opening latches.
This is not a official guide. All responsibility is on you. Remember: after disassembling the device, you lose your warranty!
Let the disassembling begin!
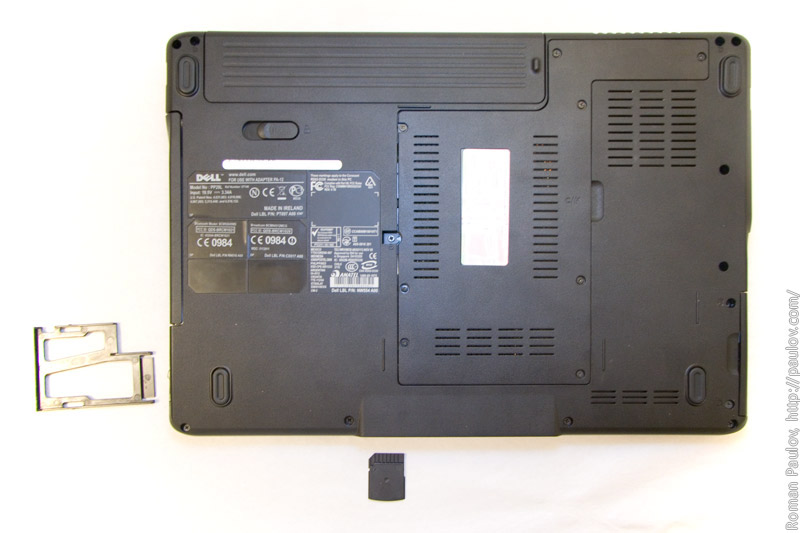
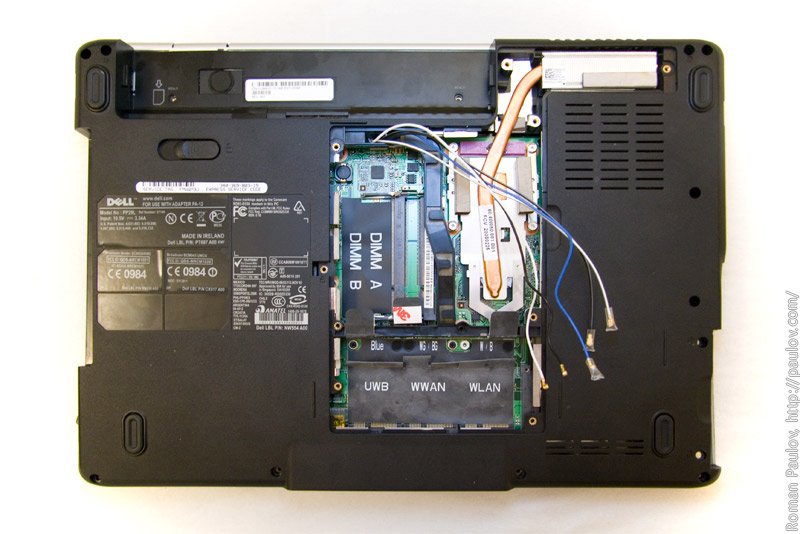
Turn laptop on the cover and remove dummy pci-e and memory cards.
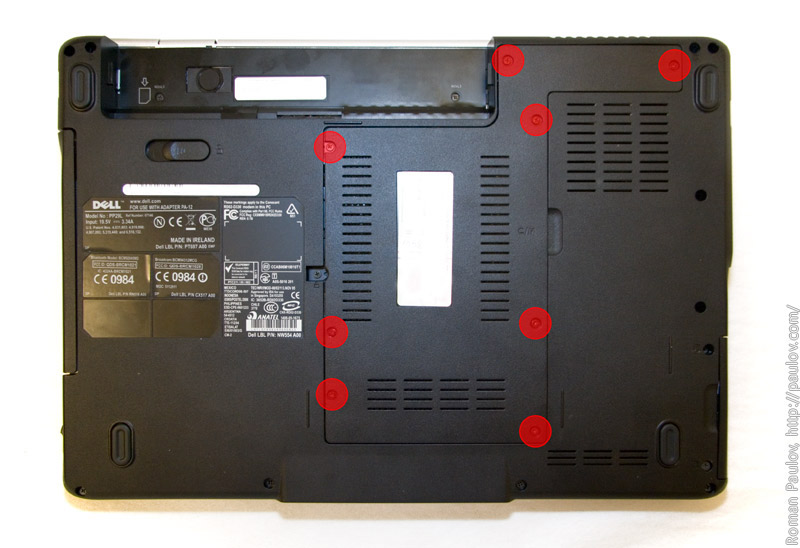
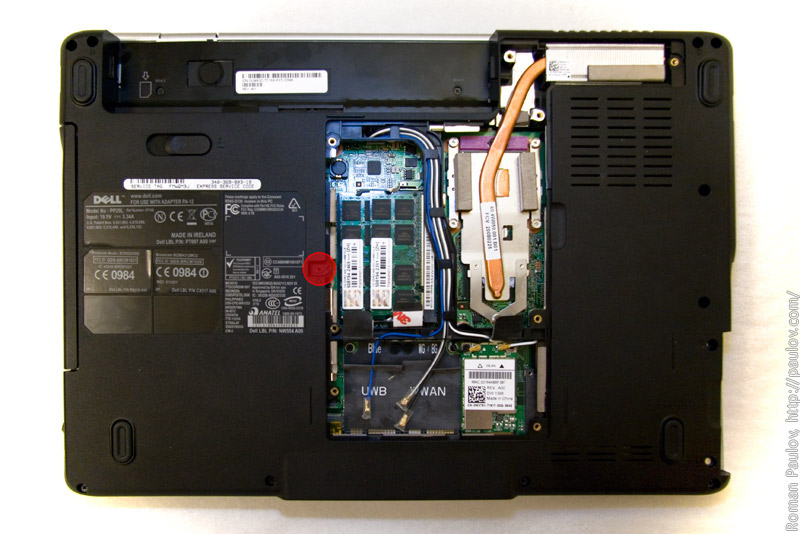
Remove battery and unscrew 8 screws from memory-bay cover.
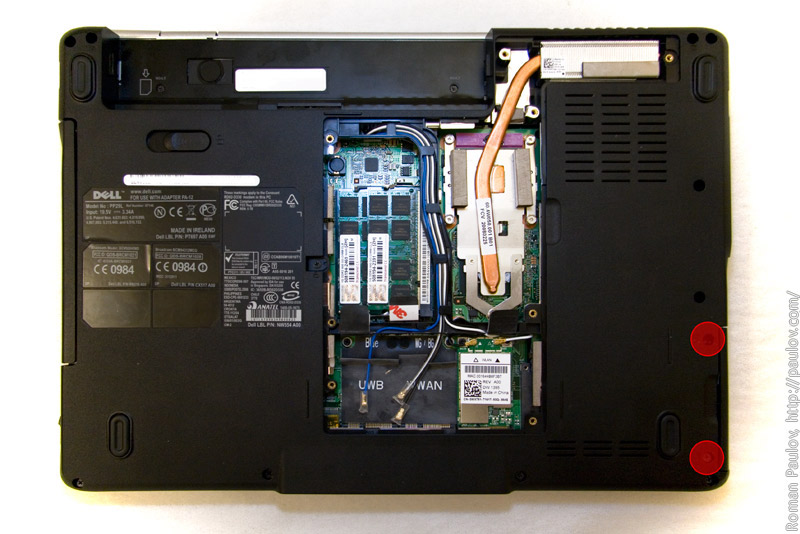
Remove memory-bay cover an unscrew 2 screws that holds HDD.
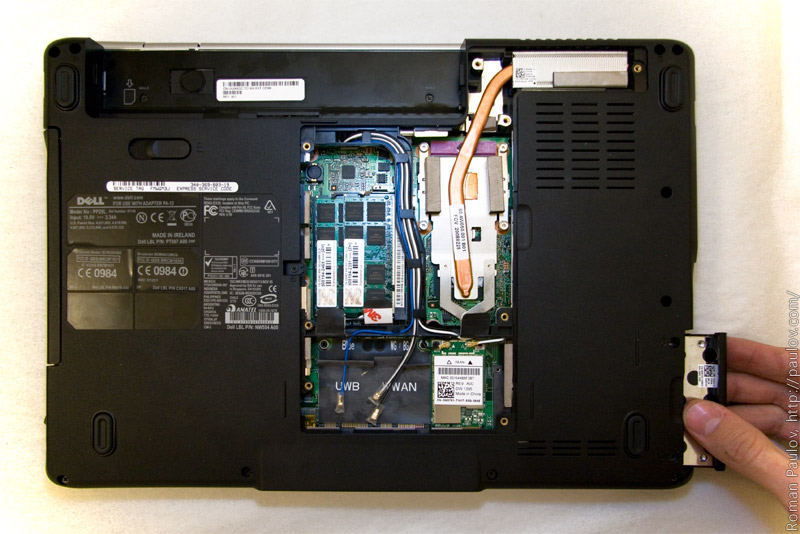
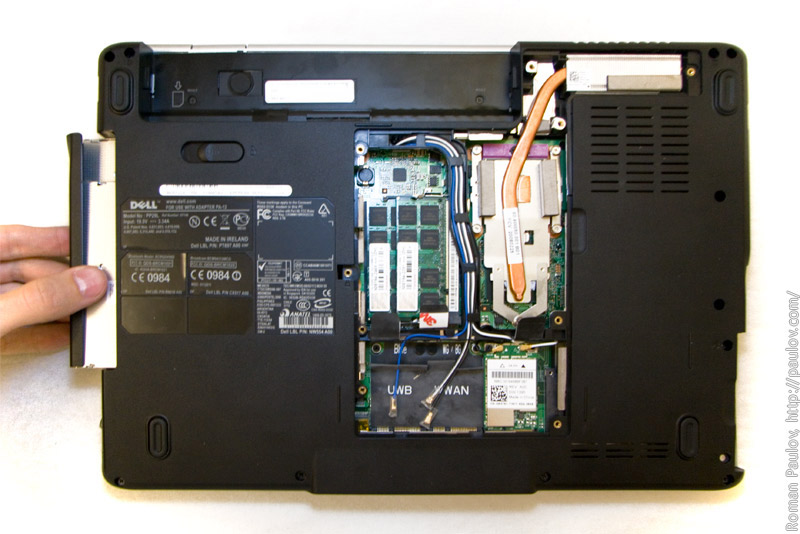
Remove HDD by pulling it out.
Unscrew one screw that holds DVD-ROM.
Remove DVD-ROM by pulling it out.
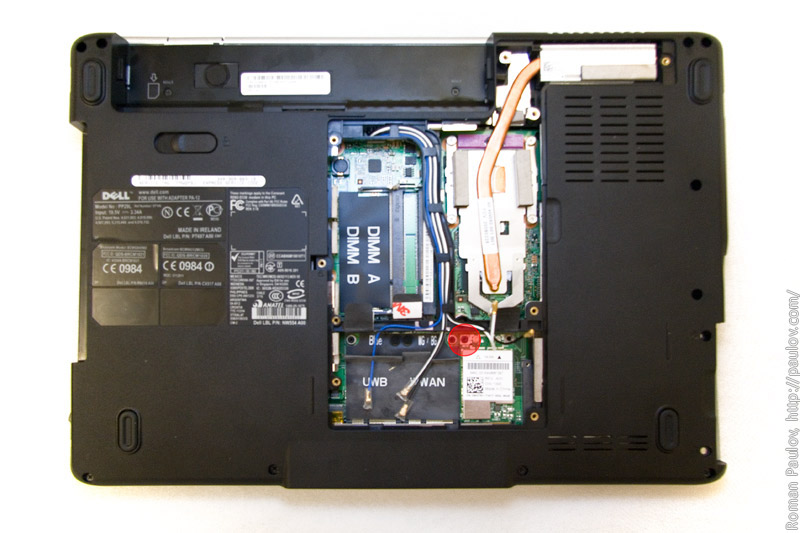
Remove miniPCI-e cards. In my laptop I have only one miniPCI-e card. Unscrew 1 screw that holds WiFi-card, and after that remove WiFi-card. Remove all antennas from wire-channel. You can install 3 miniPCI-e cards in this laptop, it has 5 antennas in the cover!
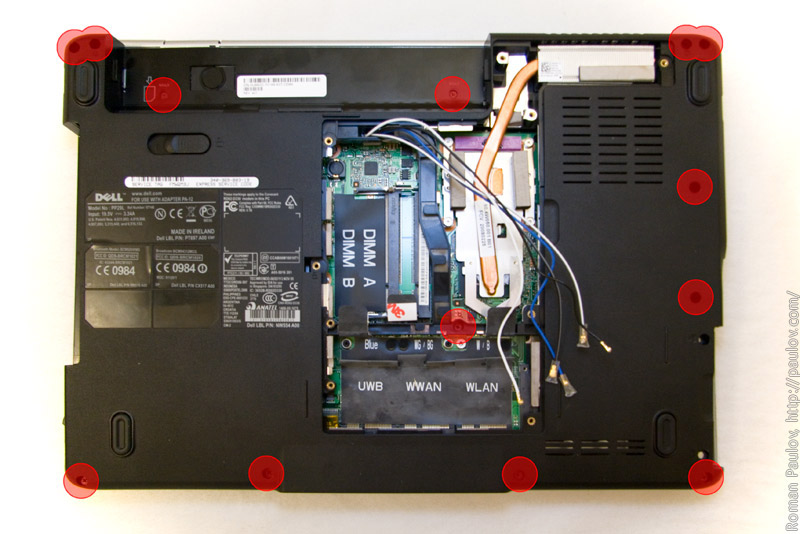
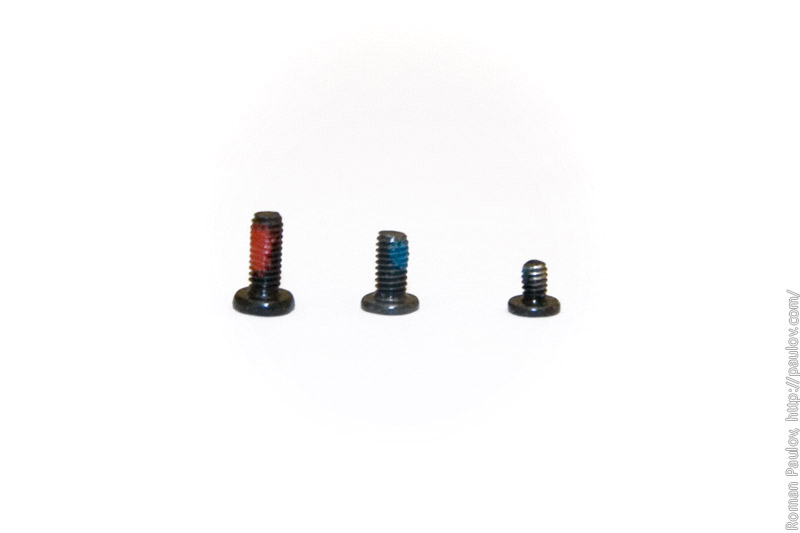
Unscrew 13 screws that holds bottom part of laptop.
It is important will not forget where and what screws are. There are 2 long screws, they is screwed above HDD bay. There are 2 short screws, they is screwed inside battery buy. Other screws is middle long, they is screwed in other places.
It’s done in bottom. Turn laptop.
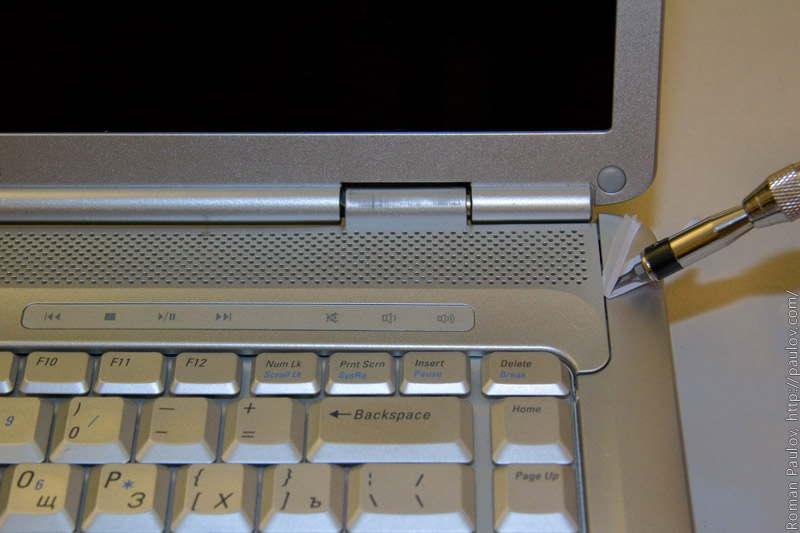
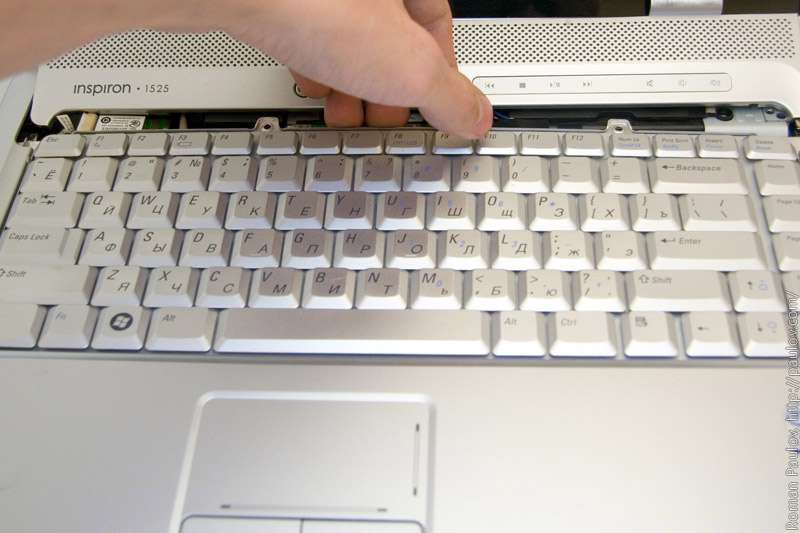
Remove panel above keyboard. You need flathead screwdriver or special tool. I use flathead screwdriver and a piece of paper.
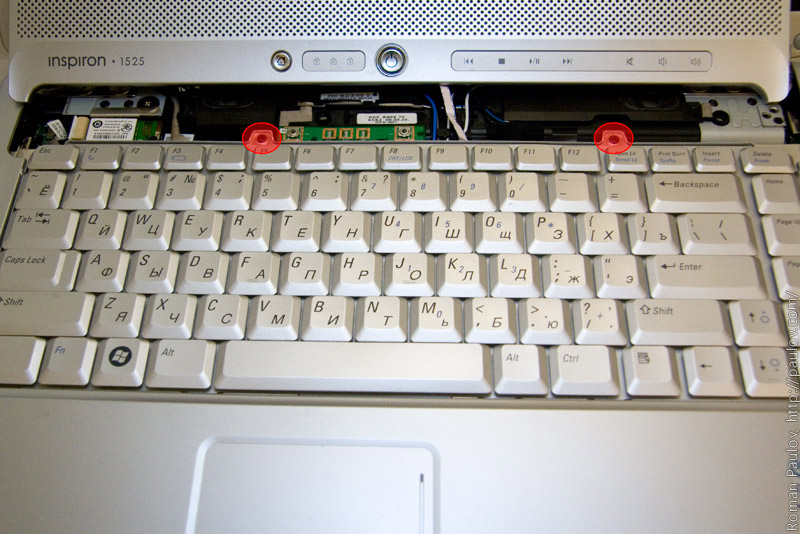
After you release all lathes, you can slide this panel. Unscrew 2 screws that holds keyboard.
Remove keyboard.
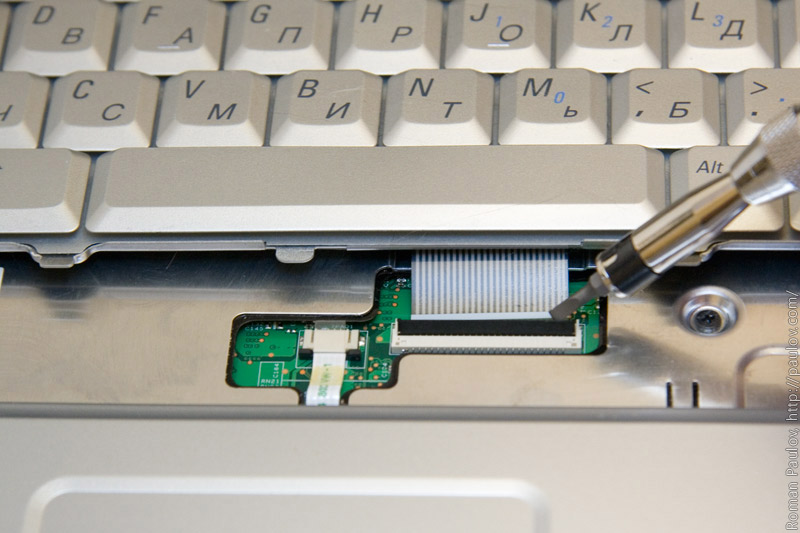
Release keyboard flatcable. First of all you need raise black part of the socket, and after that release flatcable.
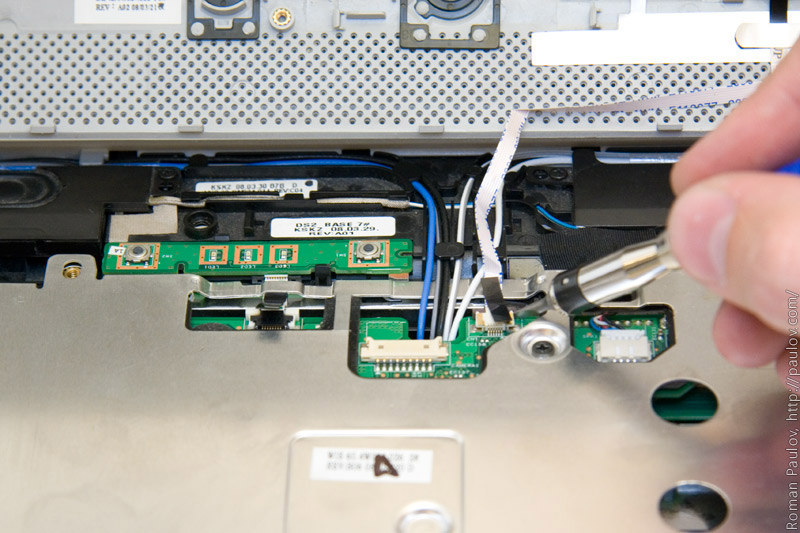
Release flatcable from touch-buttons on the panel above keyboard.
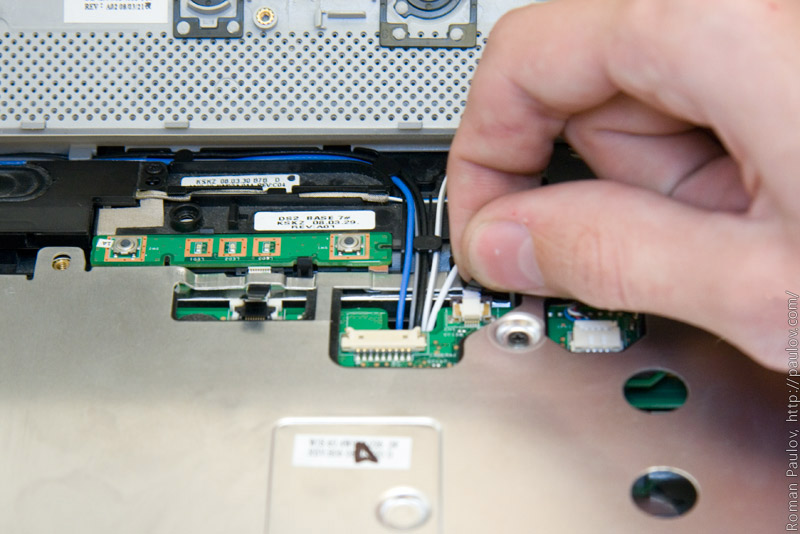
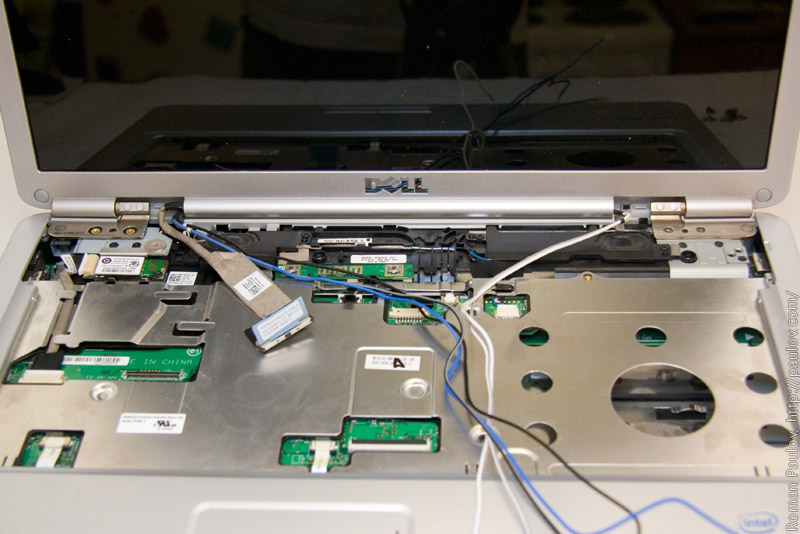
Pull out all antennas.
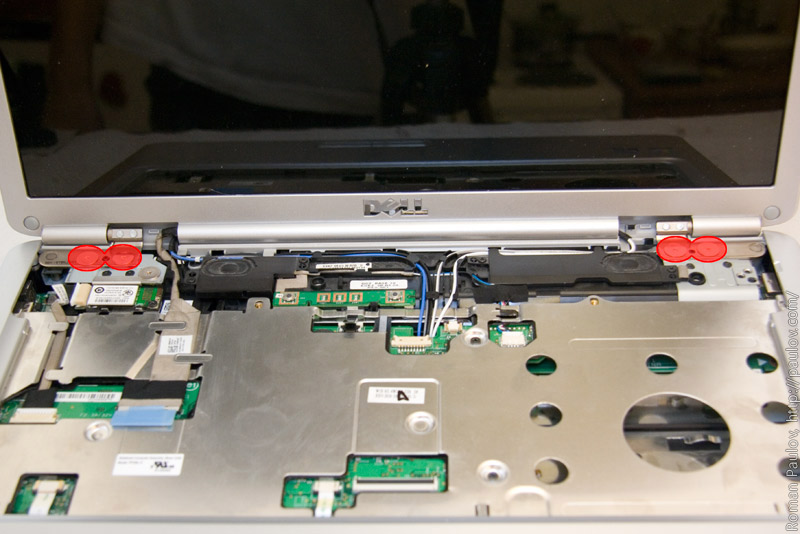
Unscrew 4 big screws, that holds cover with LCD screen.
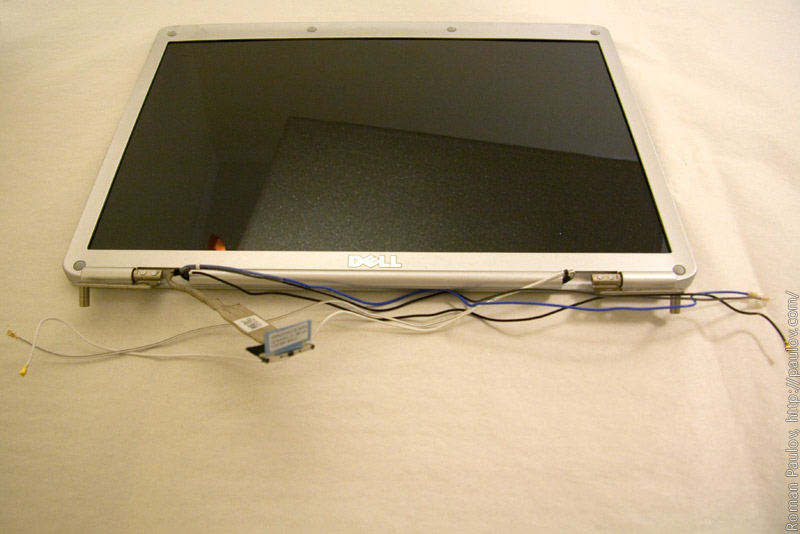
Done. Remove the cover.
Cover with LCD screen is removed.
Release bluetooth connector.
Unscrew 1 screw and remove bluetooth module.
Release bottom connectors.
And one more.
Pull out flatcable.
And one more time.
Done.
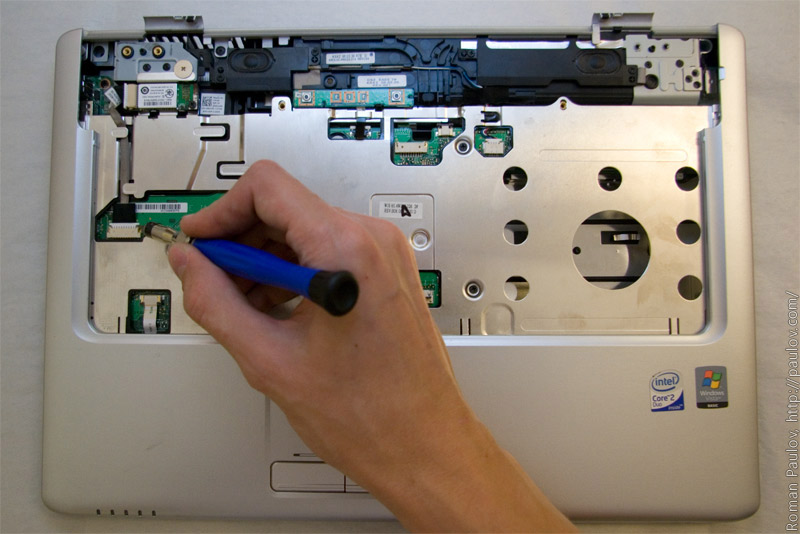
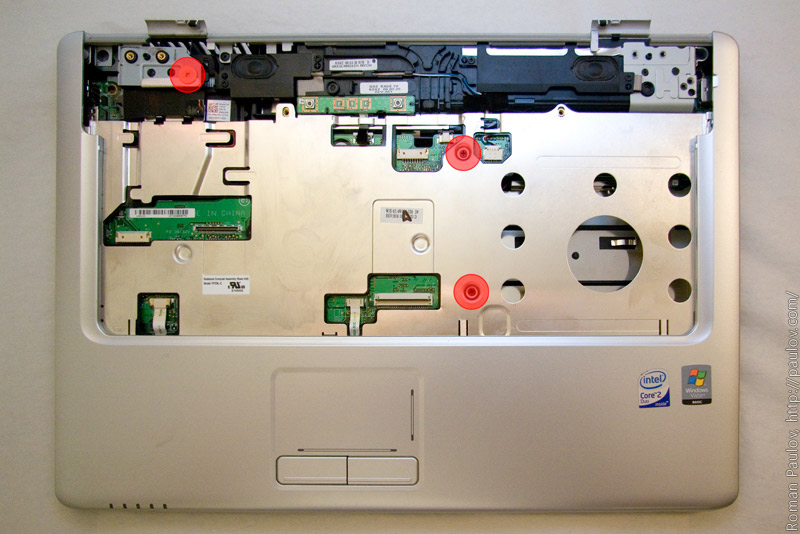
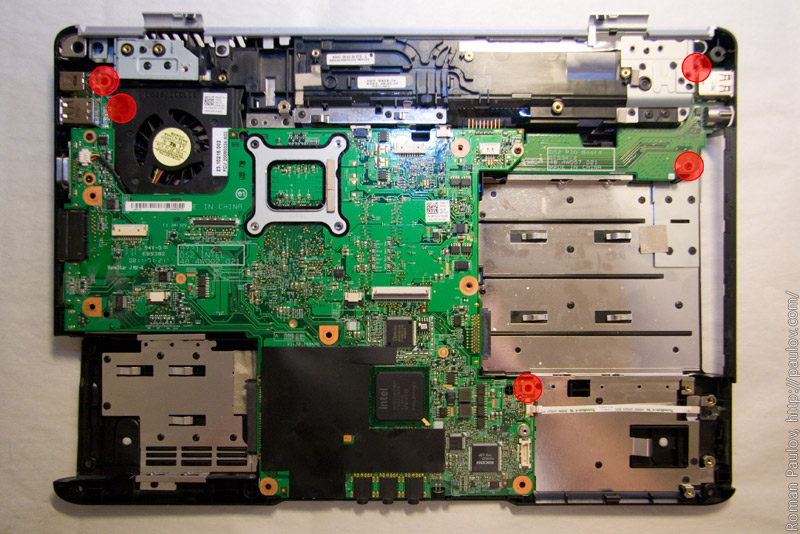
Unscrew 3 marked screws.
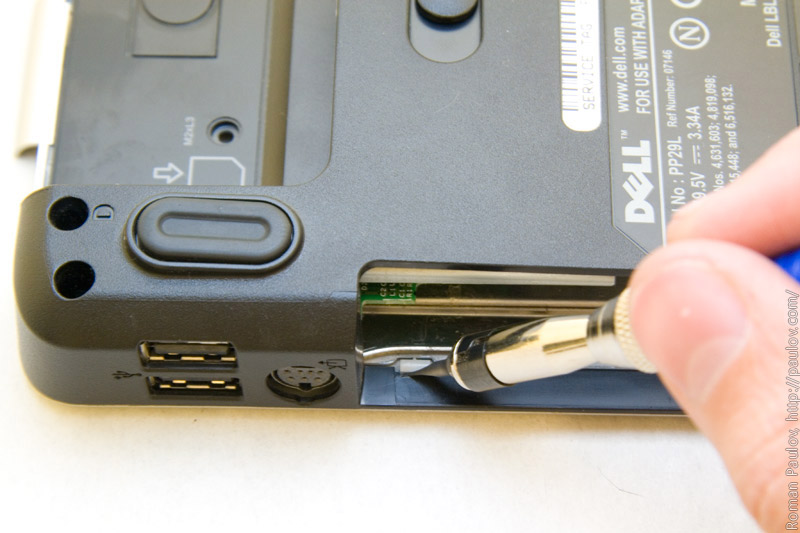
Release latches in DVD-ROM bay. I use flathead screwdriver for this.
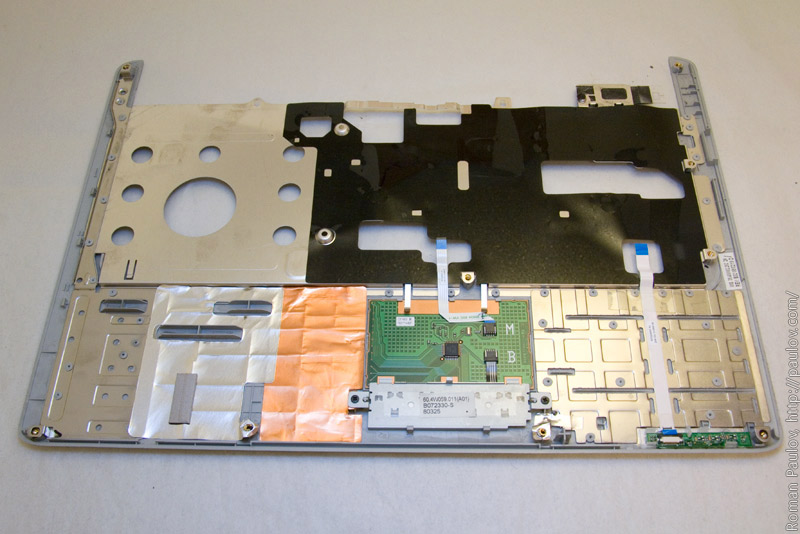
After you release latches, you can easily remove top part of the laptop.
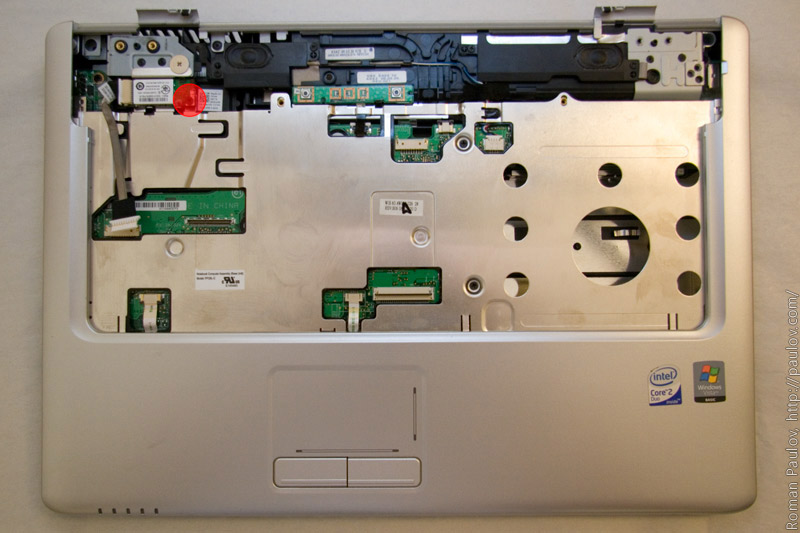
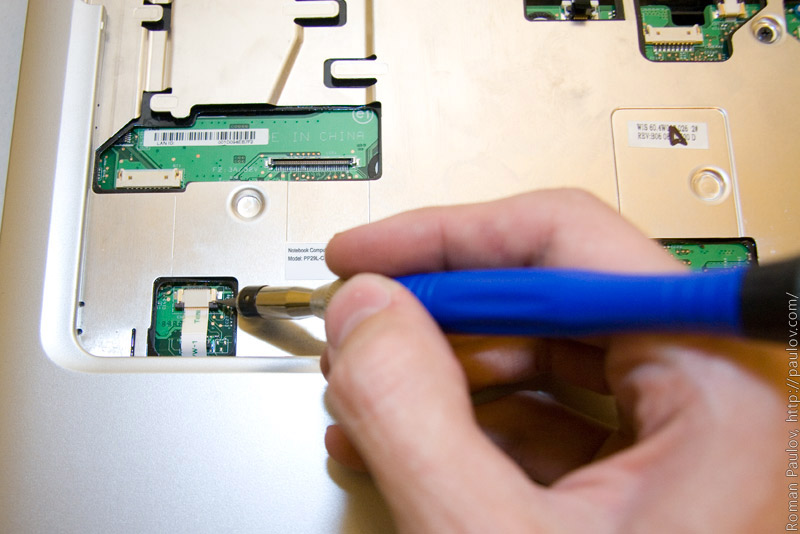
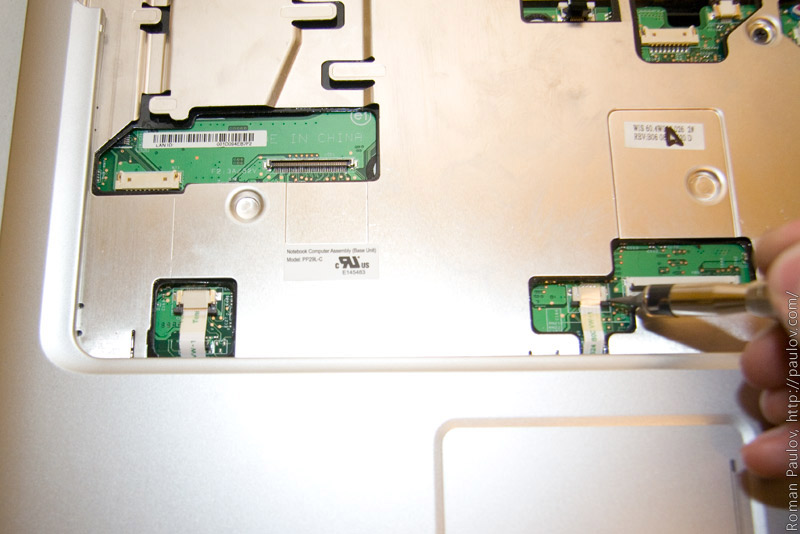
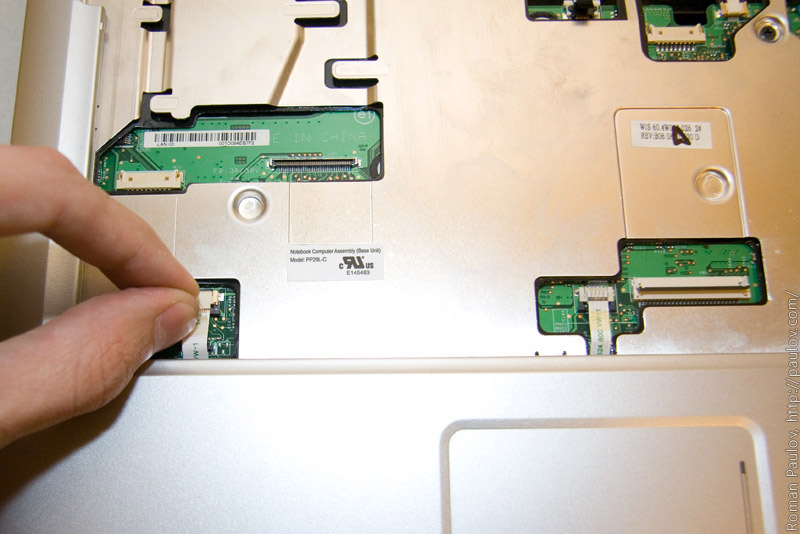
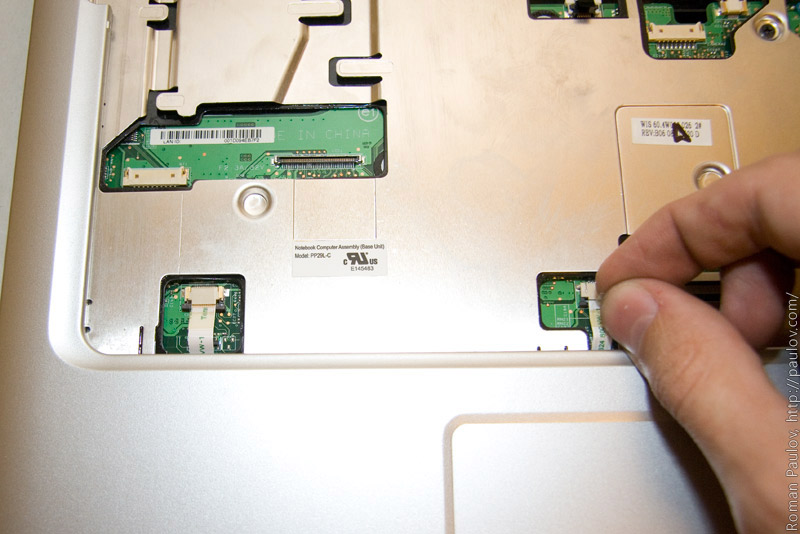
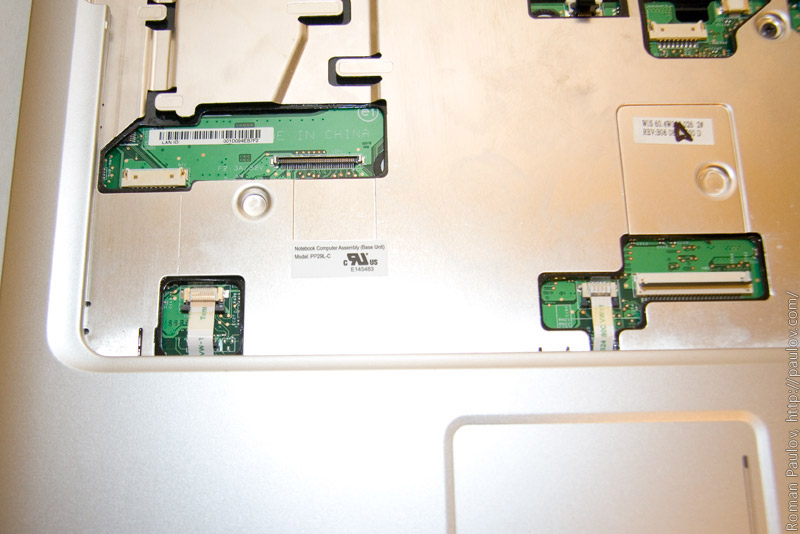
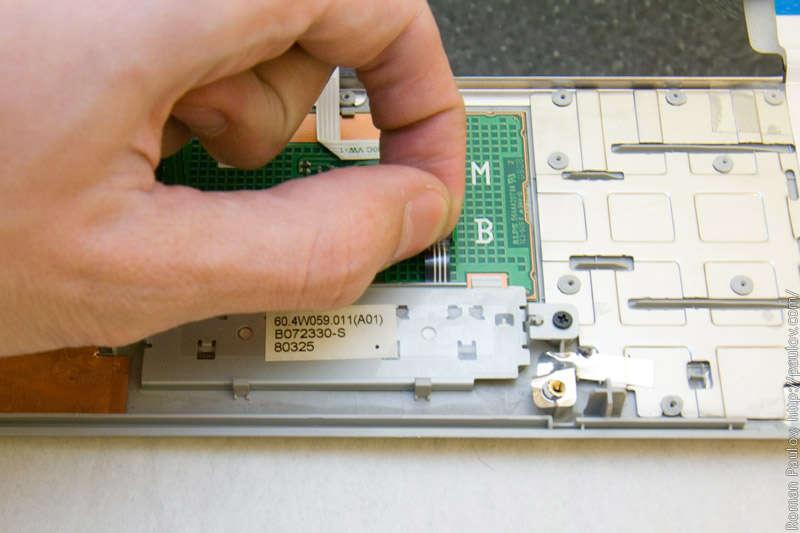
Release flatcable from touch-pad buttons.
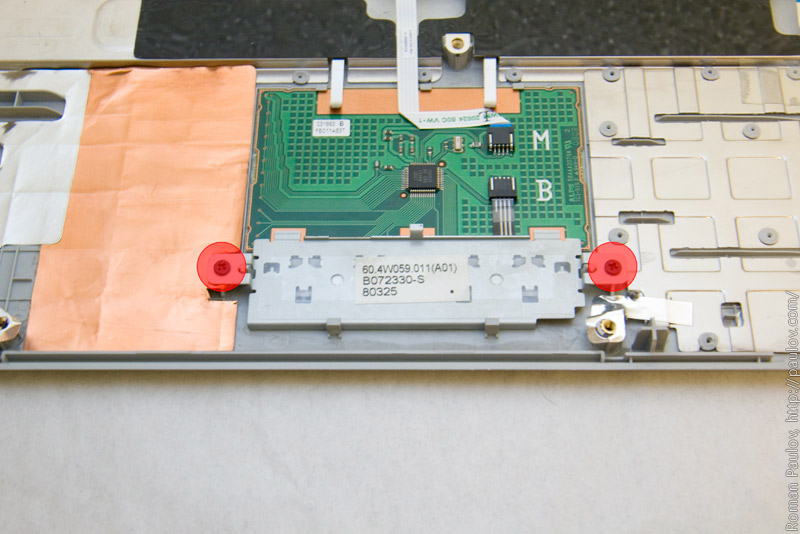
Unscrew 2 screws that holds touch-pad buttons.
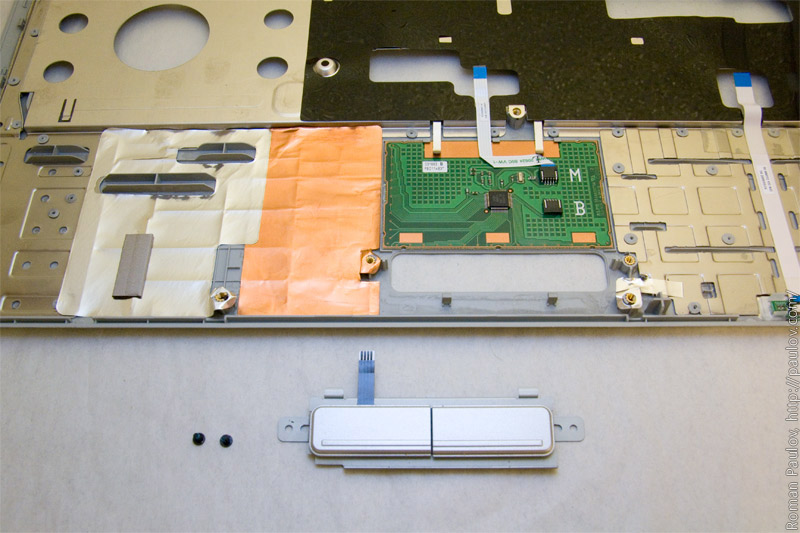
Remove buttons assembly.
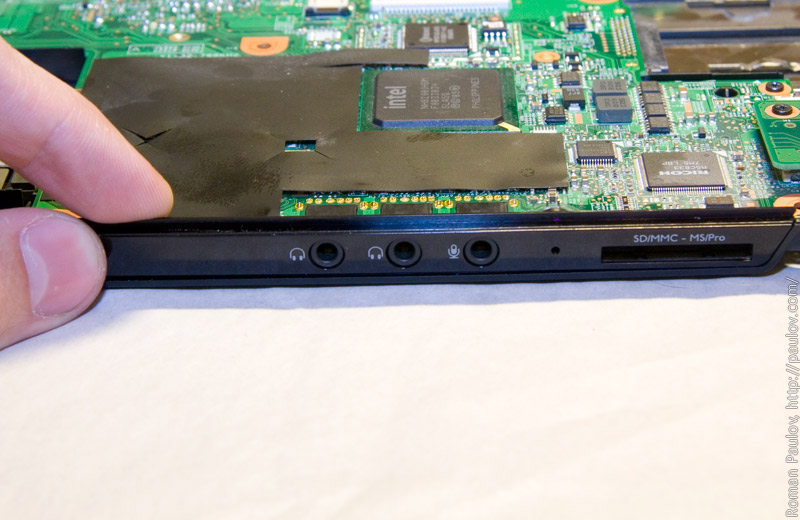
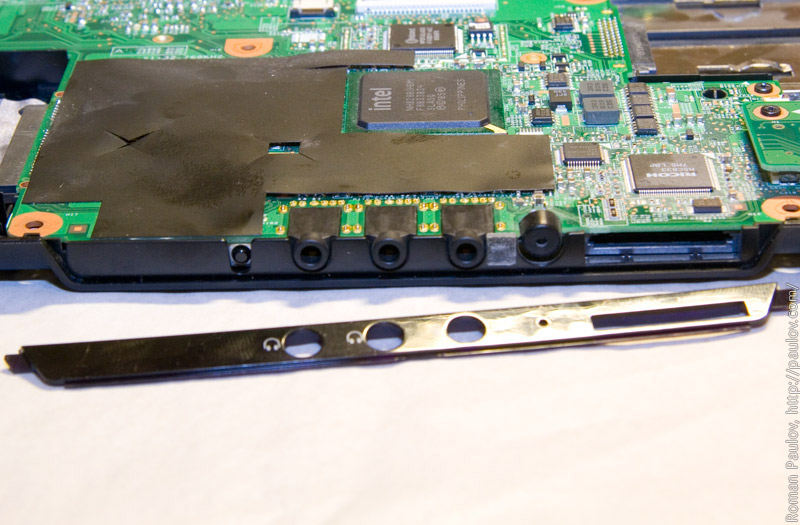
Remove front little panel. It’s glued.
Done.
Release speakers connector.
Done.
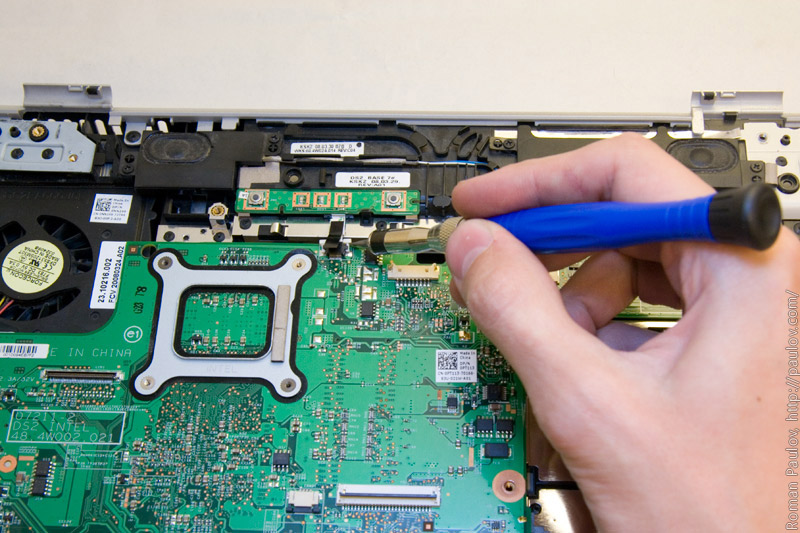
Release buttons connector.
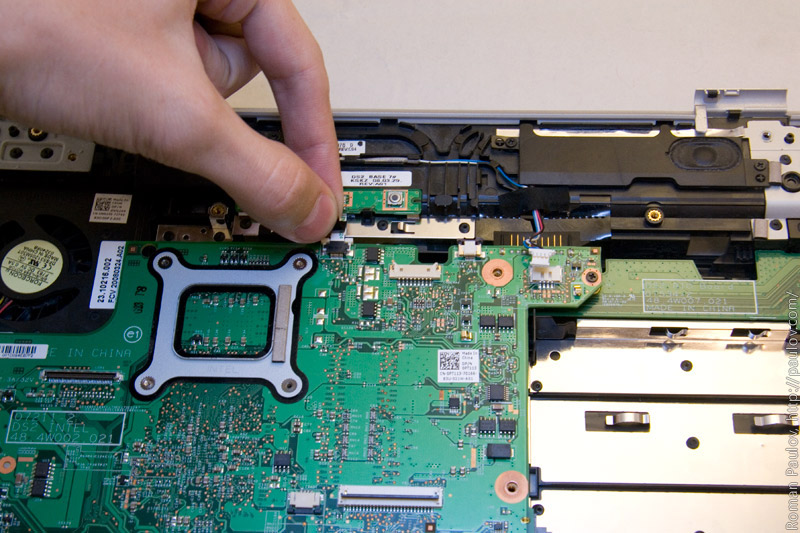
Pull out flatcable.
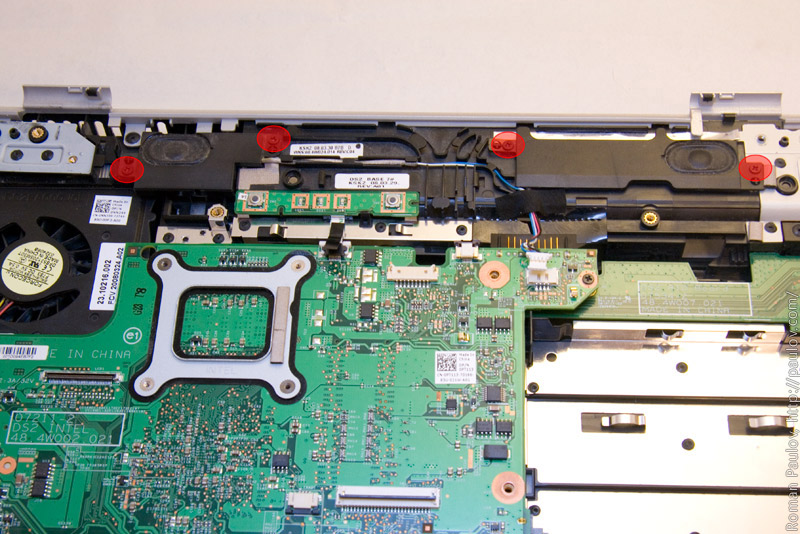
Unscrew 4 screws that holds speakers module.
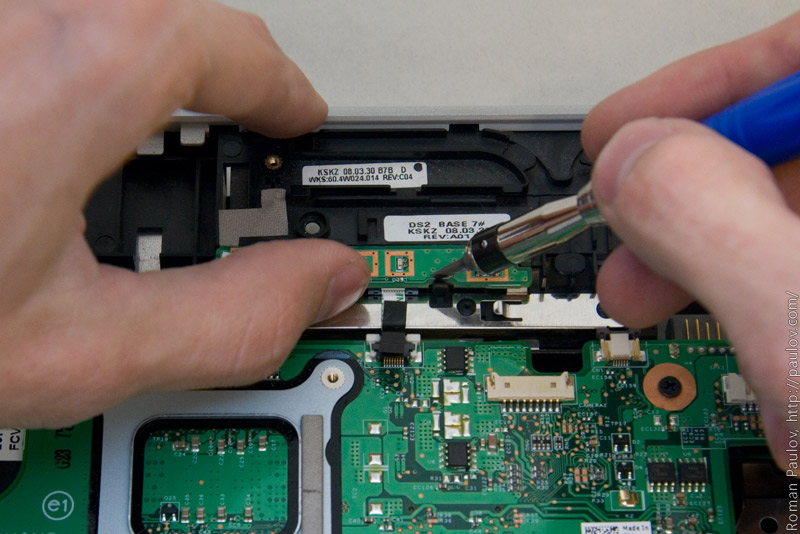
Release buttons subboard.
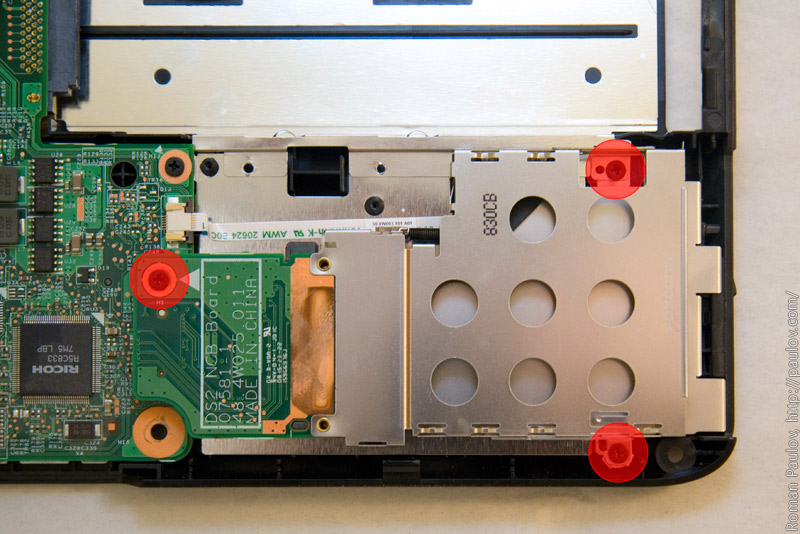
Unscrews 3 screws, that holds extensions card subboard.
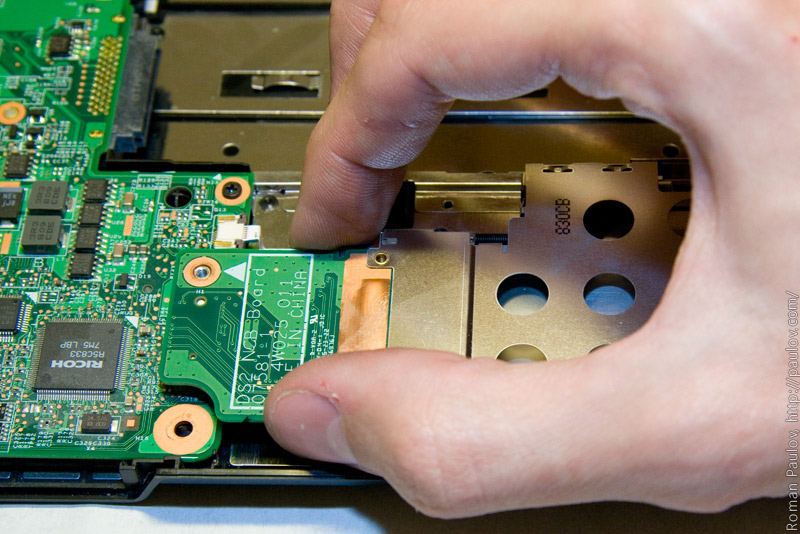
Raise subboard.
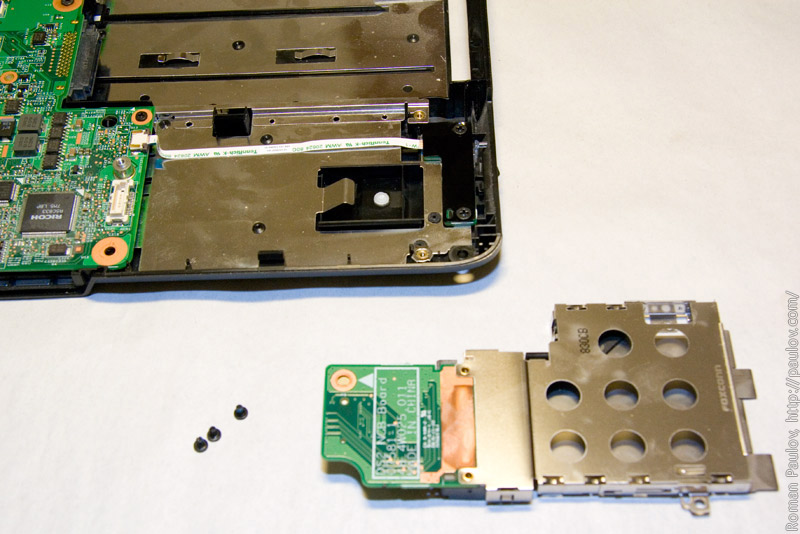
Subboard is released.
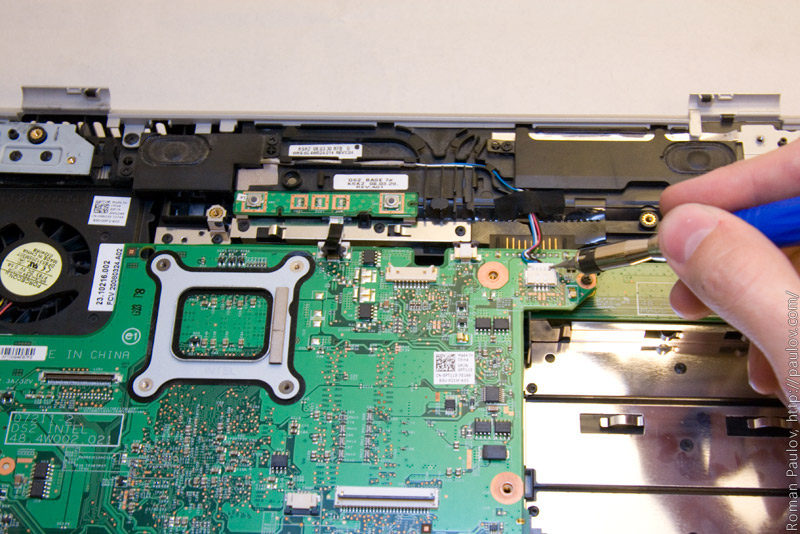
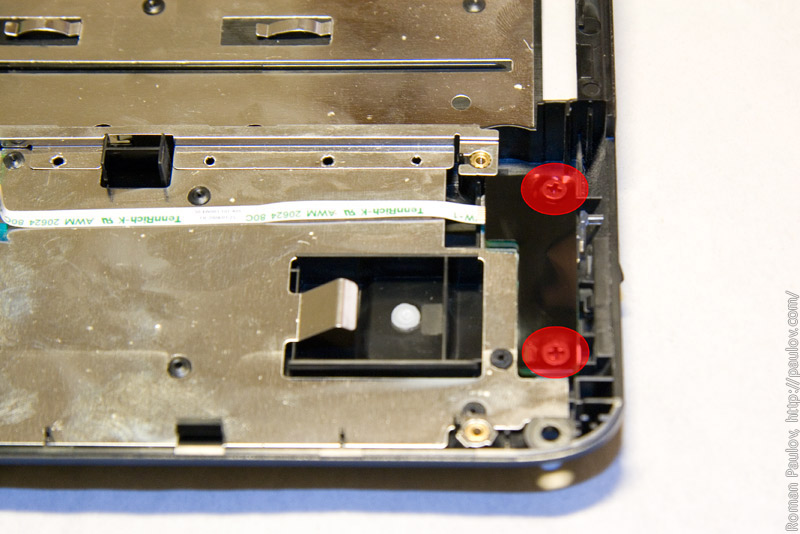
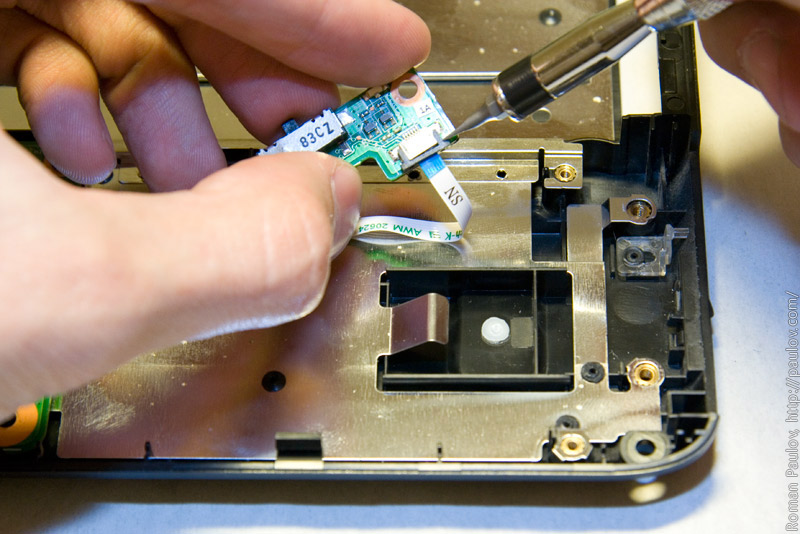
Unscrew 2 screws that holds subboard with switch.
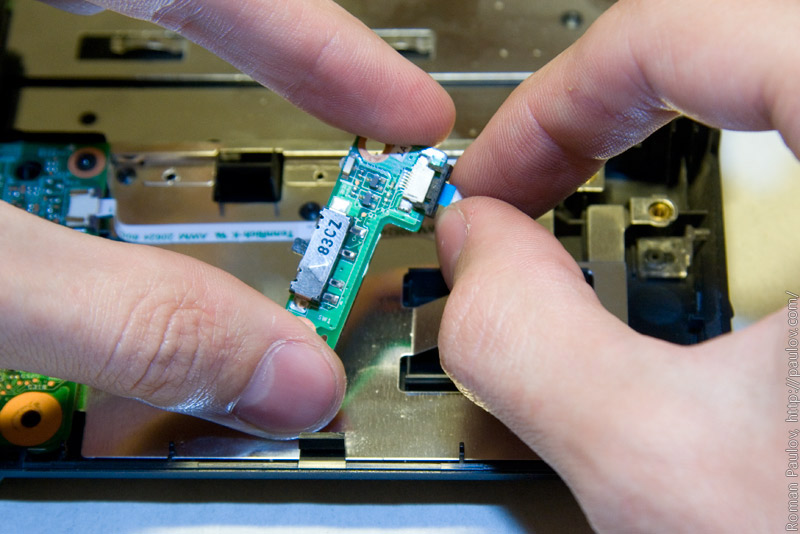
Release flatcable connector.
Pull out flatcable from the connector.
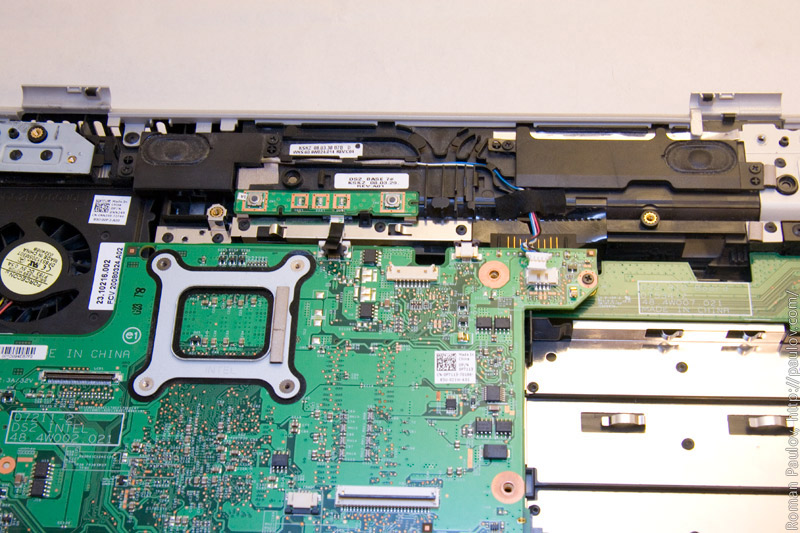
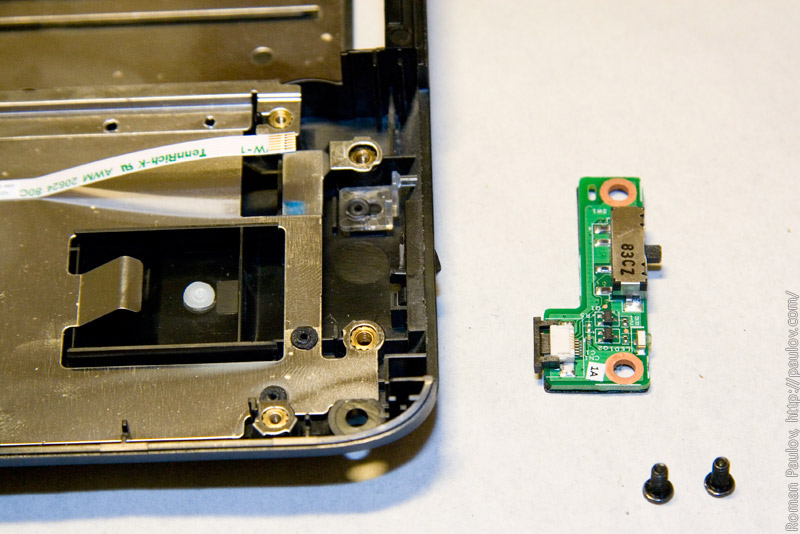
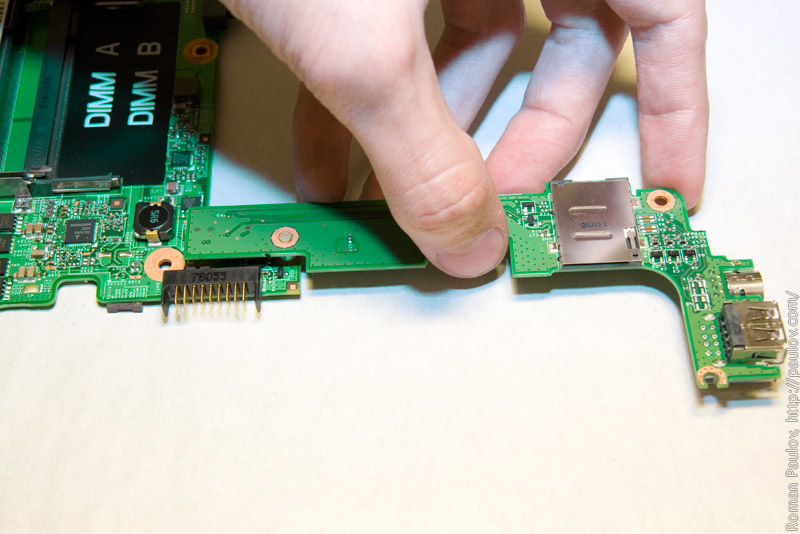
Subboard is released.
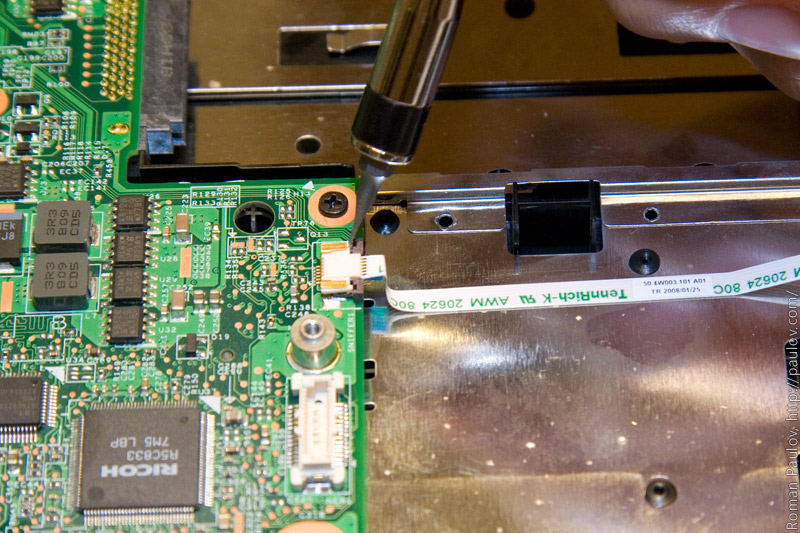
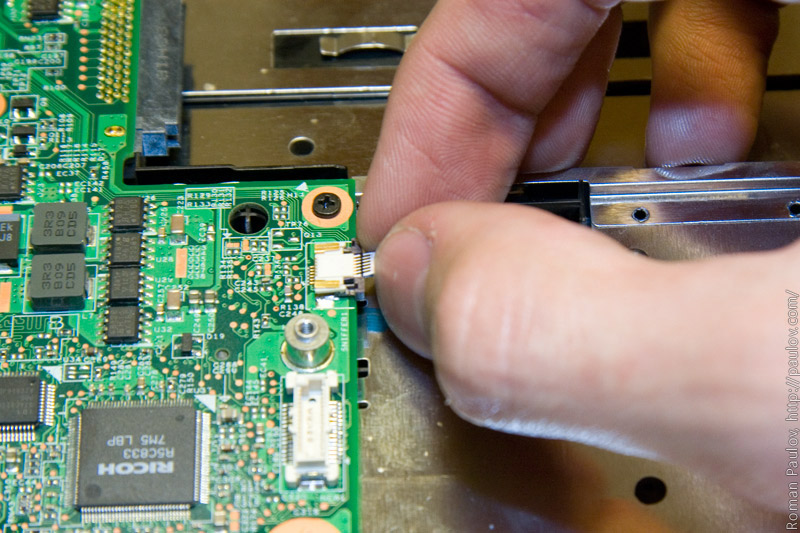
Open connector on the motherboard.
Pull out flatcable.
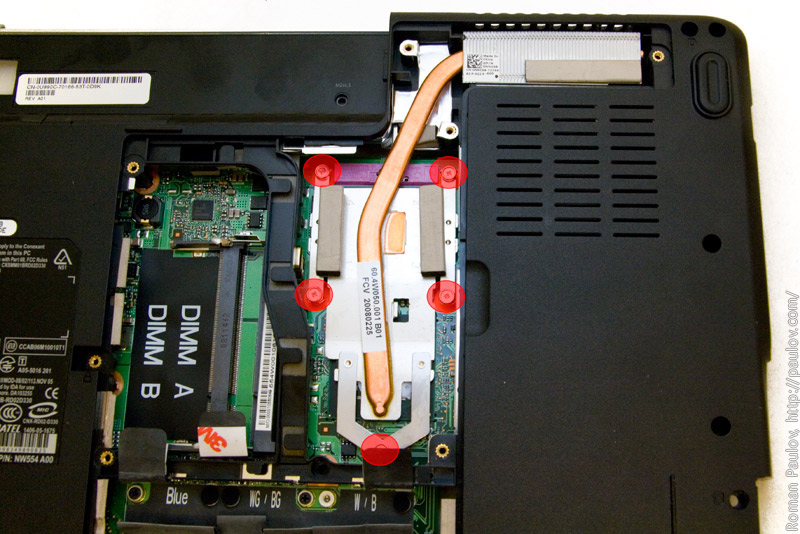
Unscrew 5 screws that holds cooling system.
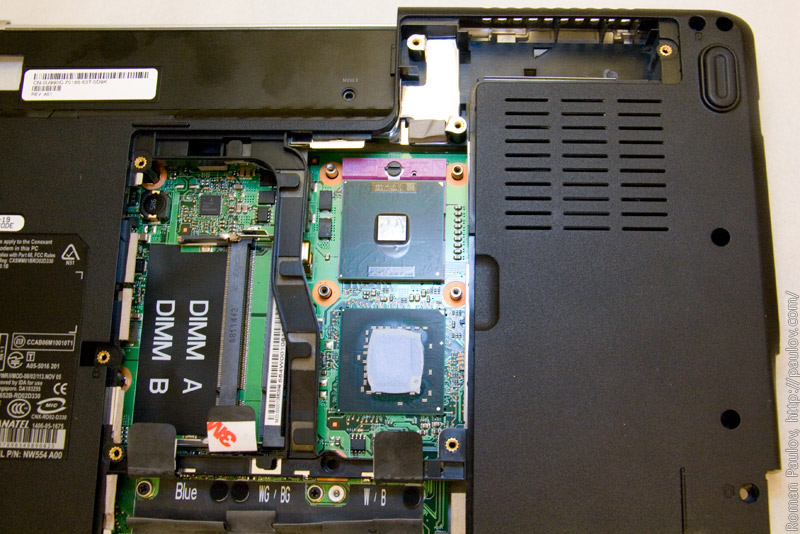
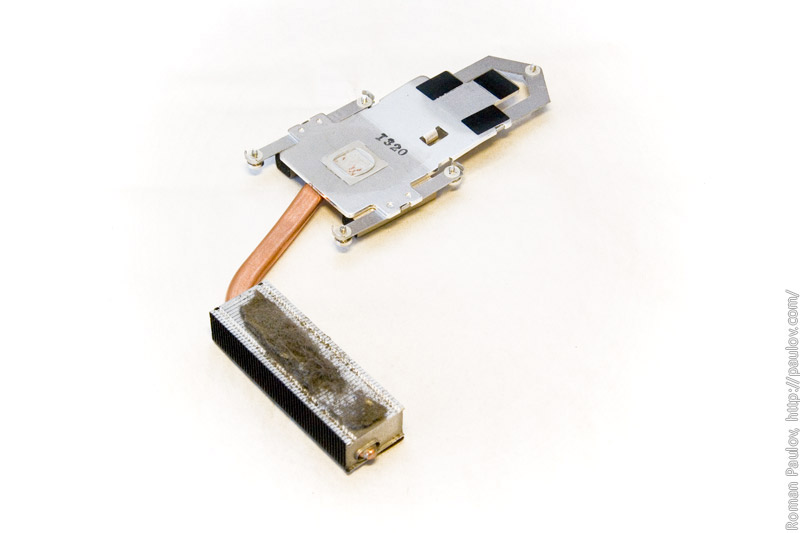
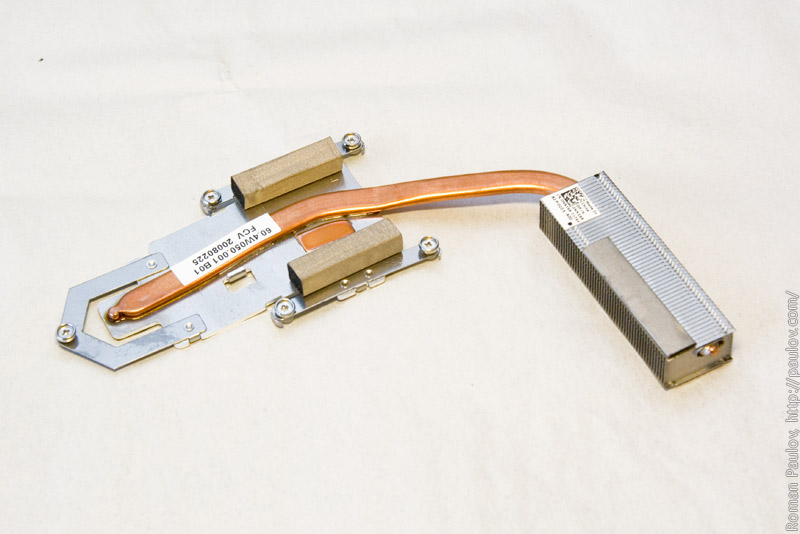
Remove cooling system.
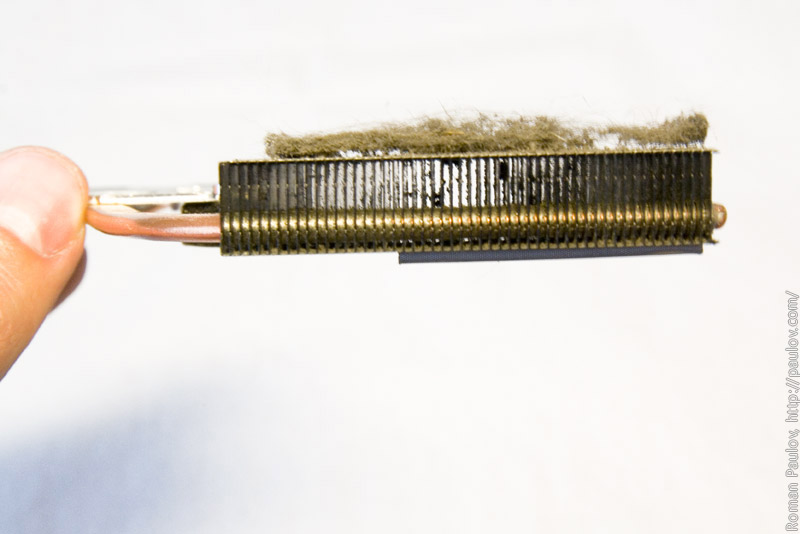
There are lot of dust in the radiator.
Clean it!
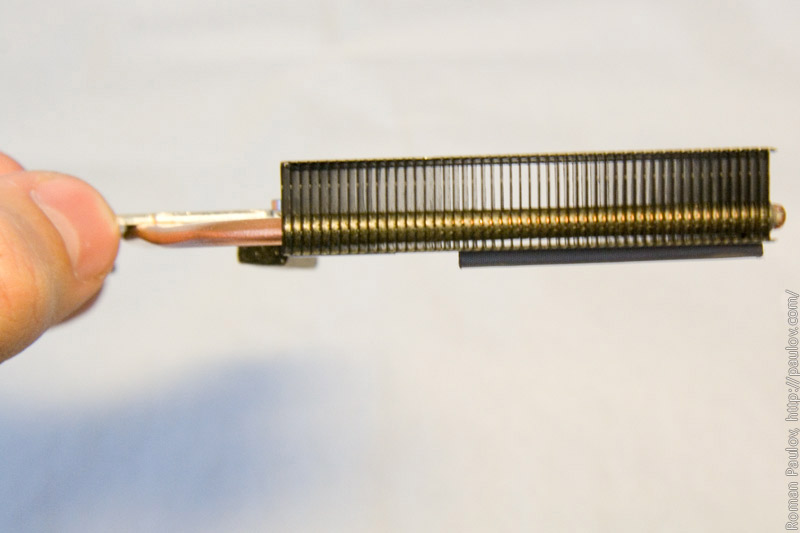
That is much better.
Good!
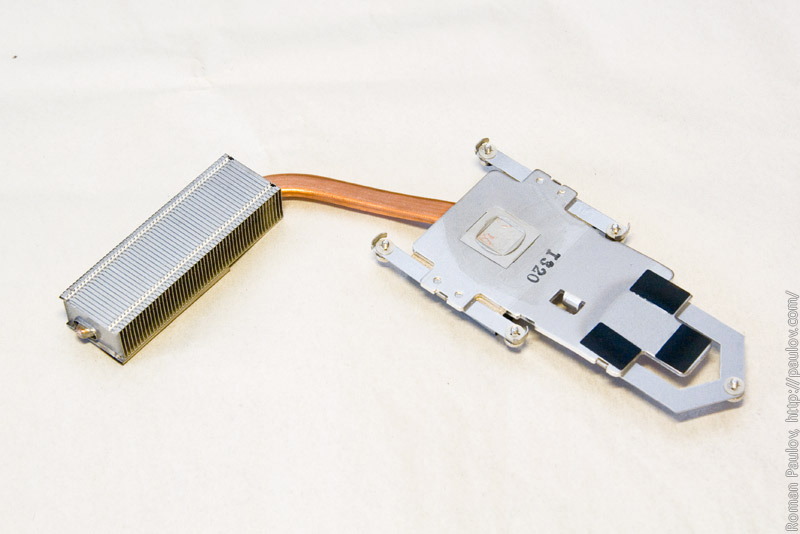
The other side.
Continue. Unscrew 5 screws that holds the motherboard.
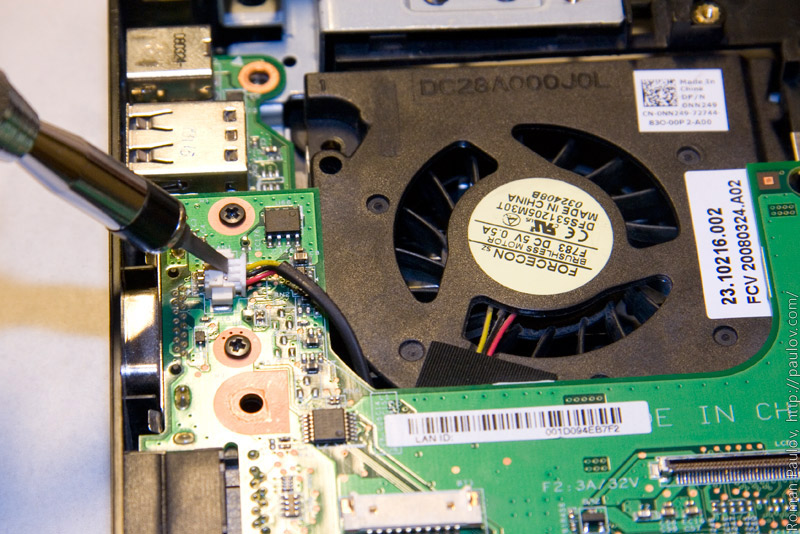
Release fan connector.
Remove motherboard from housing.
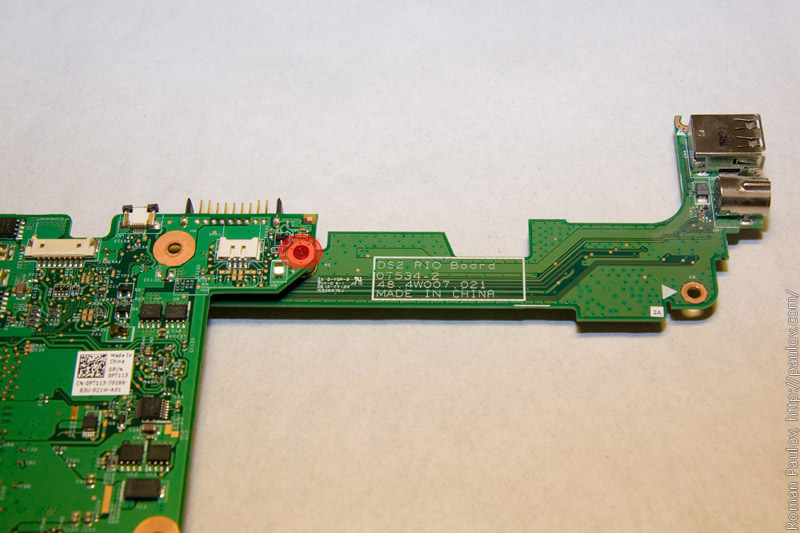
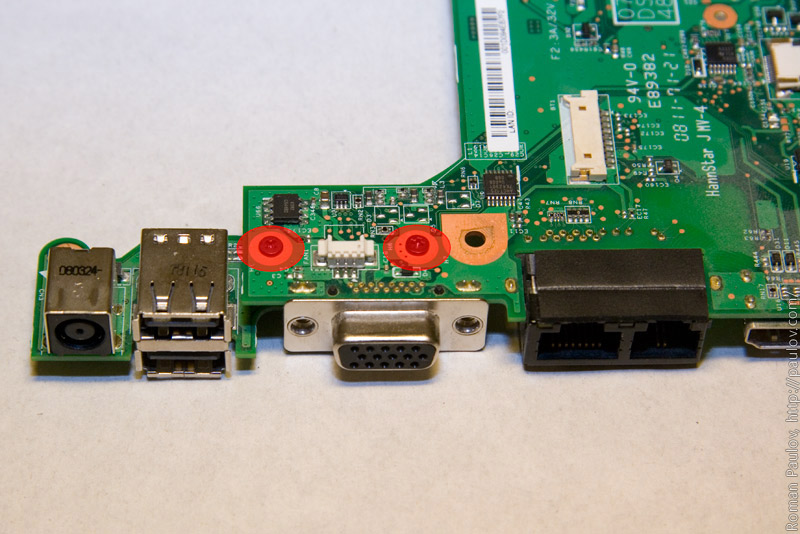
Unscrew 1 screw that holds the subboard.
Pull out the subboard.
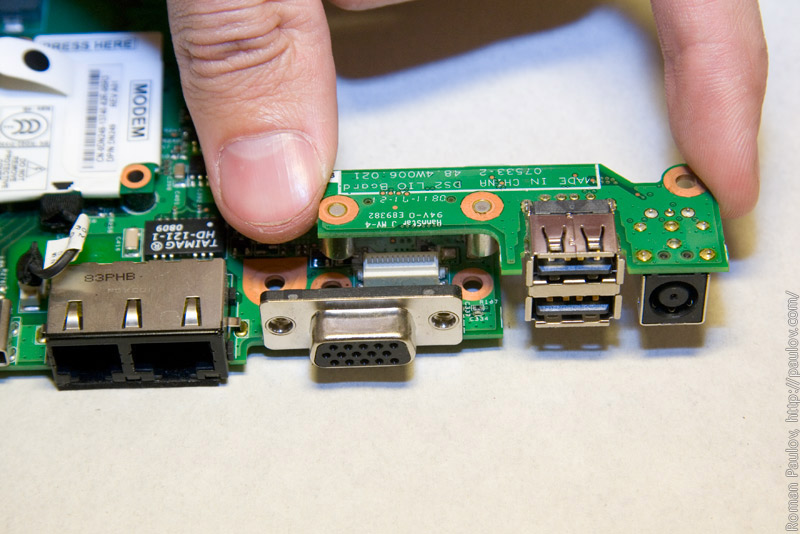
Unscrew 2 screws that holds the subboard with power connector.
Release the subboard.
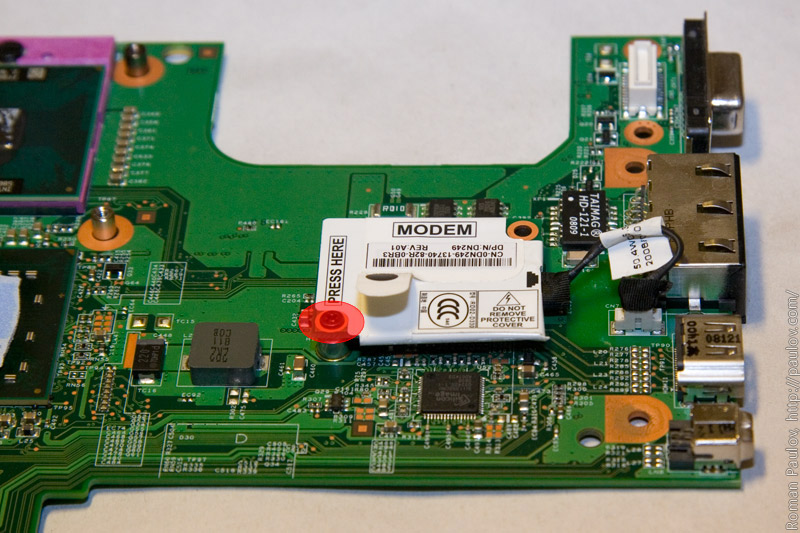
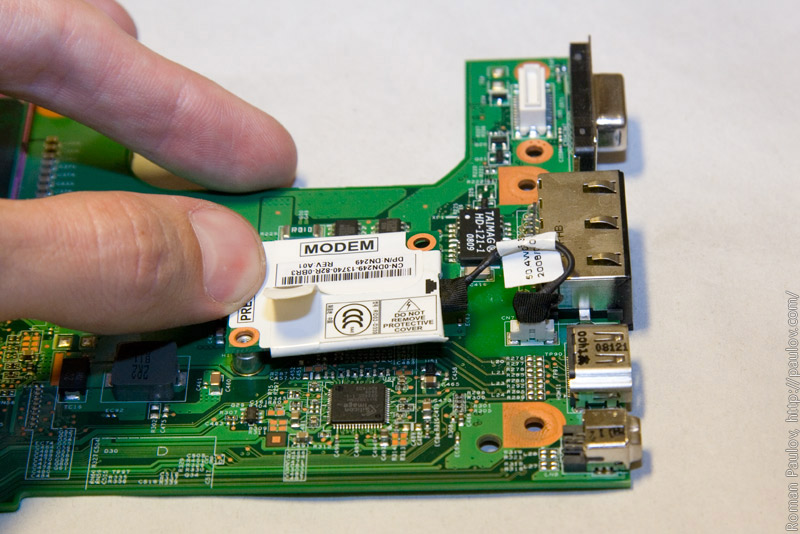
Unscrews screw that holds the modem module.
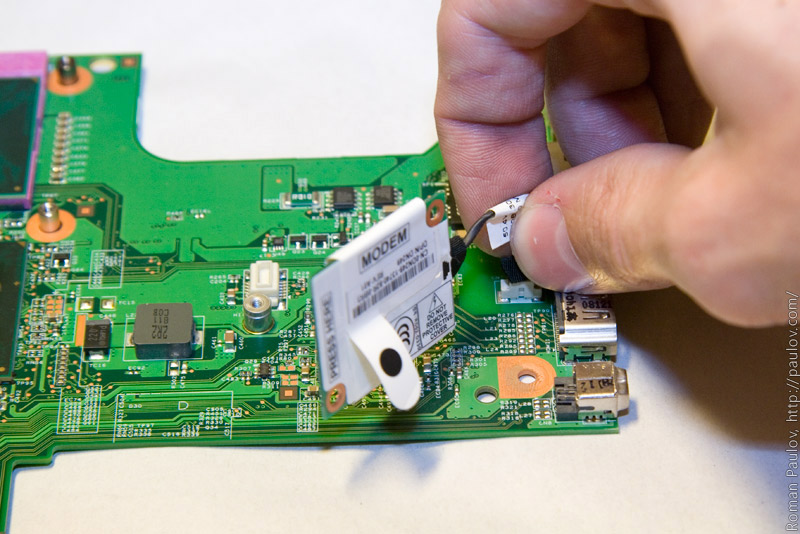
Press there where is written «press here».
Release modem connector.
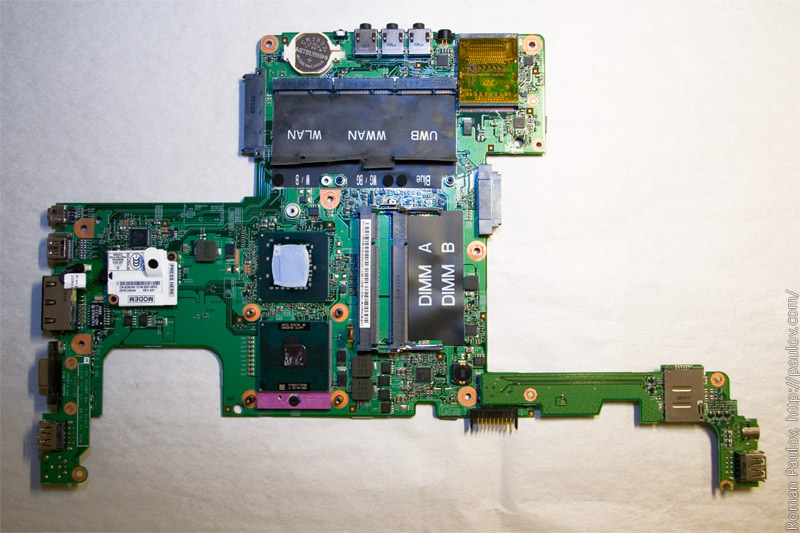
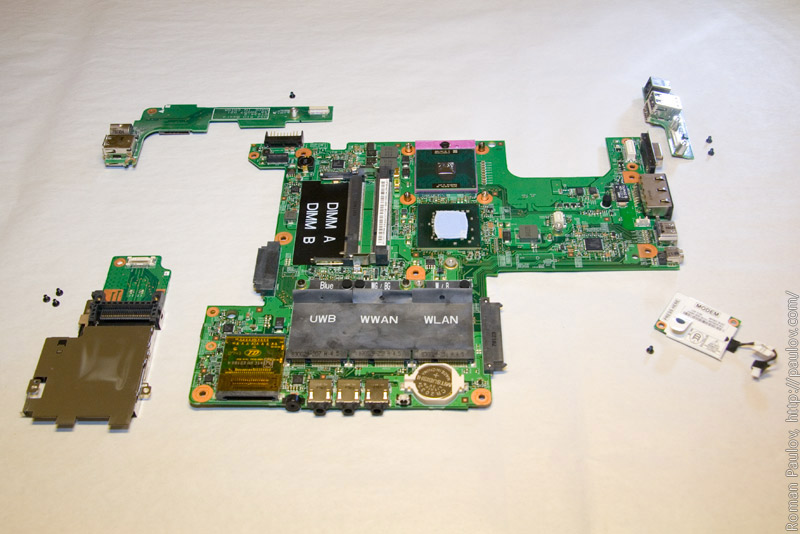
All parts of the motherboard on the table.
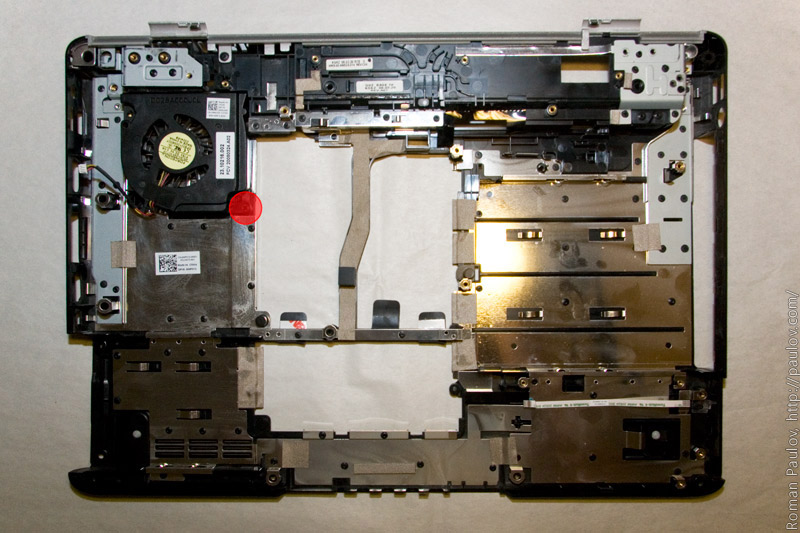
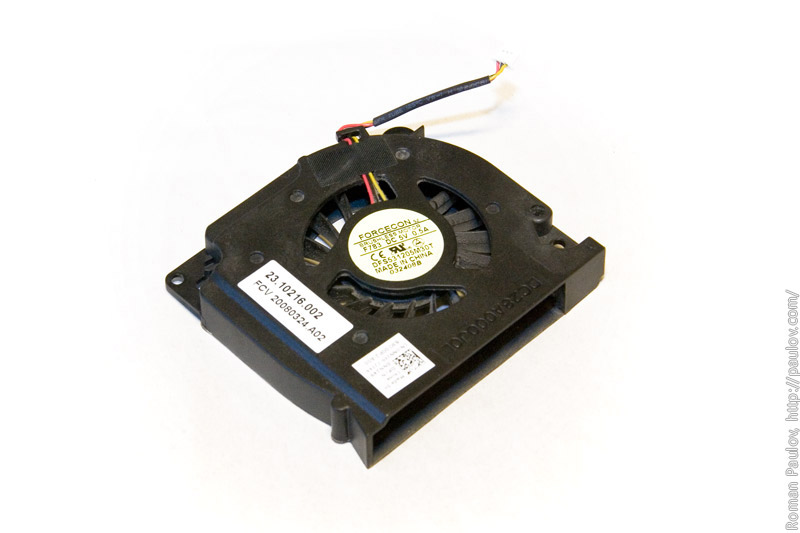
Unscrew last screw that holds fan.
Remove fan.
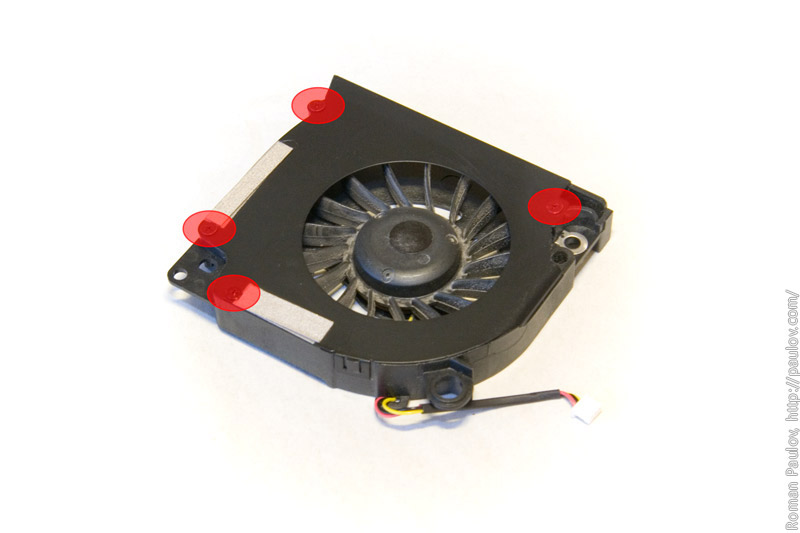
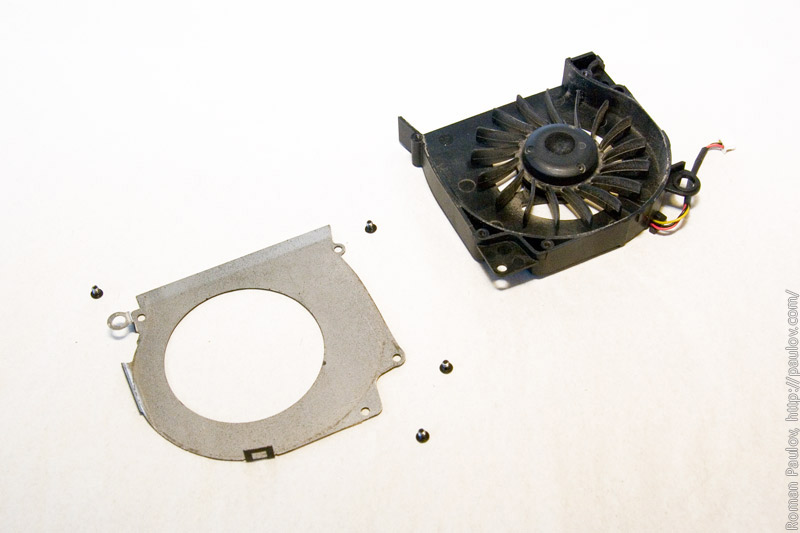
Unscrew 4 screws and disassemble fan.
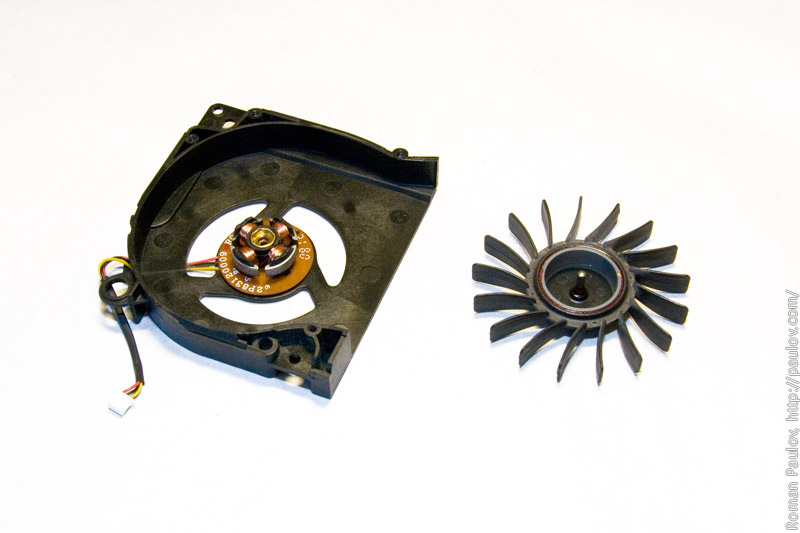
Fan is disassembled.
Remove impeller.
It’s all. Assemble in reverse order :)
Thank you.
This article also available in Russian — как разобрать и почистить ноутбук Dell Inspiron 1525.
Если вам понравилось, пожалуйста, не поленитесь кликнуть «мне нравится» или «поделиться» или «+1» чуть ниже, или кинуть ссылку на статью в свой блог или форум. Спасибо :)

Nice images and tutorial! Thank you!
Thanks a lot, excellent series of photos really useful. BIG THANKS!!
Hi I wanna say BIG BIG THANKS!!! for this tutorial it helped me replace the broken FAN that was torturing lappy.
Thanks for comments :)
Hey, many thanks for your tutorial! I’ve just successfully (!!!) changed the bios battery to my mother’s in law notebook. Its great that many years ago you did this detailed photo-shoot. Thanks again. Огромное Спасибо!!!